Happy Spring Sugar Pie! I don’t know about you, but I am sooooo ready for warmer weather! Bright green leaves on the trees, flowers bursting with glorious colors and happy birds chirping! Here in southern Missouri we’ve had quite a harsh winter…lots of cold and snow… which makes me even more anxious for blissful springtime! We’ve had a lot of cozy, sittin’-by-the-fire nights, for which I’m so thankful, but I’m pretty giddy for this happy new season! I’ve pulled out my bins of Spring and Easter decorations and thought I would share with you how I go about decorating my mantle and entry buffet. Come on…I’ll show ya!

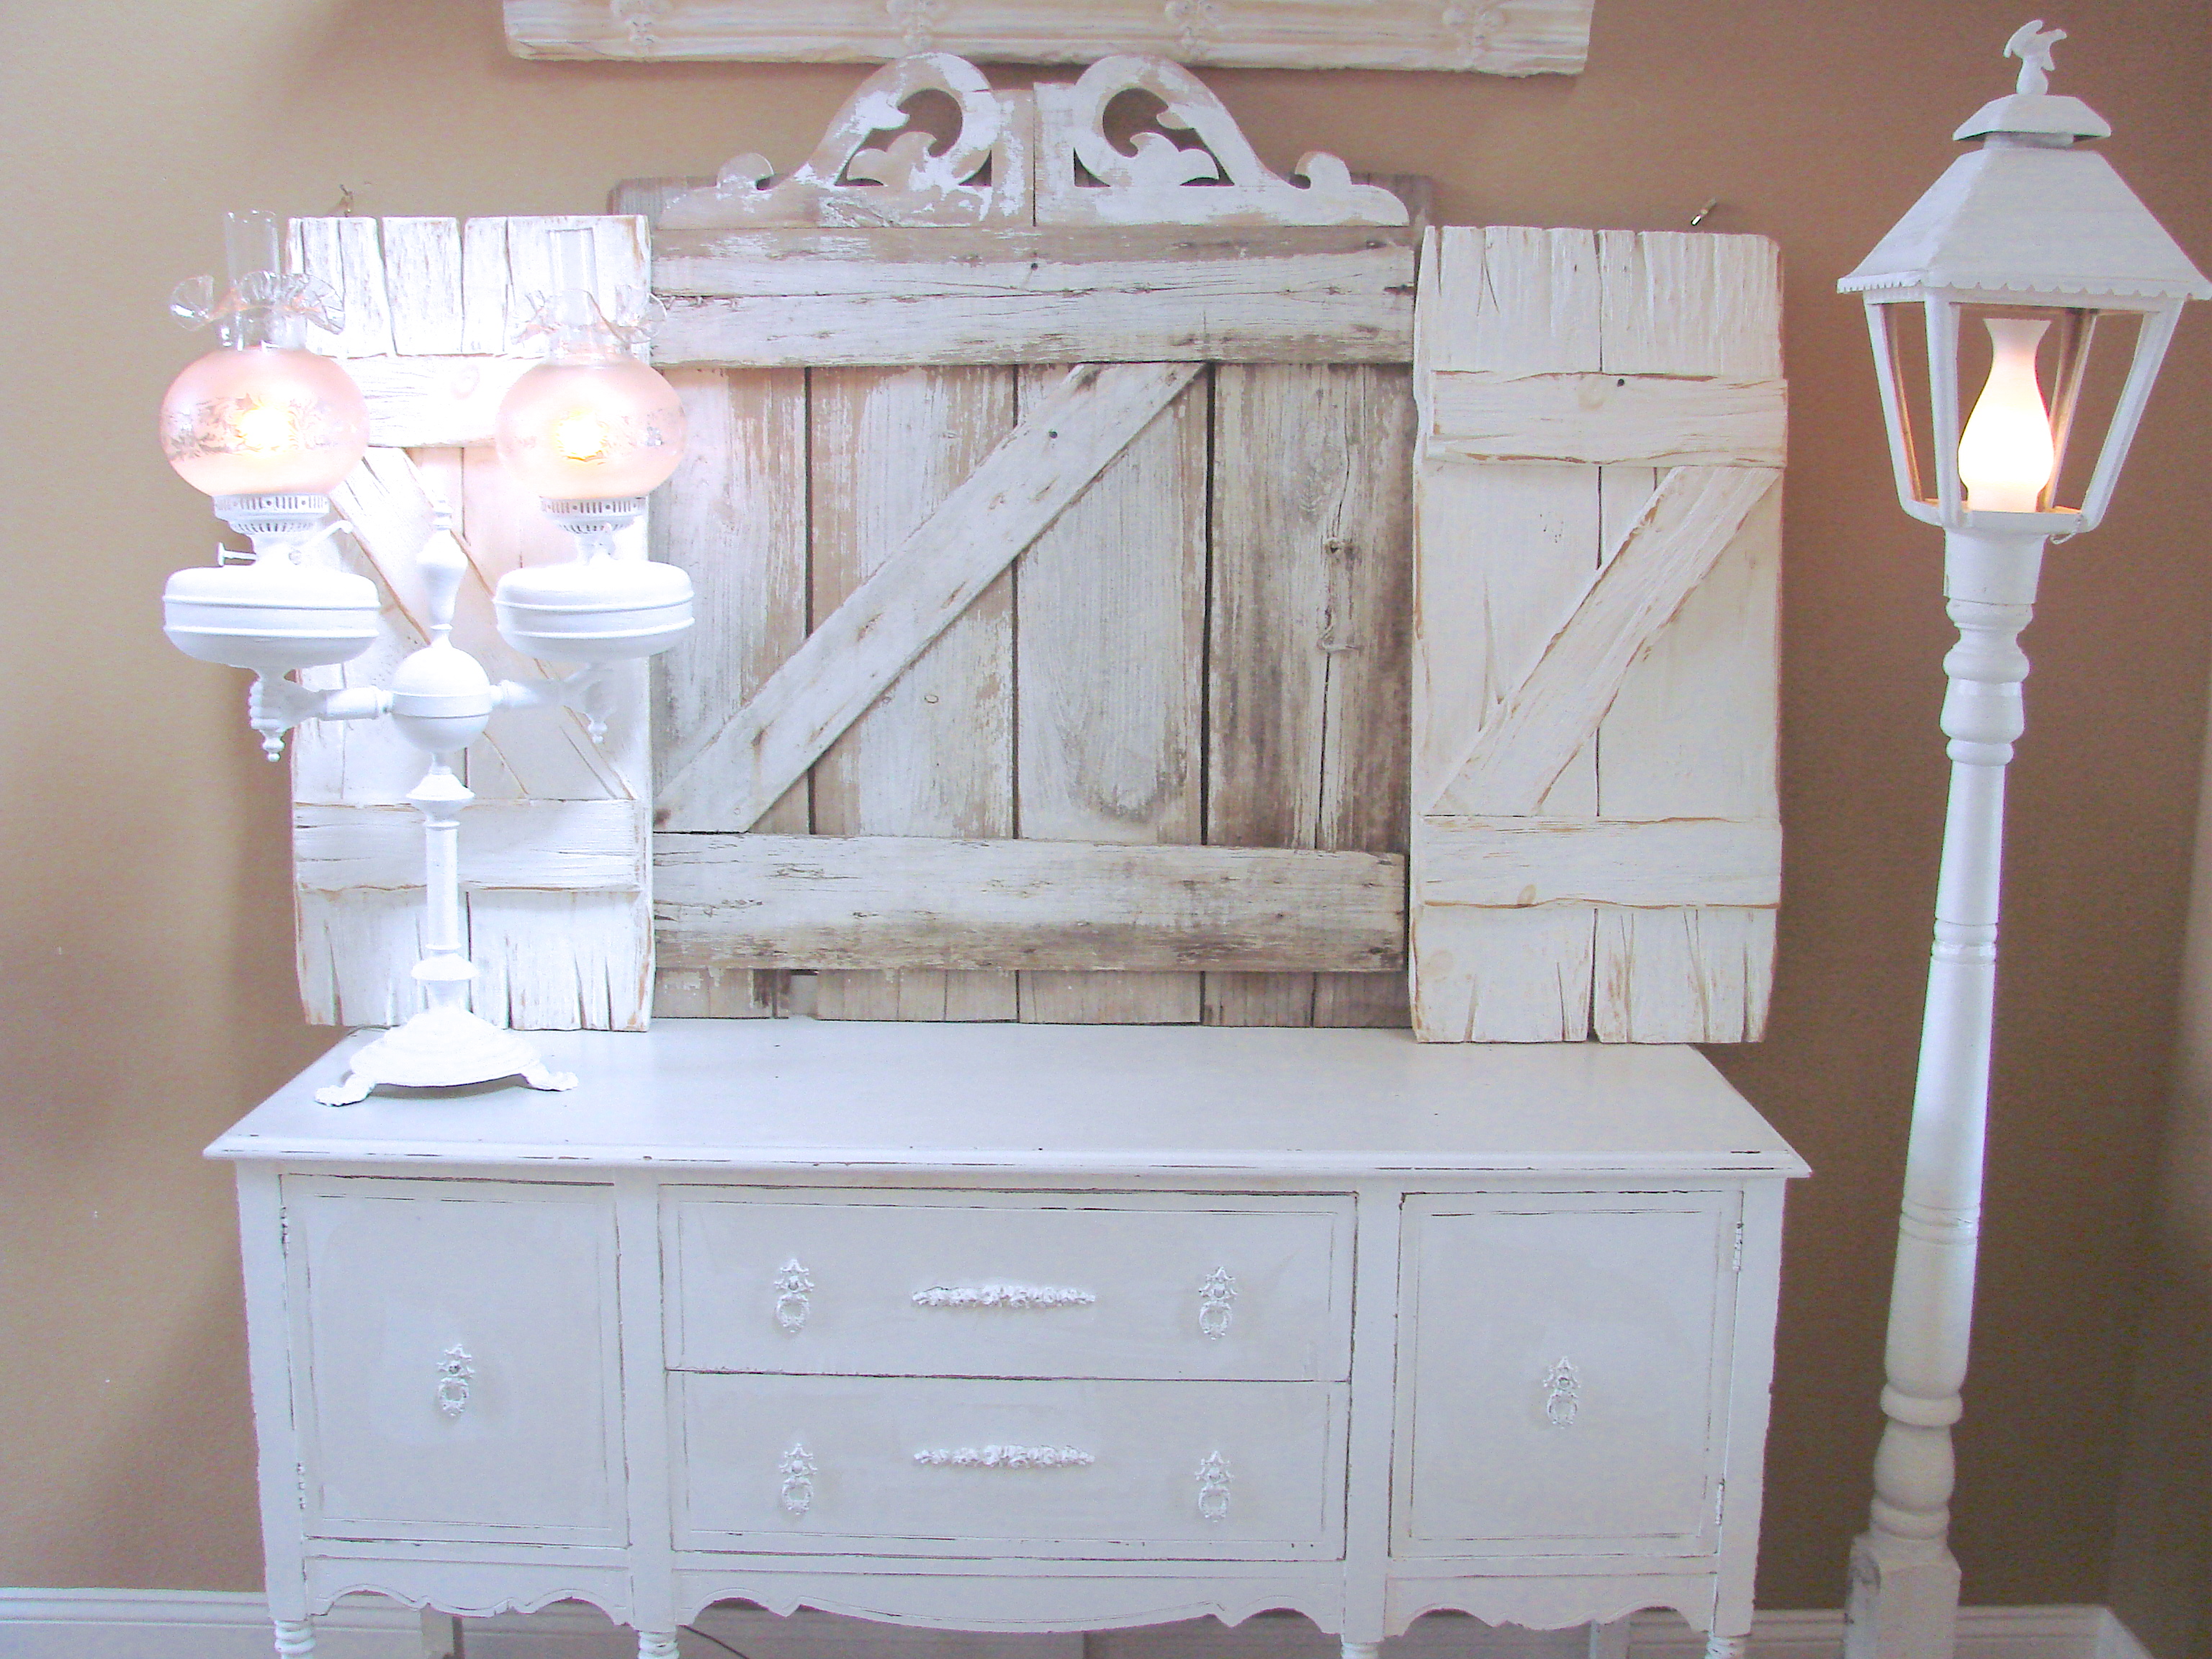
Although I’m going a bit simpler these days, I’m not quite at the minimalist level… no way I love junk too much! Lol! To me this “blank canvas” above of a weathered barn gate and shutters needs some warmth, homeyness and some farmy goodness!
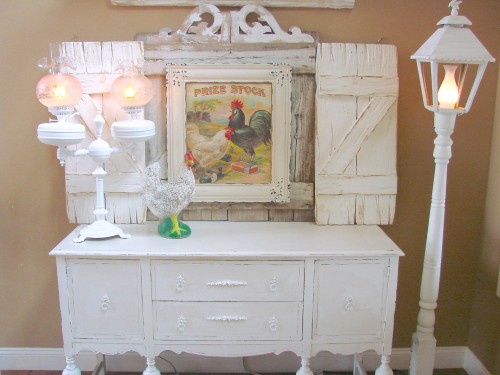
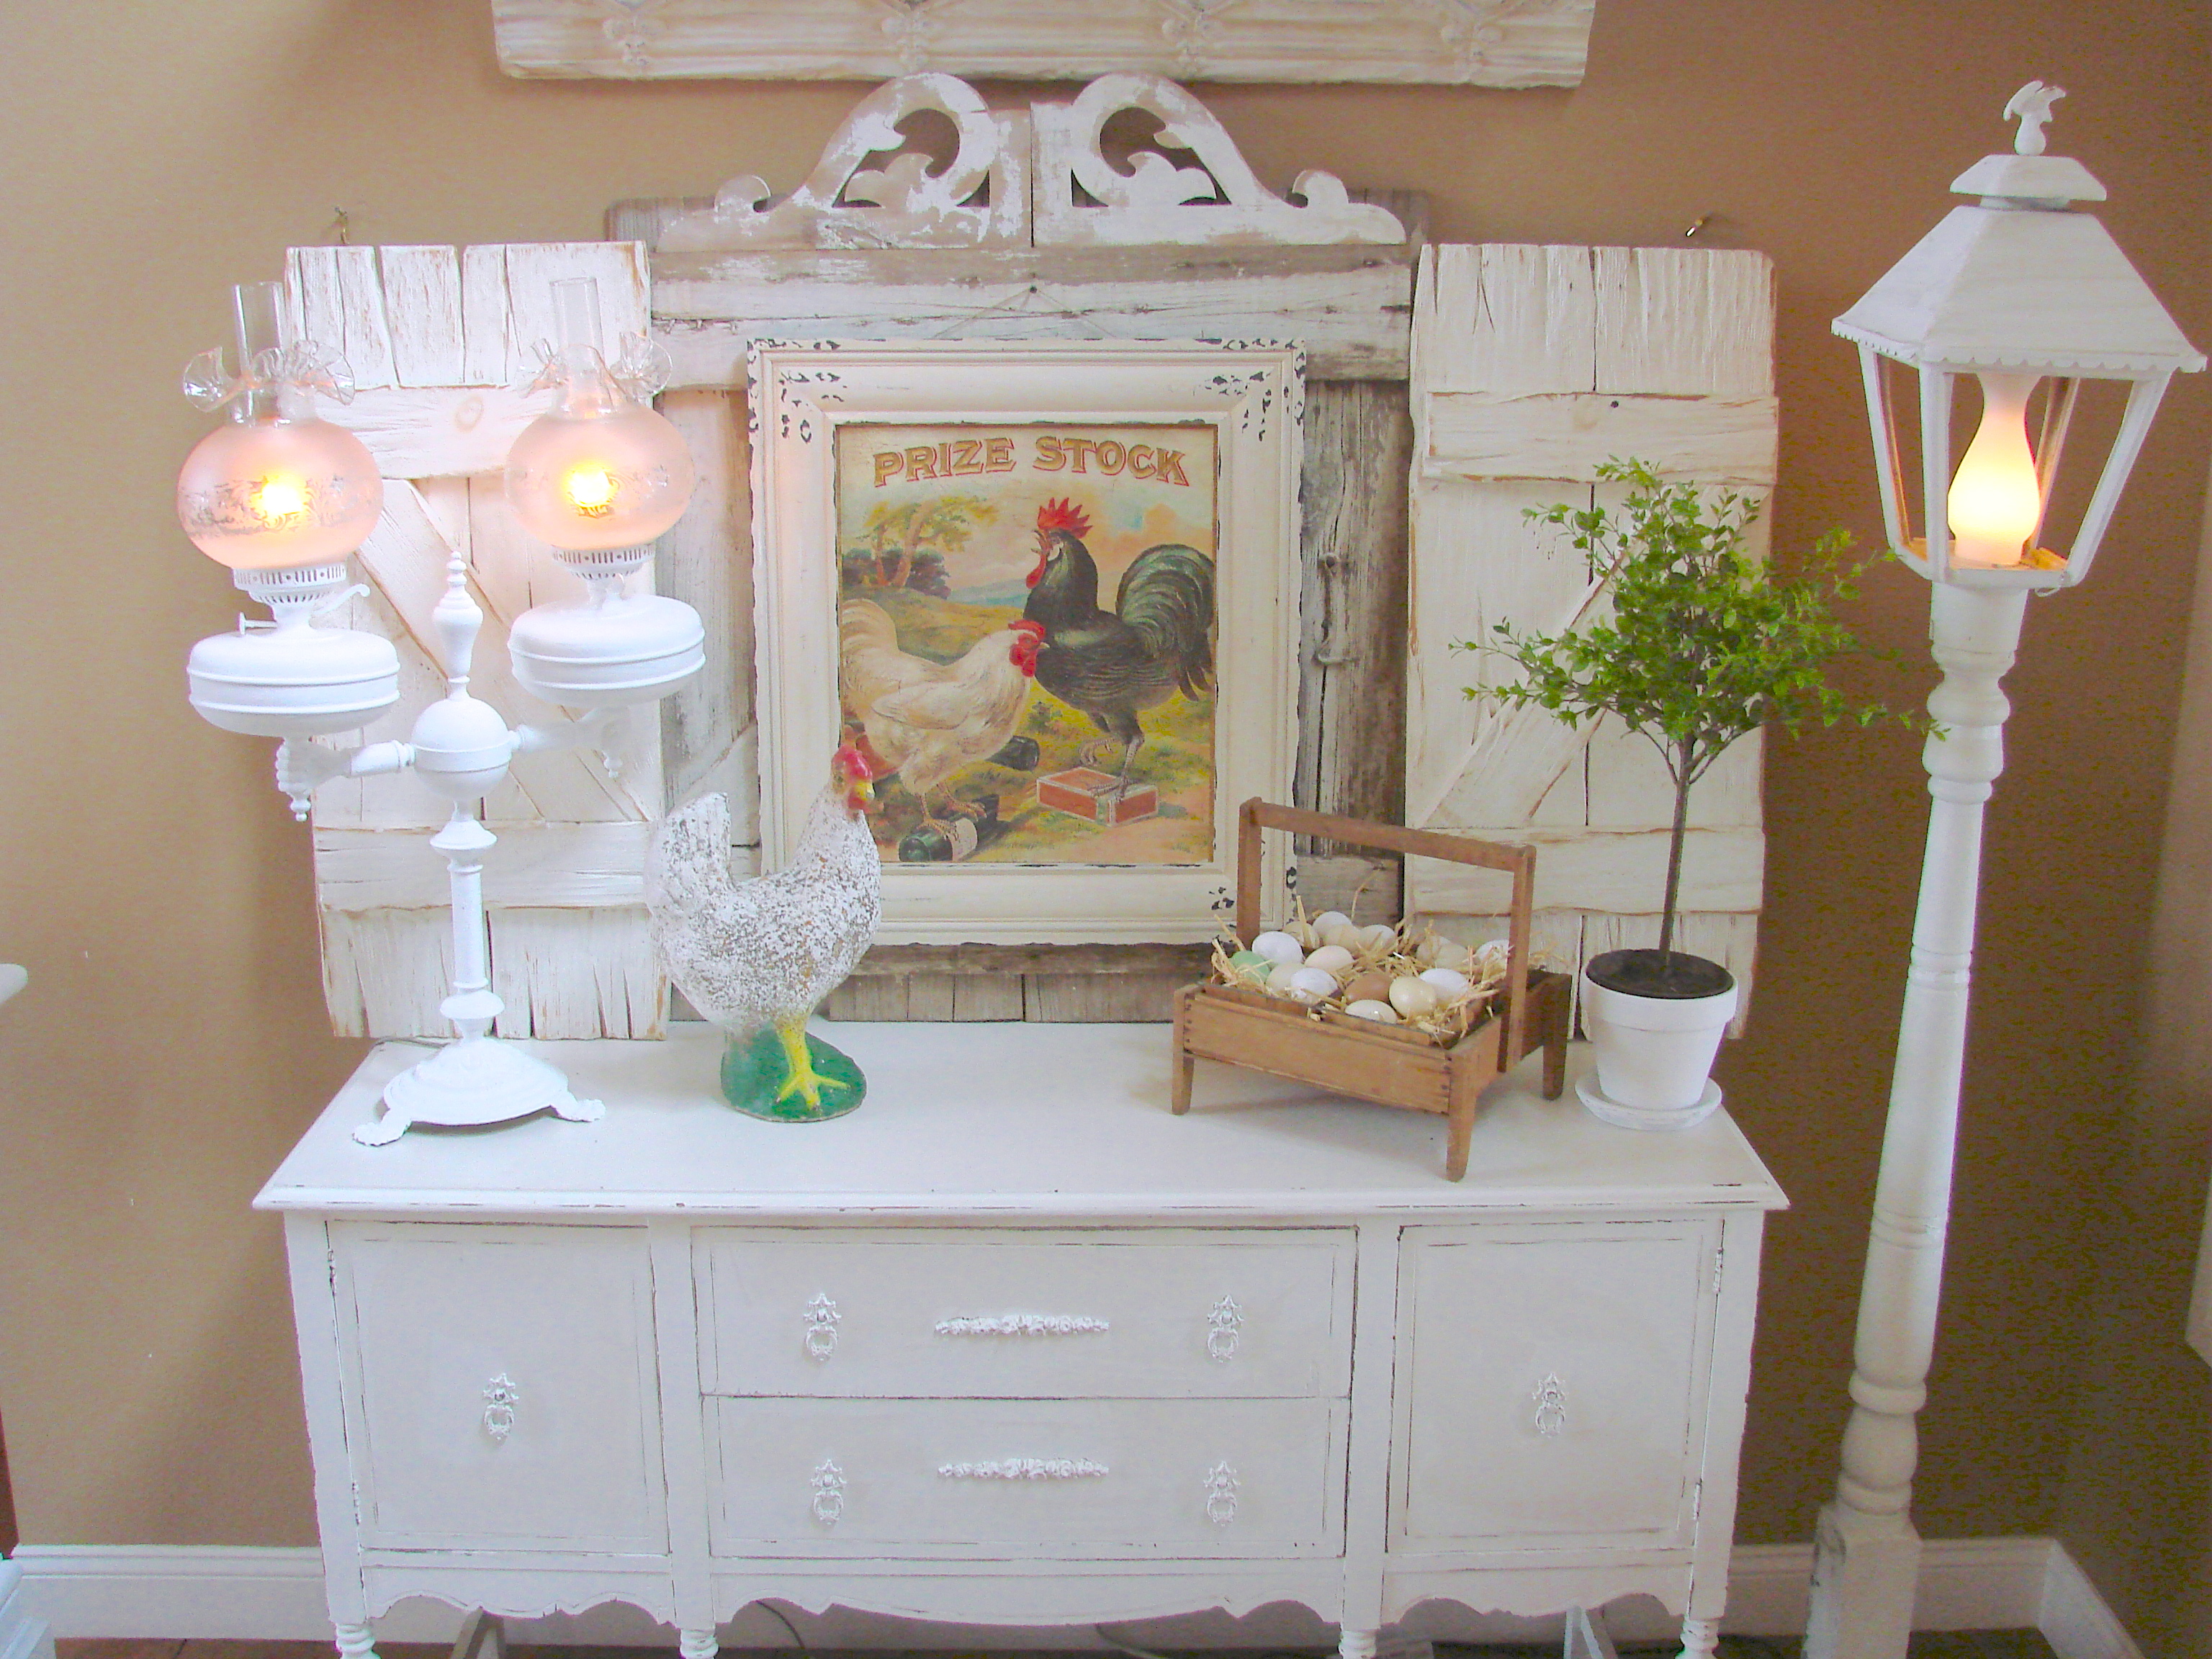
I recently got this chicken and rooster print at a local store in Ozark, MO. (The Chicken Coop). I always like to compliment my featured art with something that goes with it. So I rounded up Henrietta Hen, my vintage yard-bird that I got at a flea market a couple years ago. She looks like she just stepped out of the picture. It’s a nice addition but this little vignette needs a little bit more. We’re just getting started.

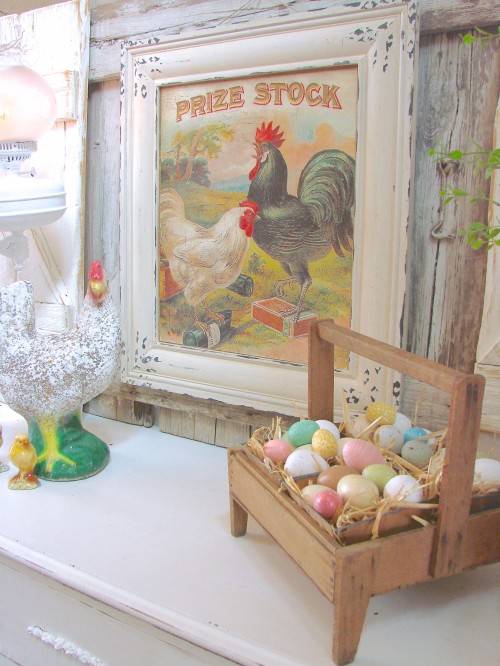
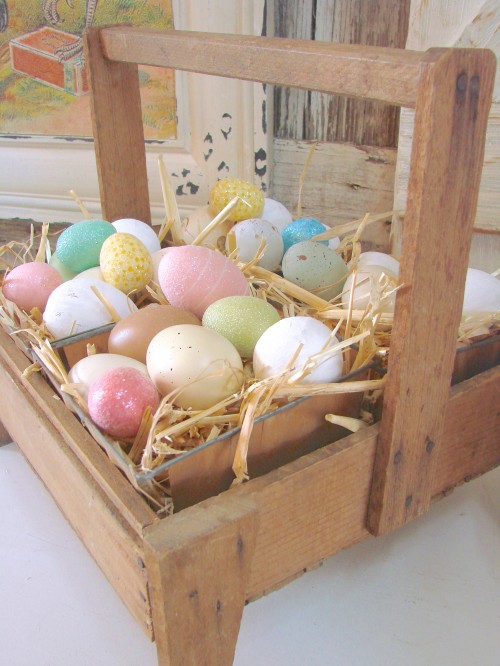
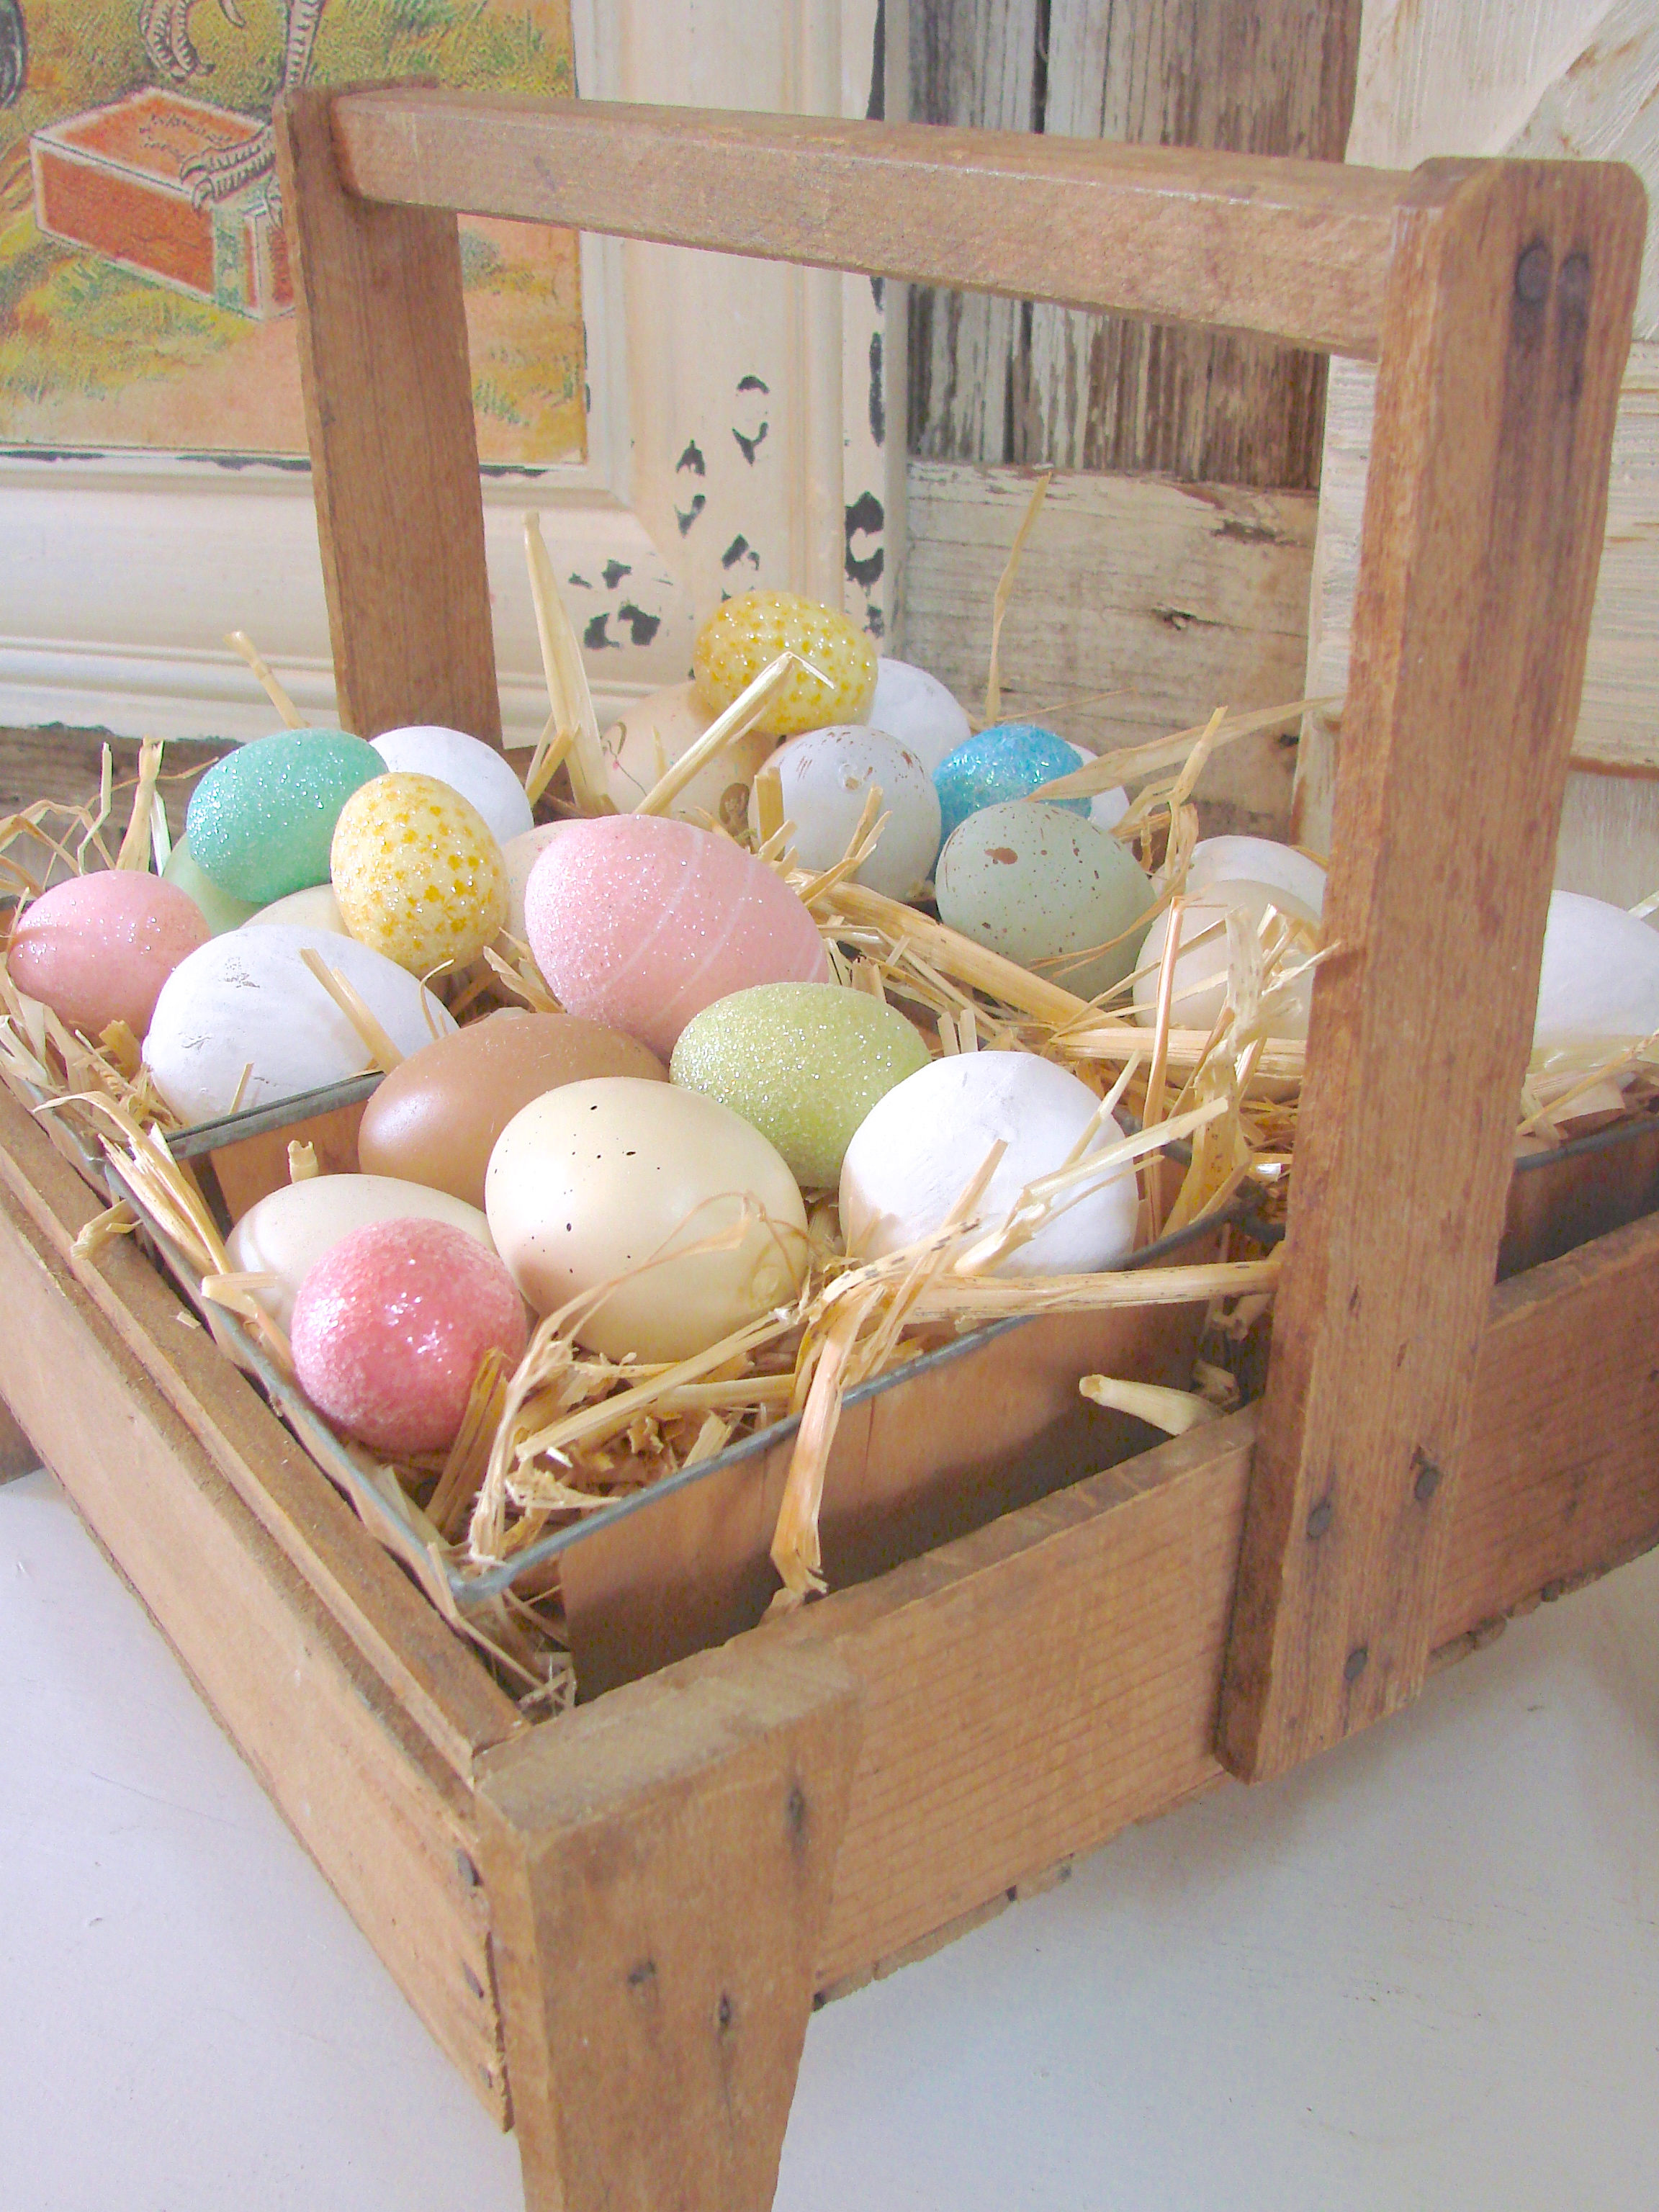
Then I added this old berry crate filled with eggs and a potted plant with some springy green.
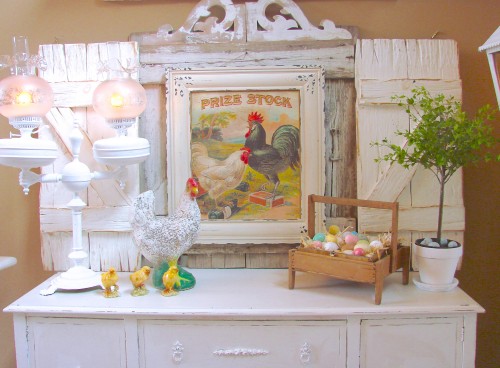
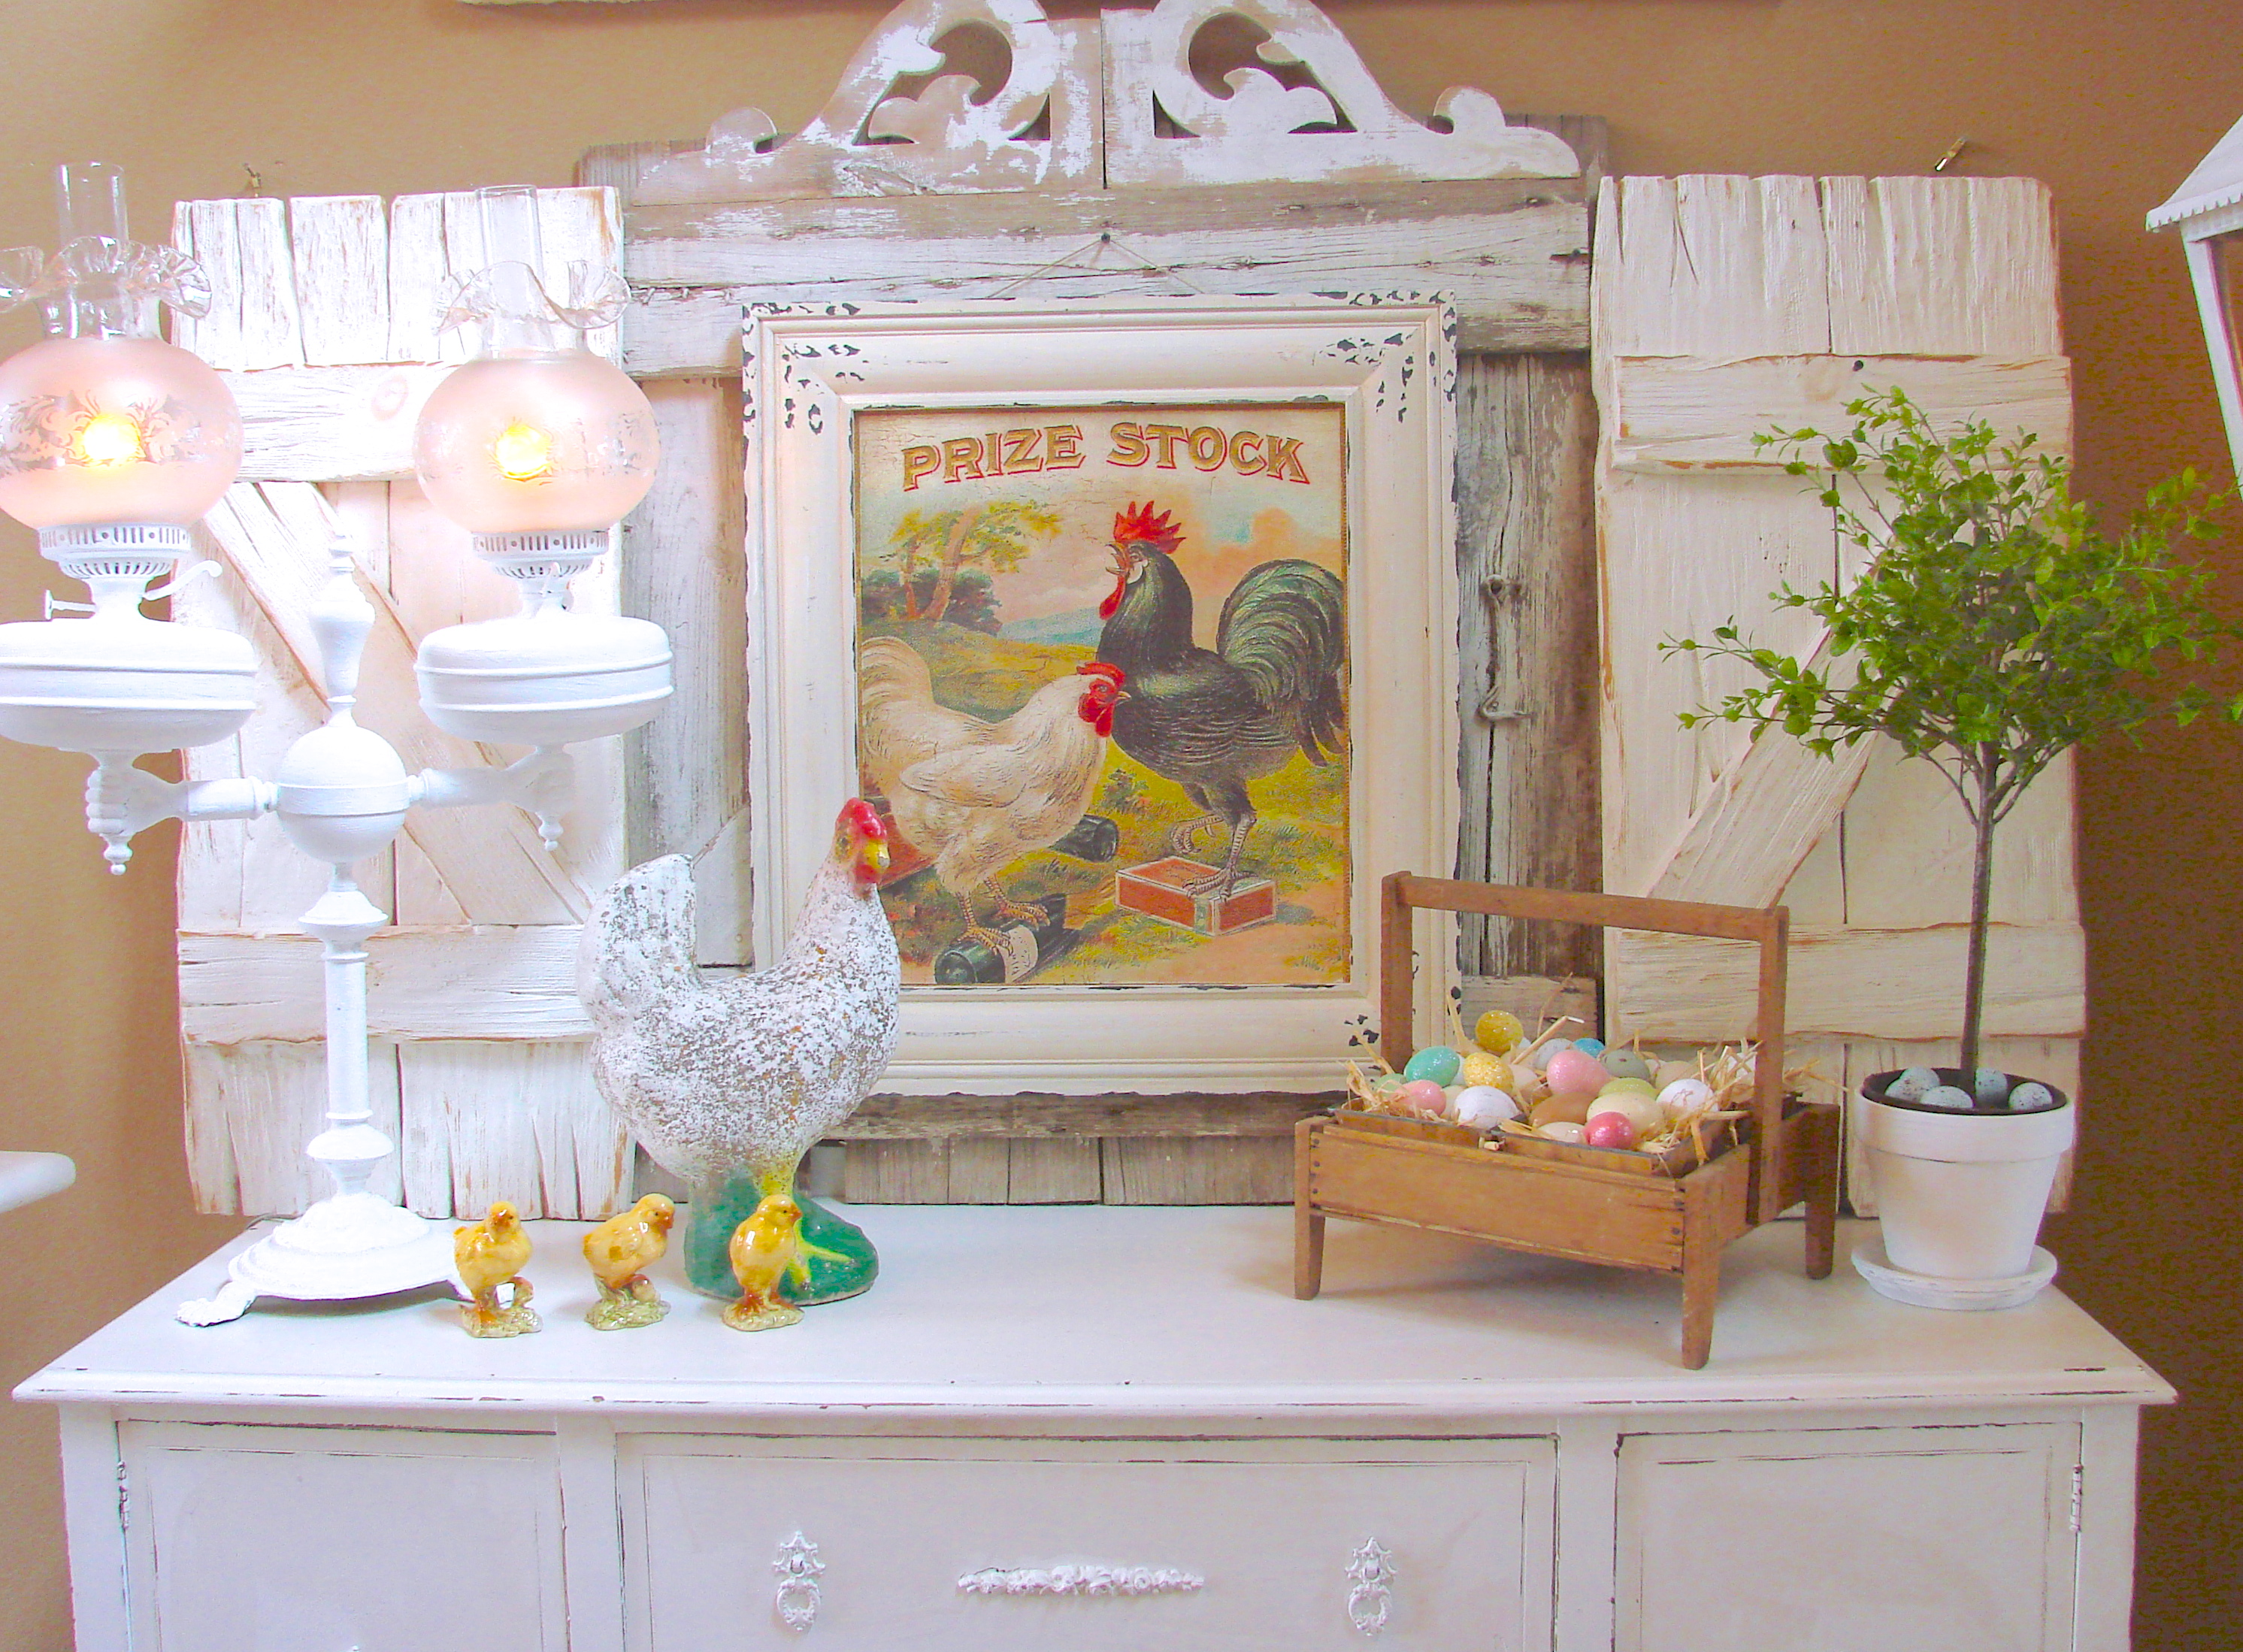
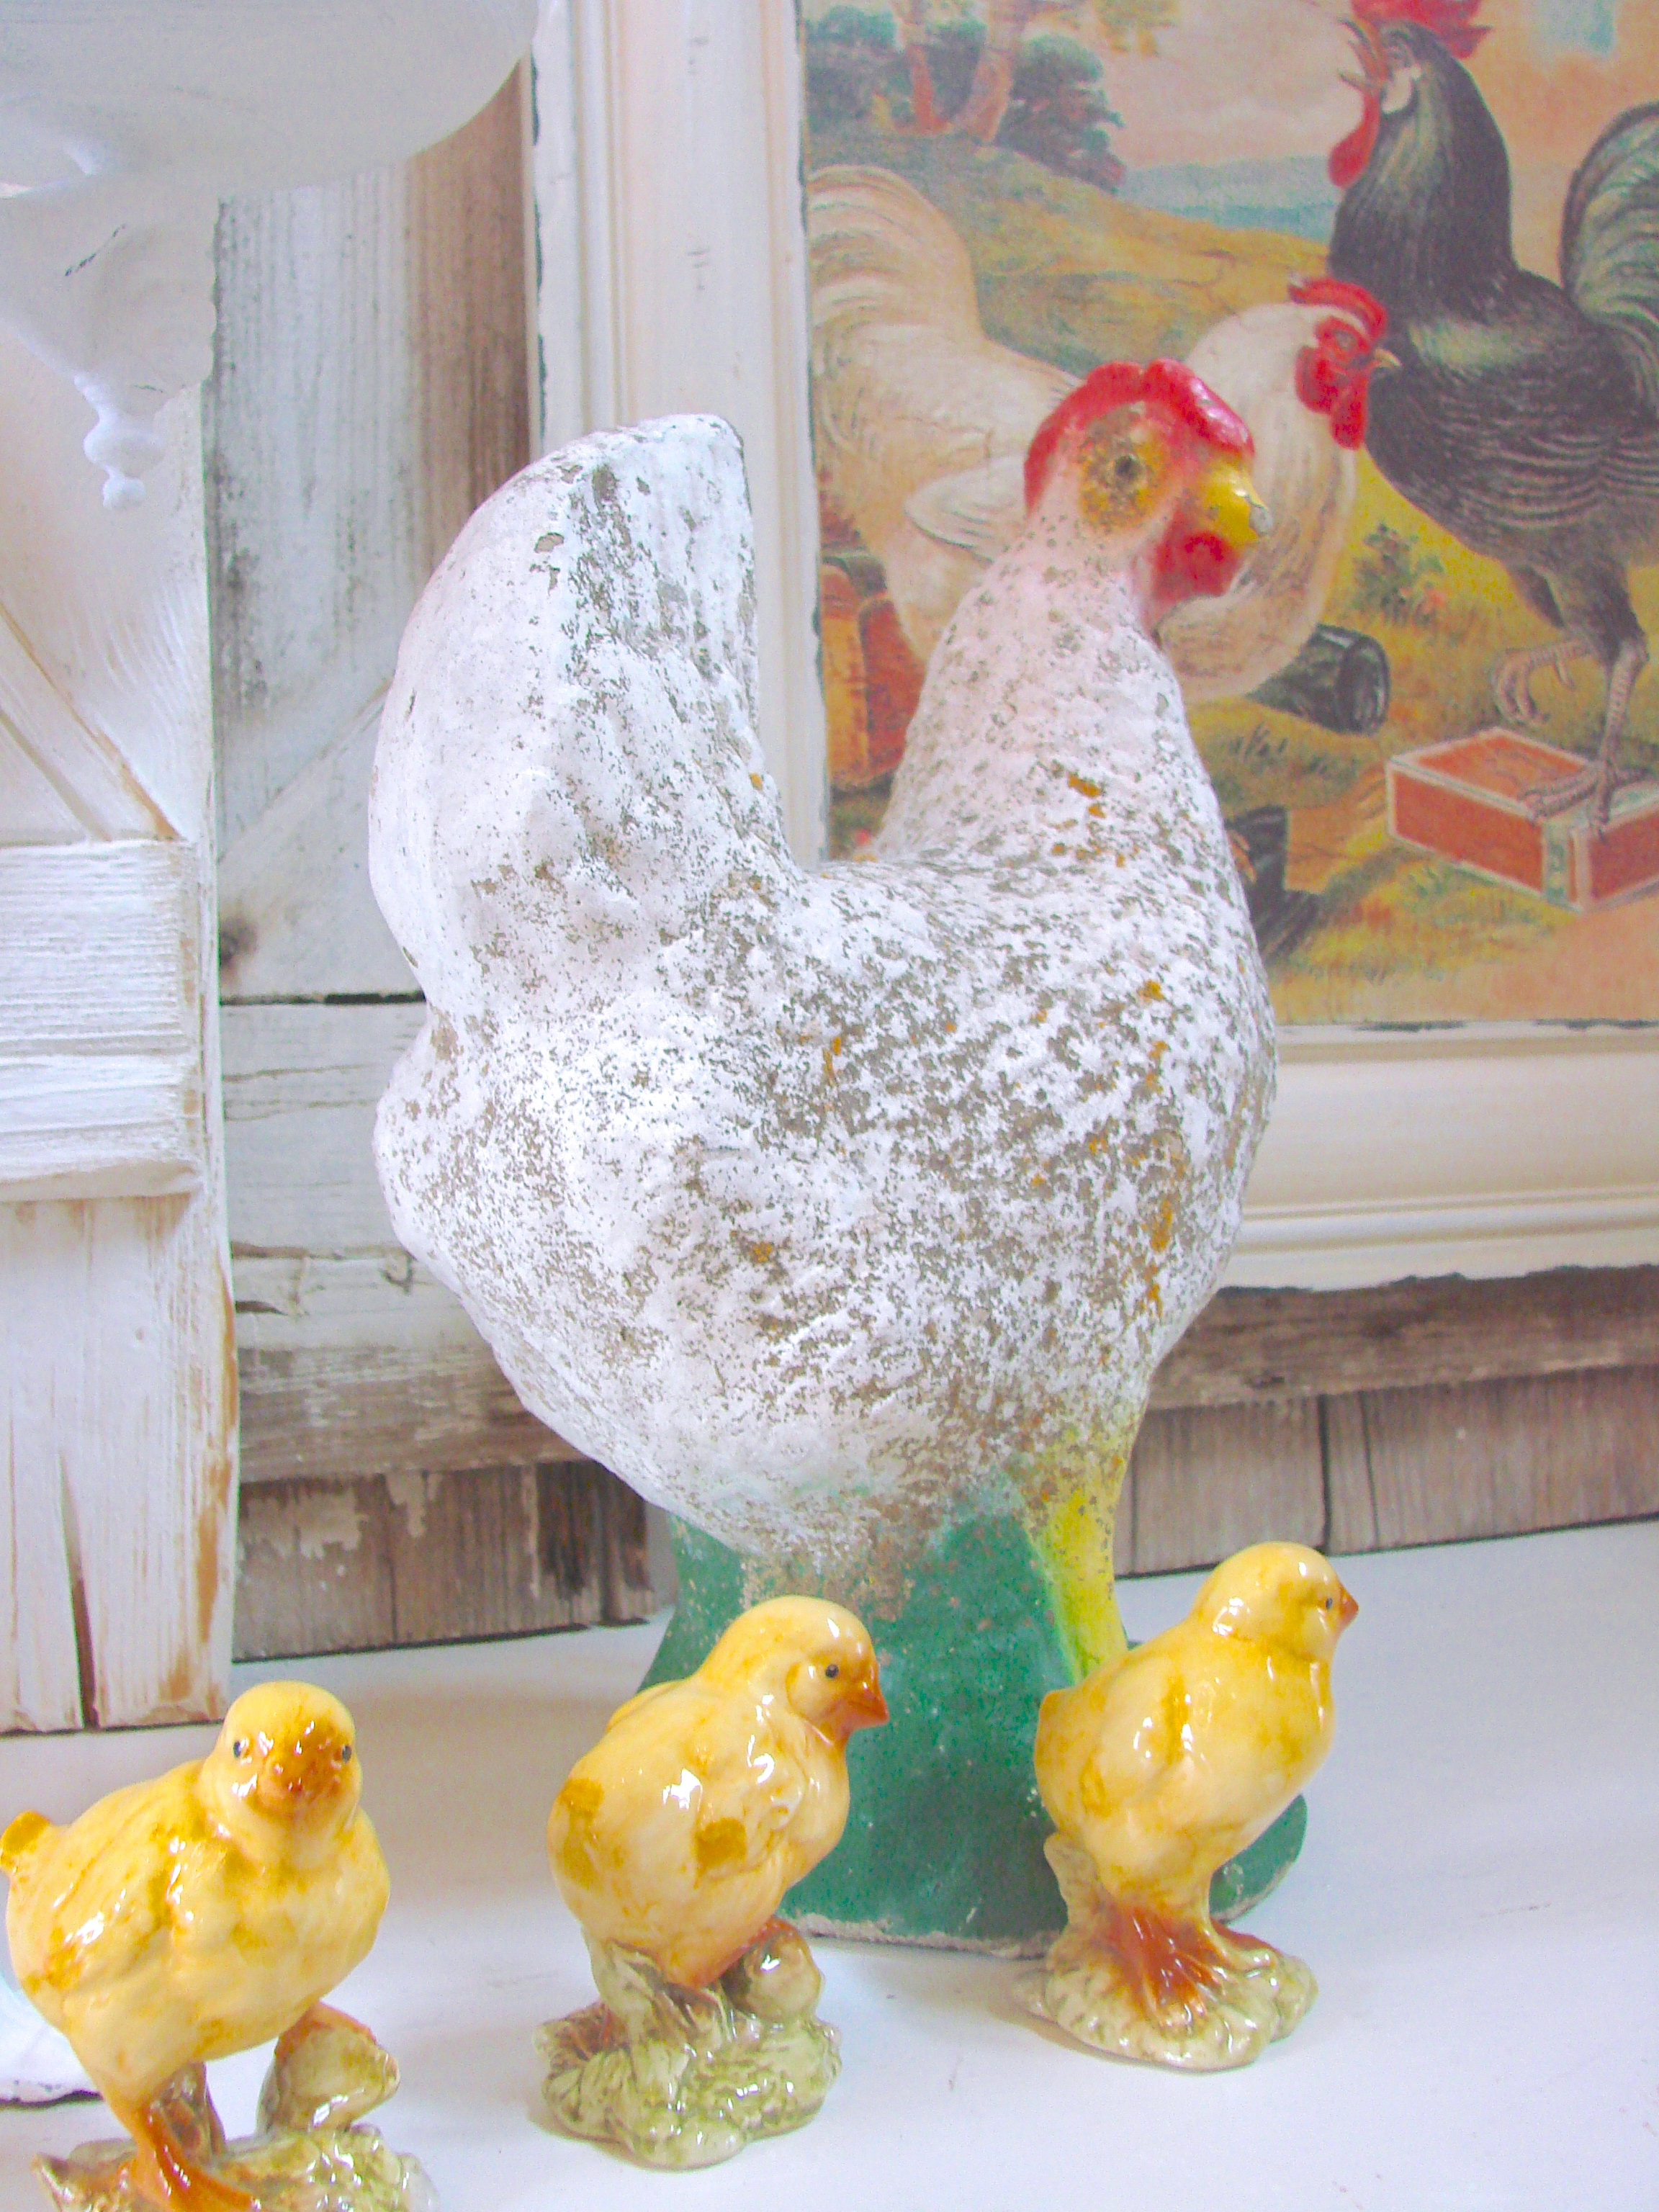
To add an Easter touch I added some colored eggs to the crate and decided Mama hen needed some chickies!

Awake, awake, it’s springtime, the gentle breezes blow,
the sunshine whispers to the flowers, awake, awake and grow!
So raise our happy voices as bells of Easter ring,
and say with sunshine, chicks and flowers,
‘Awake, awake, it’s spring!’”
~ American School Songbook 1944
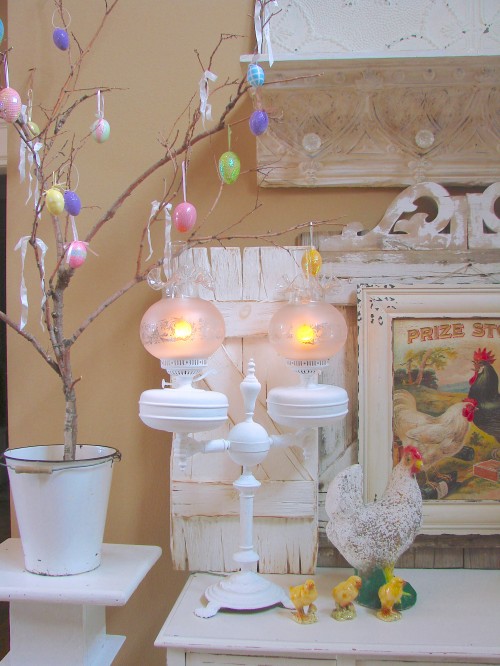
I also added our traditional Easter Egg Tree. Just branches stuck in a pail of Plater of Paris.
I’ve used this for years, in all seasons and still love it.

So there we have it! When Easter is over I’ll pack up the colored eggs and Easter Egg Tree and my chicken and rooster look will stay here until the good old summertime!
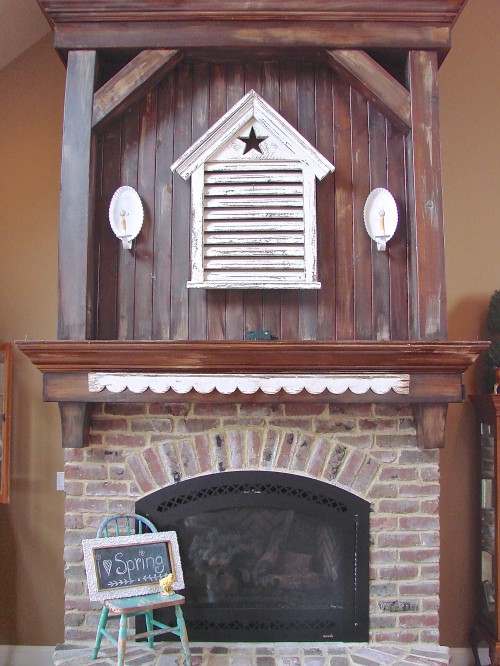
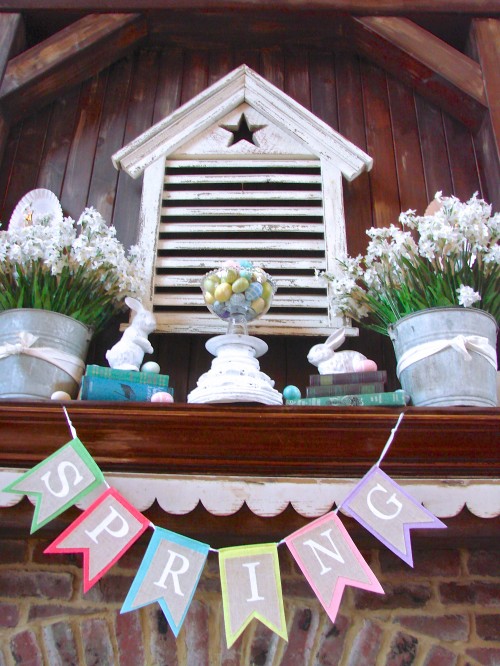
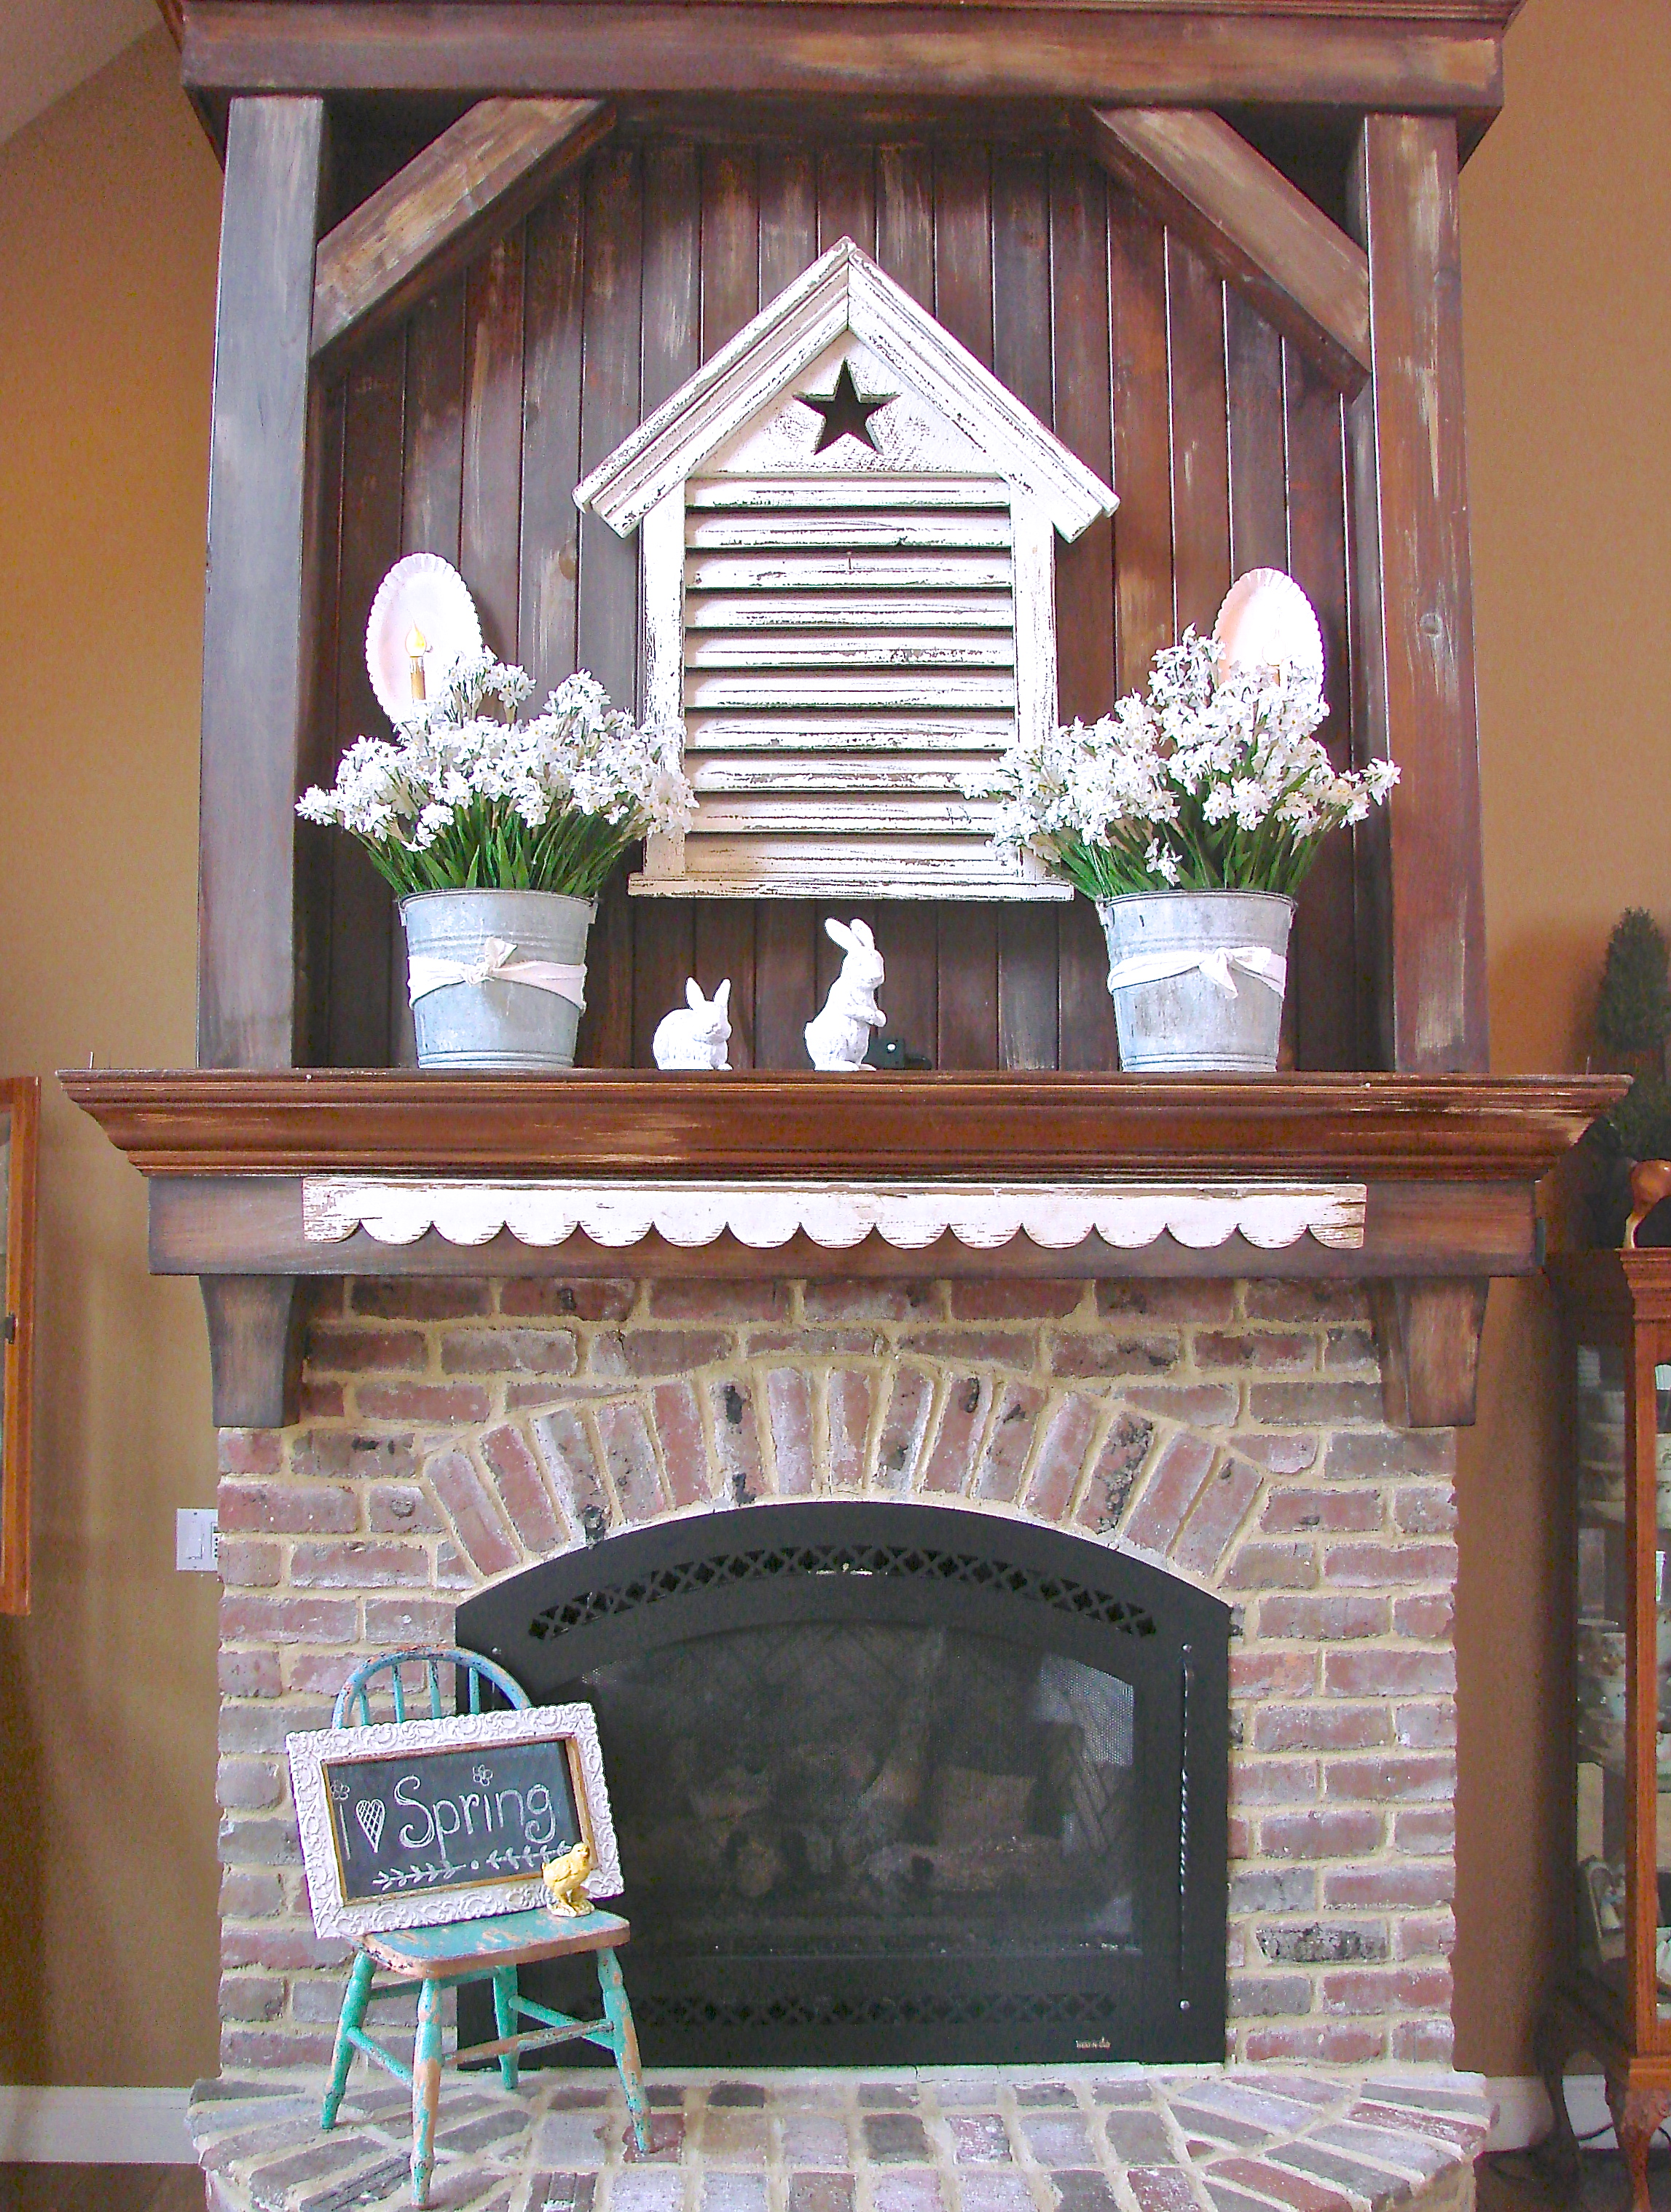
And now for my mantle! My canvas this time is a distressed wood background, a white barn vent, and two white sconces.
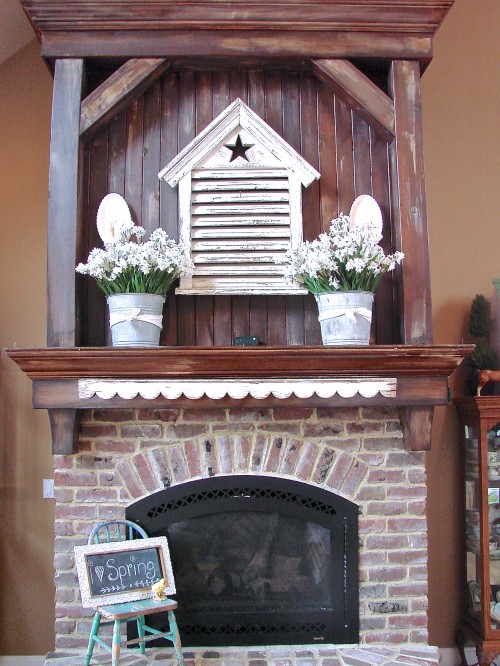
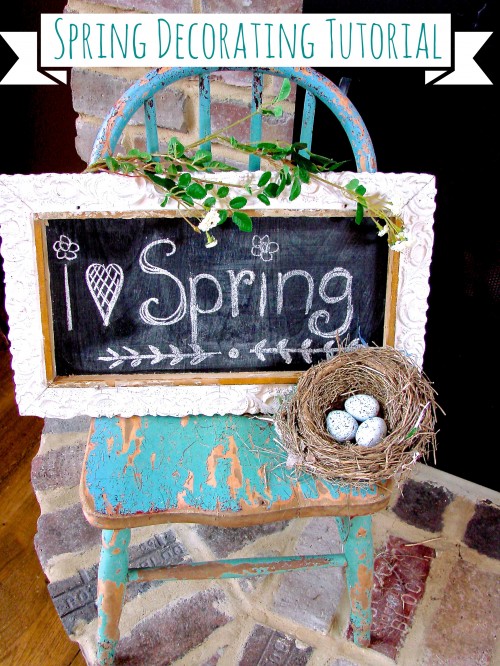
Simply adding two old buckets filled with white flowers brings life and color. I love a symmetrical look , it’s easy if you have two of the same thing and I think it’s restful to the eye. It brings a sense of orderliness, which I like. Propped on my robins-egg-blue child’s chair is my little chalkboard the says “I heart Spring”. I sure do love my chalkboards! Now to add a little touch of Easter…
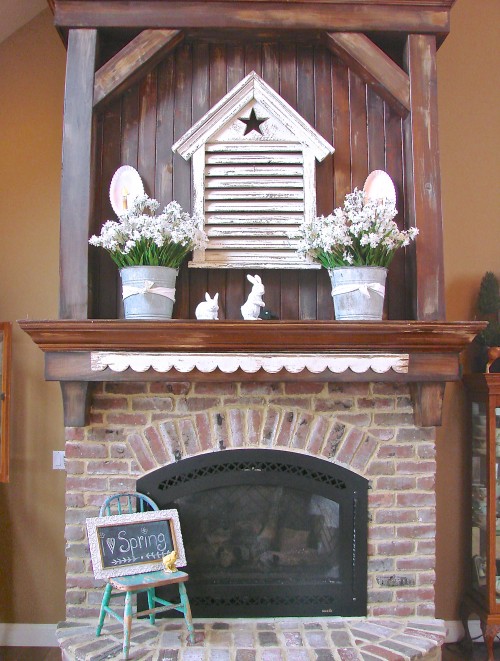
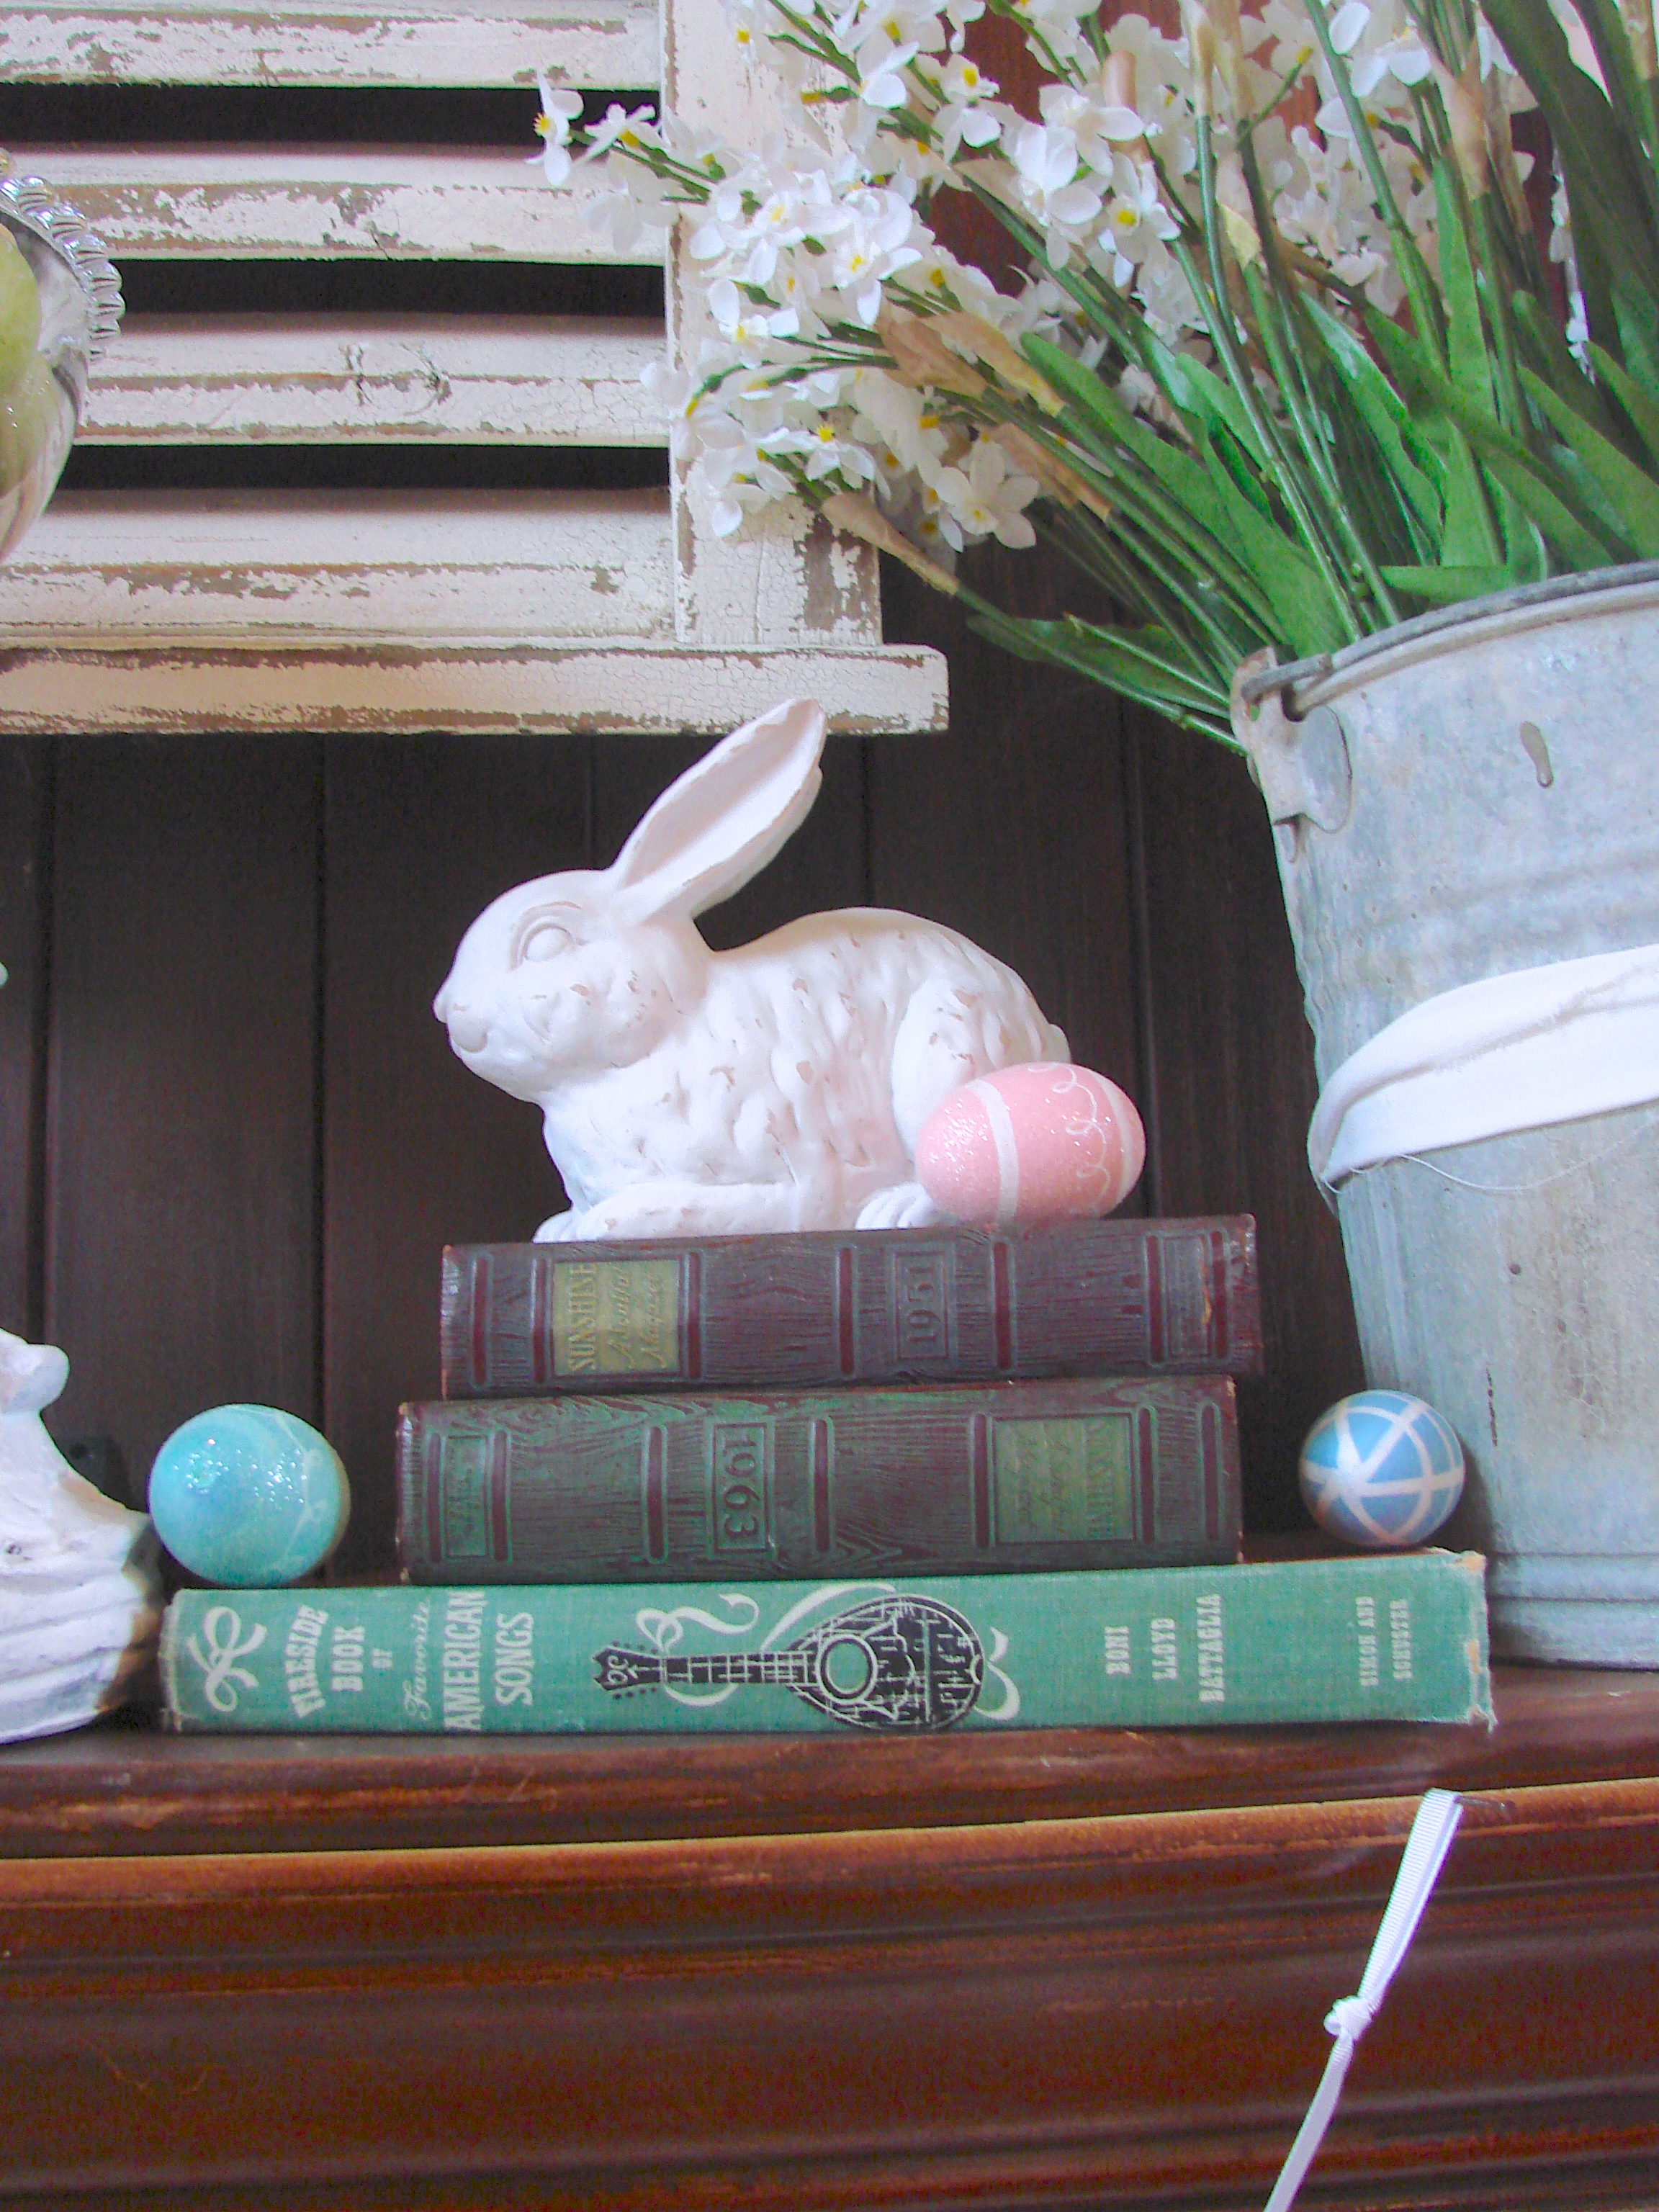
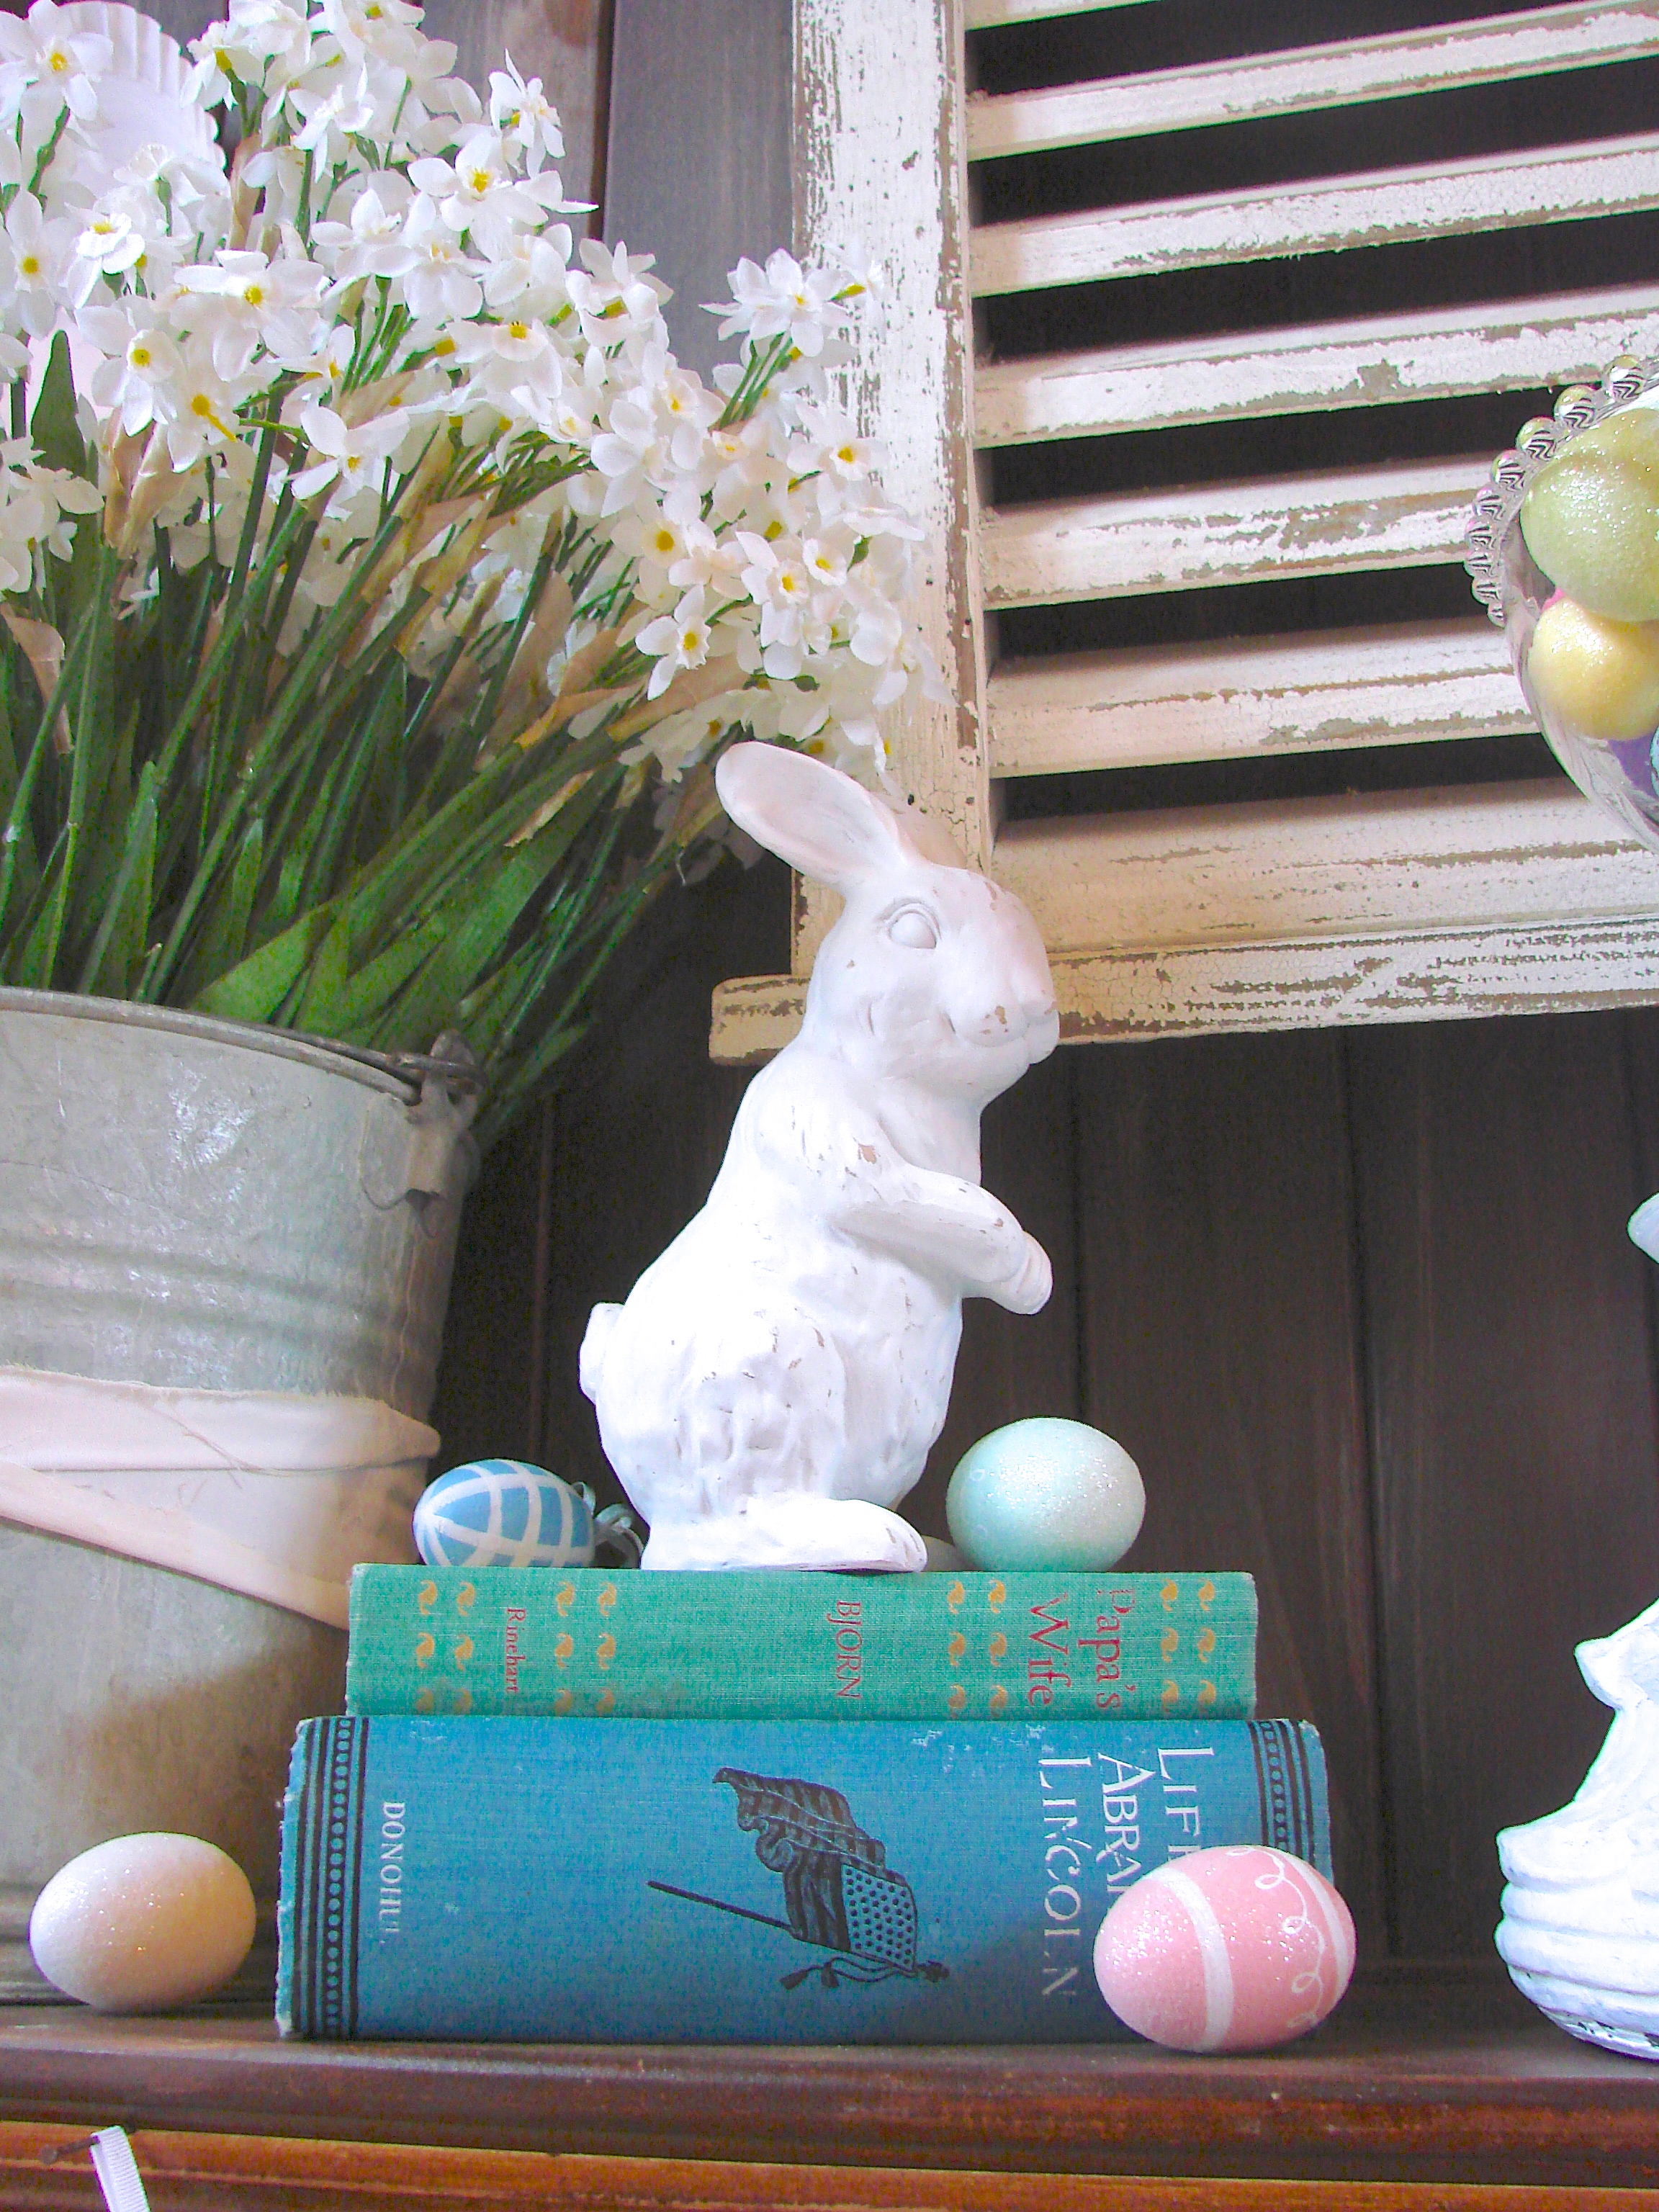
I got these bunnies a couple years ago at Target. I set them on the mantle to show you that with the scale of everything else they look too small. But I have a solution for that!
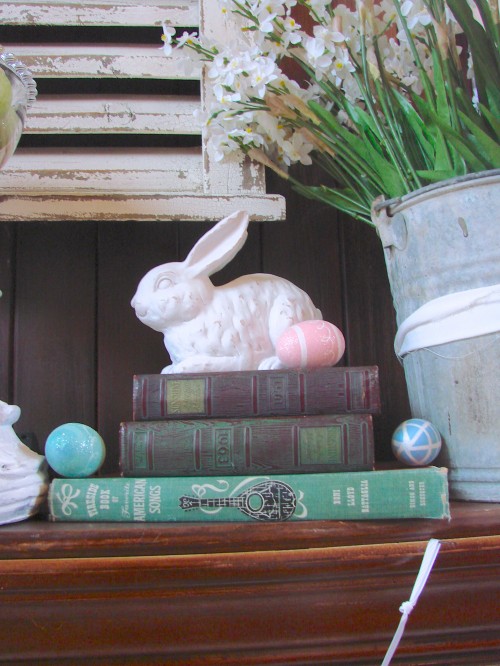
Just by using some old books as risers they give the bunnies a much more substantial look!
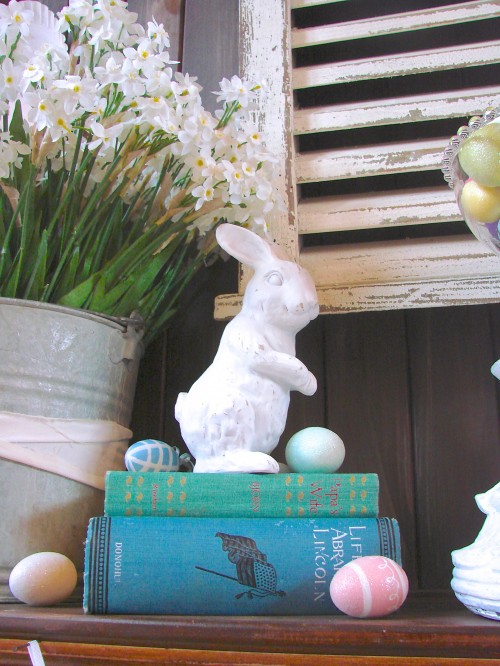
I chose books with covers of blue and green to tie in with the colors of the eggs, the leaves on the flowers, and the chair below.
 For the centerpiece I used a clear glass pedestal bowl filled with colored eggs on top of a large white candle holder. I also placed a few eggs around the books and bunnies for a whimsical look…(the bunnies are hiding Easter eggs!).

I added the Spring banner and the white vintage architectural corbels on both sides of the buckets to complete the look.
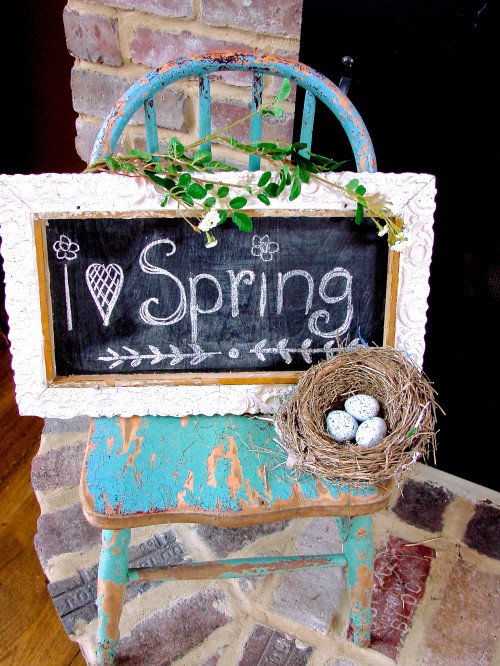
I decided on this birds nest instead of the yellow chickie that I used in the photos above. I go through a lot of trial and error when I’m decorating before I get the design the way I like it. But that’s what makes it fun…especially when you find the look you’re looking for!
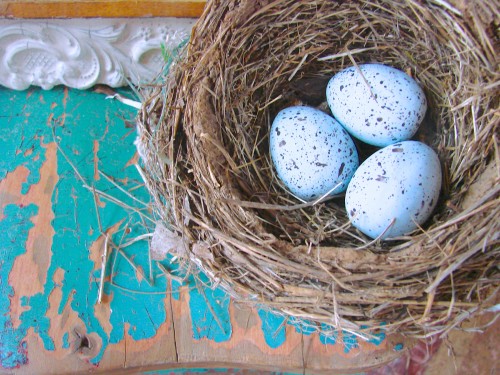
I found this robins nest on the ground last year in my front yard after a night of strong winds. Now it’s used inside and well loved.
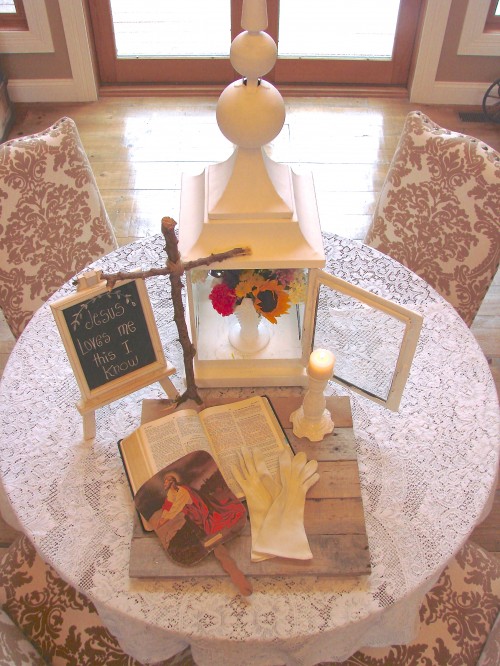
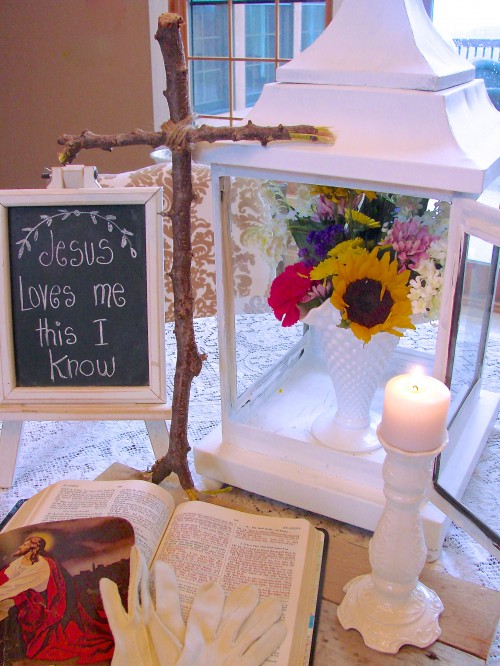
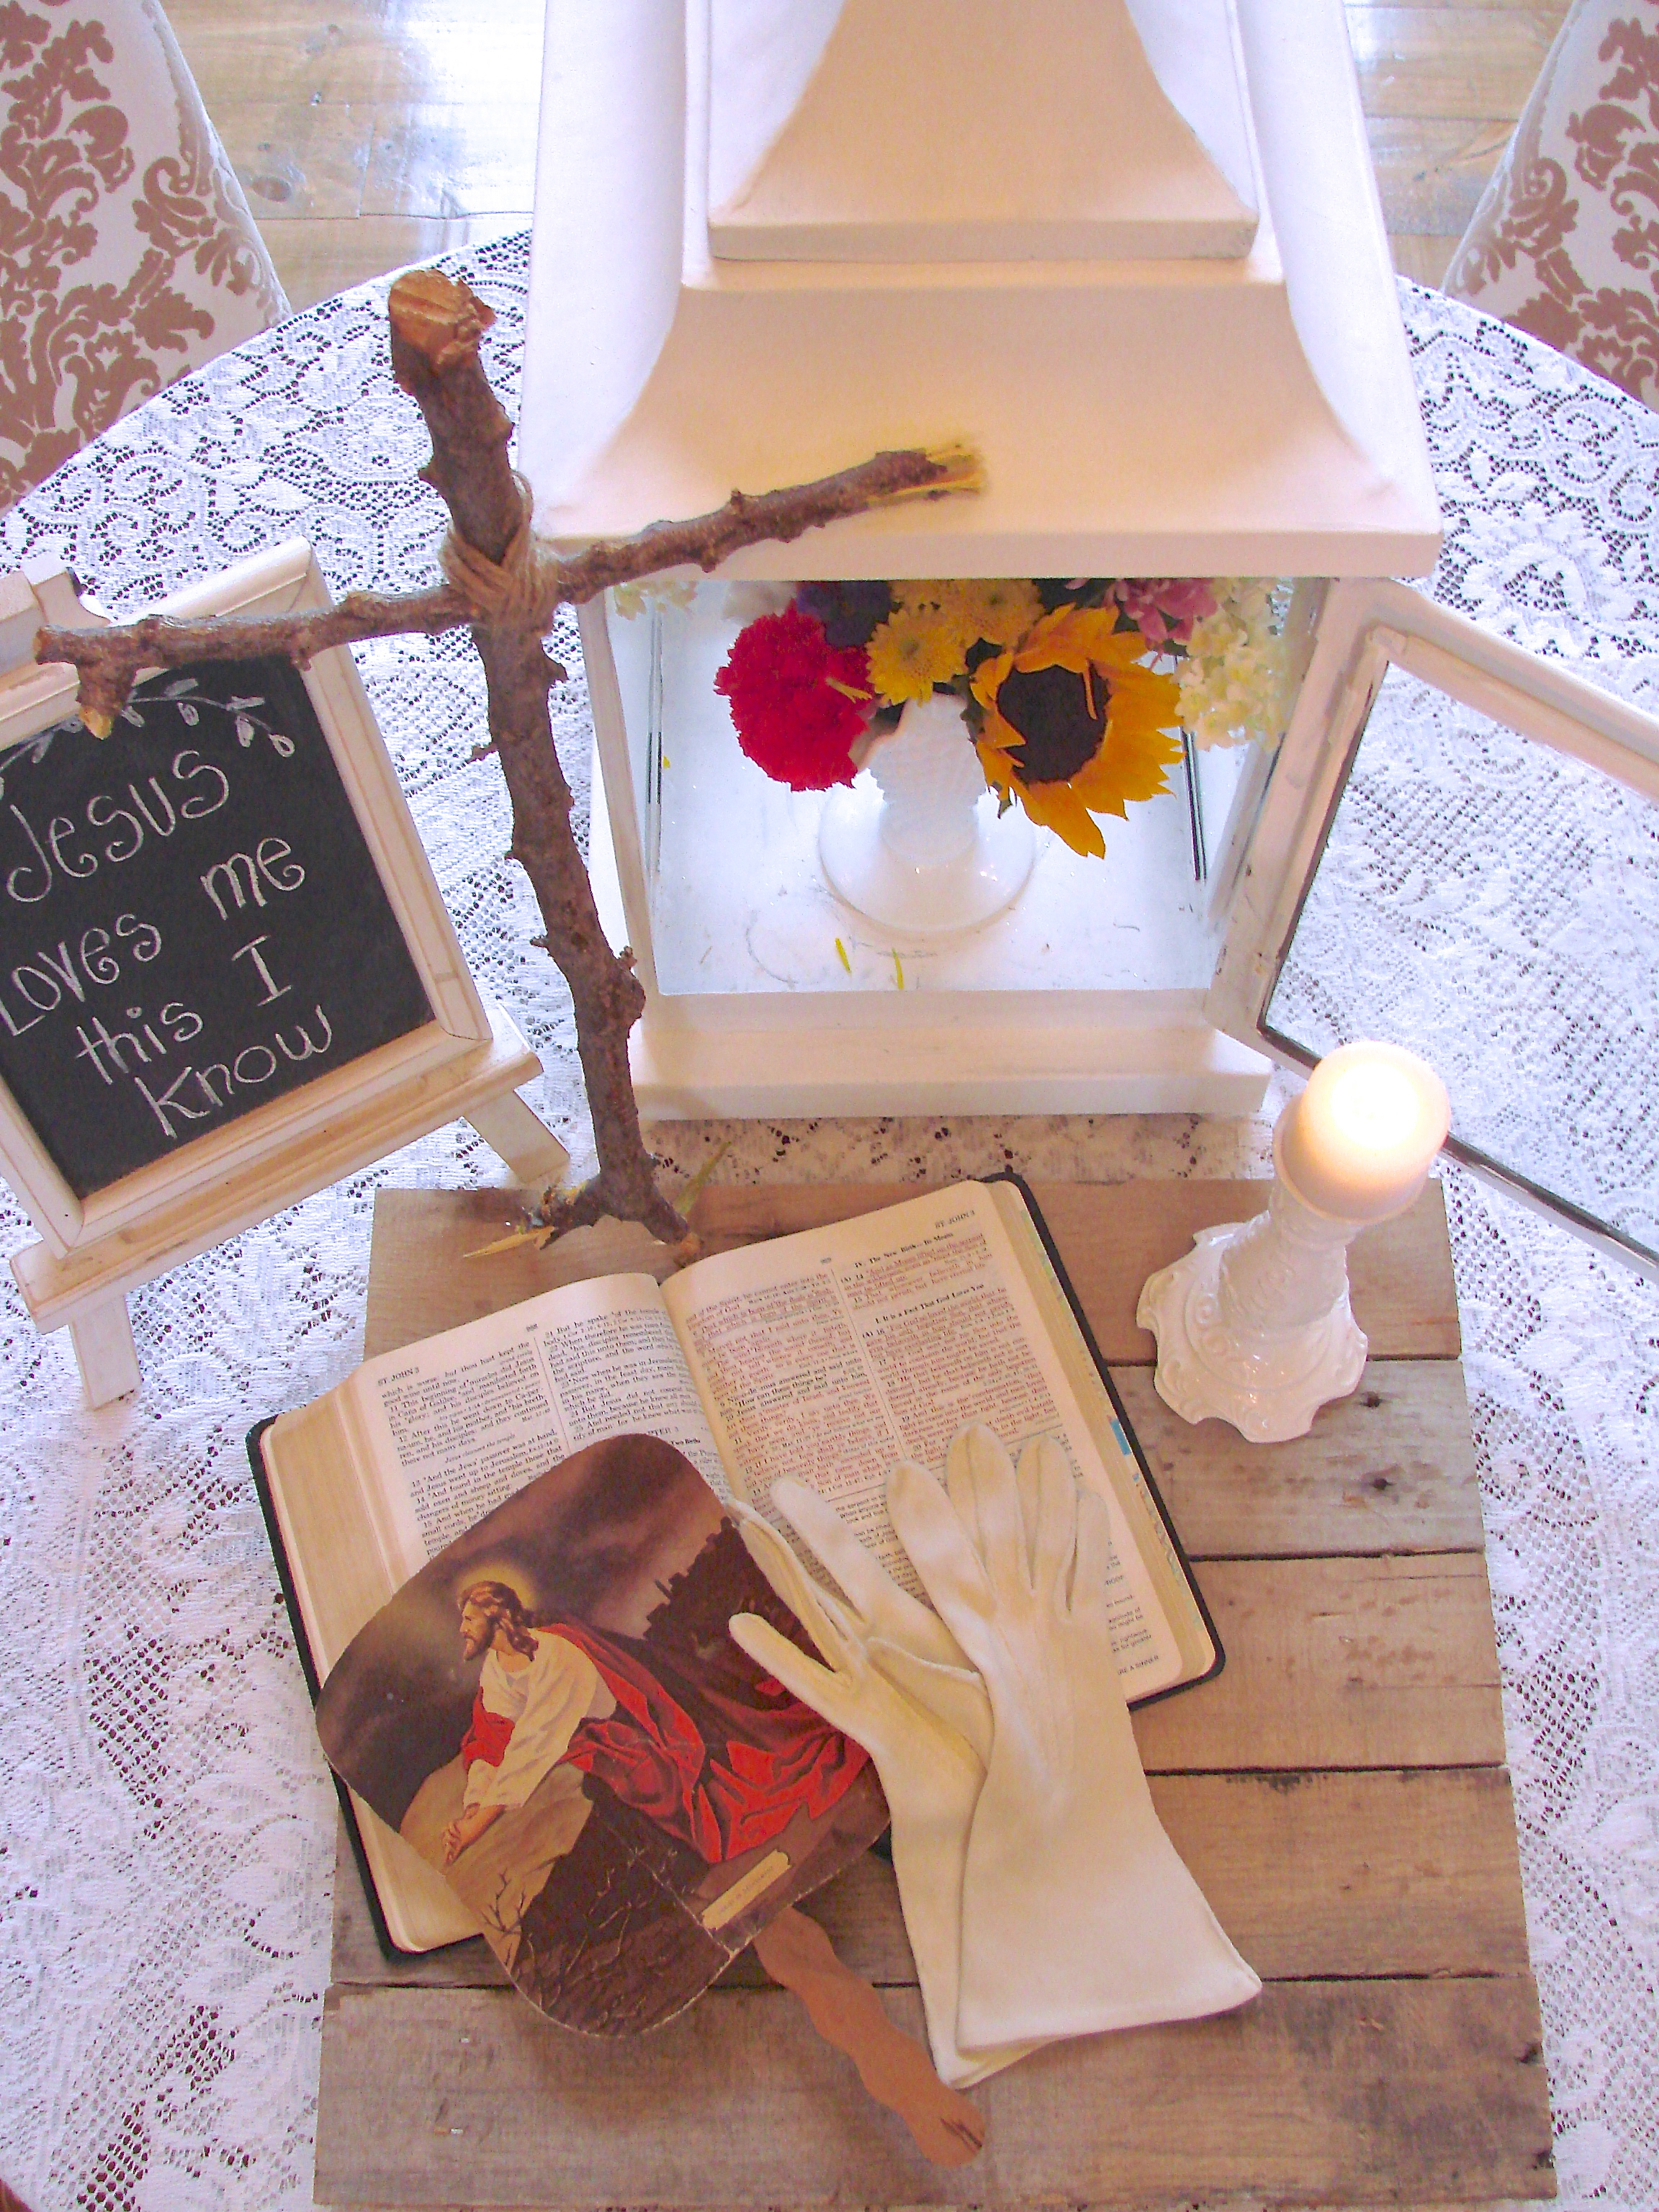
Now I do love the bunnies, the chickies and the pastel colored eggs, but the most endearing and significant part of Easter is celebrating the resurrection of Jesus and remembering why He came to rescue us.

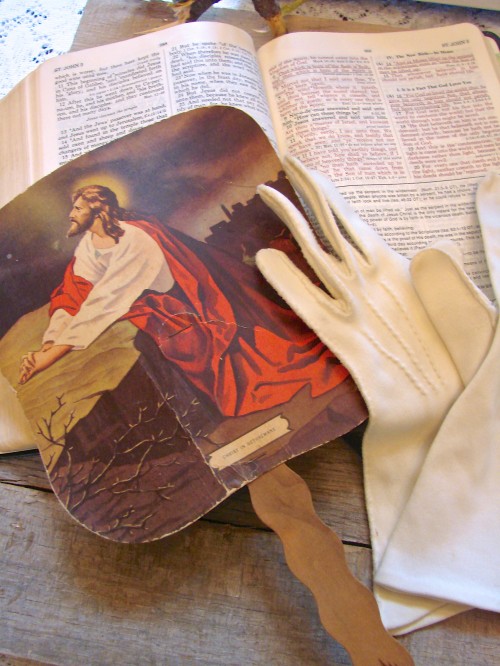
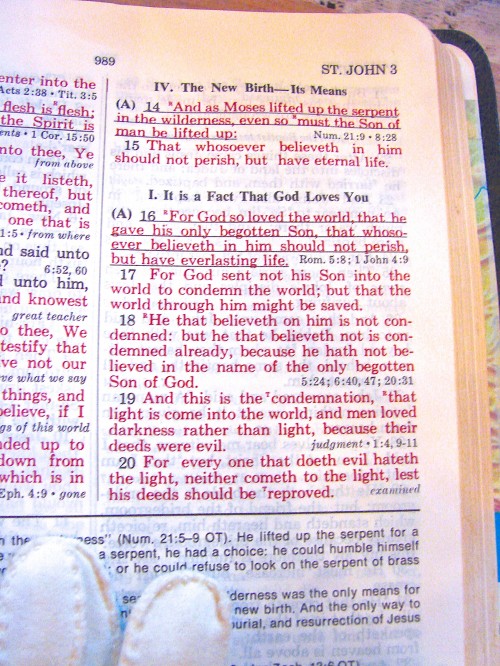
A rustic cross, a paper fan picturing Jesus in the garden of Gethsemane, my grandmother’s church gloves, a Bible and a lit candle grace the table. The chalkboard written with the words of a beloved Sunday School song reminds me how much God loves me…and you…for the Bible tells me so.
Jesus love me this I know
For the Bible tells me so
Little ones to Him belong
They are weak but He is strong
Yes Jesus loves me
Yes Jesus loves me
Yes Jesus loves me
The Bible tells me so.
Jesus took our place on the cross. He died and took the punishment for our sins. Oh how He loves you and me!
“‘It is finished!” He cried.
And the great Creator went home.
(He ’s not resting though. Word has it that His tireless hands
are preparing a city so glorious even the angels get goose bumps upon seeing it.
Considering what He has done so far, that is one creation I plan to see.)” ~ Max Lucado
Unconditional lavish love, joy, peace, comfort, forgiveness, grace, strength, healing, sunshine in the middle of a storm, hope, everlasting life in heaven…these are just a few things Jesus so freely gives us! Can I get an AMEN SISTAH! Glory be the name of the Lord!
Well Sugar, I hope you enjoyed this little tutorial.
The main thing is to decorate your home with love
to warm the hearts of those you love!
I’m just so thrilled that you stopped by!
Please take a moment to say Howdy!
Oh Yes! I also wanted you to know that I was honored to have my home featured on my friend Pamela’s blog —From My Front Porch to Yours– for the –How I Found My Style– Series! If you’d like to see more of my home in that feature click here:
I’m wishin’ you a happy
church-goin’-Lord praisin’
hymn singin’-egg-huntin’-flower-filled Easter
with lots of chocolate bunnies and little kids giggles!
God bless your darlin’ heart!
You are loved!
Aunt Ruthie

Howdy darlin’! You might remember that in my last post I talked about my “Word For the Year” which is Simplify. One of my goals is to clear any and all clutter room by room in my home. Since I spend so much time in my kitchen it was first on my list. My cupboards, drawers and pantry had become so jammed with way too many bowls, utensils, plastic storage containers and just plain old stuff! I had so many lids for things that didn’t go with anything and yet I was keeping them. Why? I don’t even know! (Oh for goodness sake!). Sistah’s, let me tell you, my purging party had been long overdue! Before I got started with my get-rid-of-all-the-extra-stuff-that-I-don’t-need task, I perused Pinterest to get a little inspiration. I saw lots of neat and tidy cupboards and pantries. Every plate, cup, pot and pan had a “home”. Everything was neat and tidy. That’s what I wanted!!
Clicking on those wonderful images would often take me to their original source so I ended up jumping from one blog to another. That’s when my eyes were opened. I began reading articles about the benefits of using glass for food preparation and storage instead of plastic. I read how toxic chemicals can leach from plastic kitchenware into our foods and can cause some serious health concerns. Now, I already knew about staying away from plastic water bottles with BPA, but according to the experts, there is still a deep concern with all plastics in regards to food prep and storage. (You can read this or google it if you want more details on the potential hazards of plastic kitchenware).
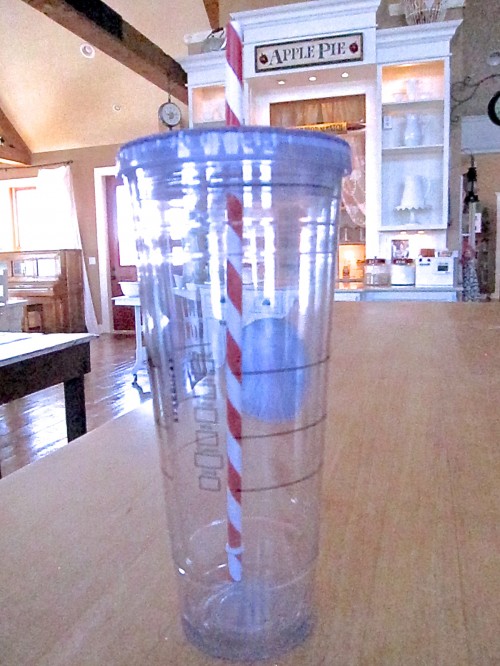
The whole plastic thing got me thinking. I thought about how sometimes I could taste “plastic” from my favorite cup that I fill with ice-water and take with me everywhere. I would even fill it with water and put it by my bed at night. A few times I made the mistake of taking a sip in the morning only to taste plastic. Not good. So, here’s the question I asked myself, if I taste the plastic am I drinking plastic toxins? Hmmmm….just in case I now drink from this cup…
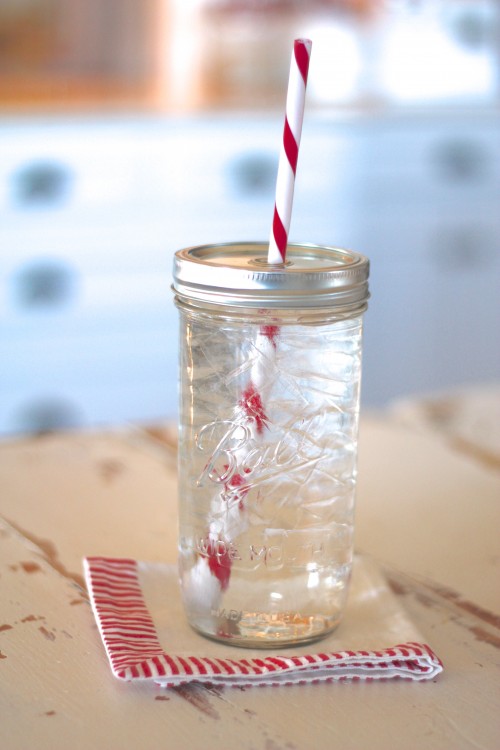
This is my new favorite to-go water cup. No plastic taste! It has a tall slender shape so it’s easy to hold…and it’s cute and vintage-y! We all LOVE our down-home mason jars don’t we? I call it my Farmgirl Sippy Cup! :D It’s a pint and a half size that you can find HERE (Amazon Affiliate). Now I realize my straw is still plastic. I tried the metal ones and almost broke my tooth, eeeeek! I still feel like I’m better off! I also have a couple insulated stainless steel tumblers that keep the ice frozen for a long time. I love them especially in the car!
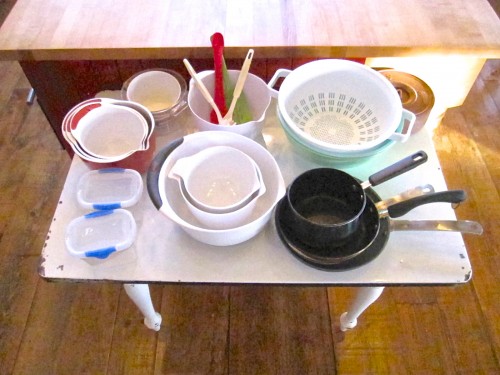
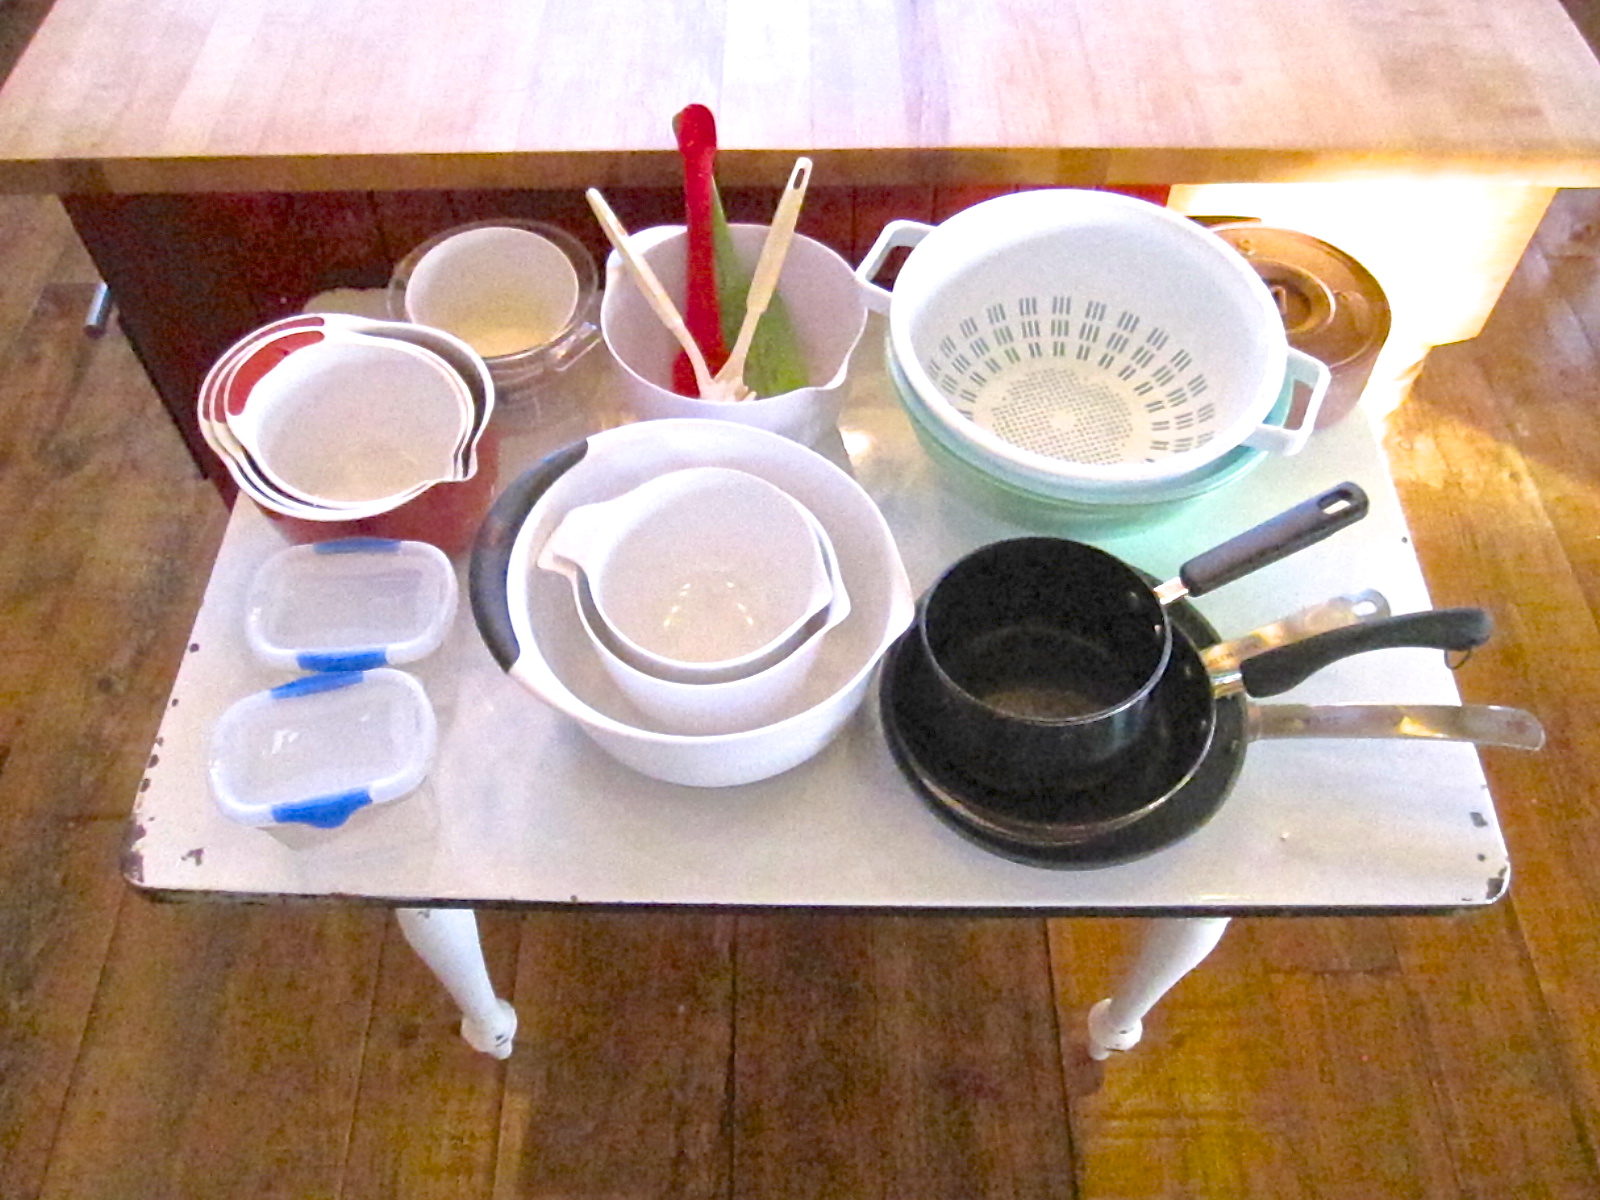
So anyhoo, in my quest for living a more vintage lifestyle (preserving the best from the past) and also wanting to maintain a healthy home, as best I can, I decided the things that needed to go were the plastic things (I also decided to give up my non-stick coated pans too for the same health-related reasons. I’m sticking to my cast iron and stainless steel pans). The picture above are just a few things that I ended up donating. Now, let me just say that I’m not going Cray-Cray (CrAzY) over this whole “plastic” issue. I just decided since I needed to get rid of some extra stuff, I might as well start with my plastic kitchenware, and of course, if there’s a chance that toxins could be ingested from my kitchenware, then I’d rather not to take that chance. To be frank, I’m not sure it’s even possible for me to get rid of all plastic things in my kitchen, I mean a lot of food comes in plastic. But I do think that if I reduce as much as I can, it’ll be a good thing. We’ll see, I’m still trying to figure this all out.
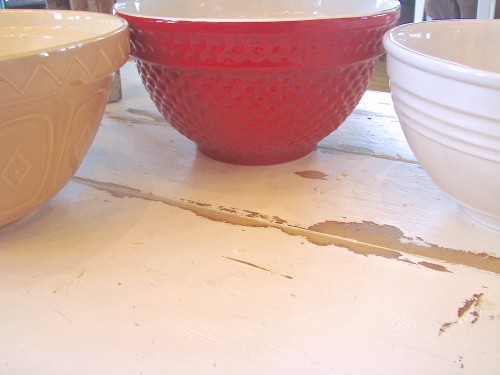
I do know that I so enjoy the experience of cooking much more with my vintage-style stoneware and ceramic bowls, my cast iron pans and Pyrex glass cookware and bowls. I also decided that since I love mason jars so much that I would use them as my go-to storage containers in my pantry…more about that in a minute.
But first, here are my 7 reasons why I’m switching from plastic to glass (and Stoneware) in my kitchen:
1. I feel it’s a healthier choice for me and my family.
2. Glass and Stoneware fit better with my vintage life-style. My grandmother’s and mother used Pyrex so that sounds good to me!
3. Glass preserves the flavor and quality of food better than plastic.
4. Glass will not absorb stains and odors like plastic does.
5. Glass cleans better.( There always seems to be some kind of residue left behind on my plasticware.)
6. Glass is more economical because it will last longer than plastic. Plastic, melts, warps and stains.
7. Glass has more uses. You can bake, serve, re-heat, store and freeze with glass containers.
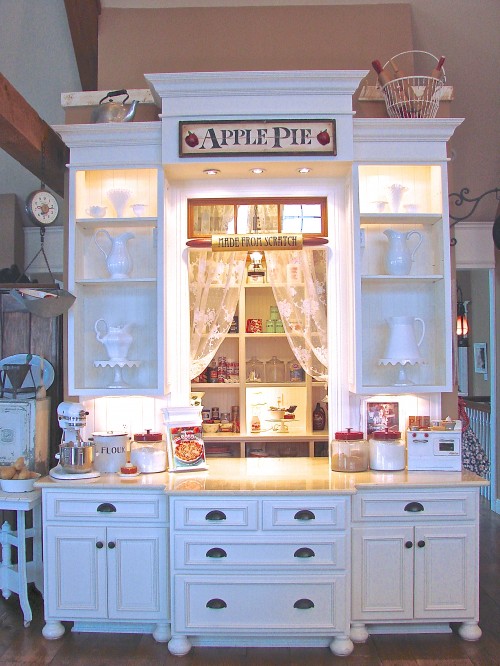
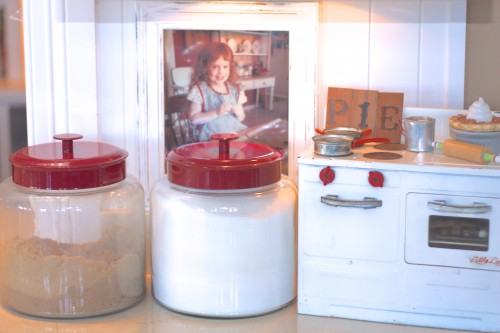
A few years ago I purchased these Anchor Hocking Canisters that I store my sugars and flour in. I LOVE them. You can find them HERE. They also come in brushed nickel and black lids, although I have to say I do love the red…’cuz it matches my lipstick! Heehee!

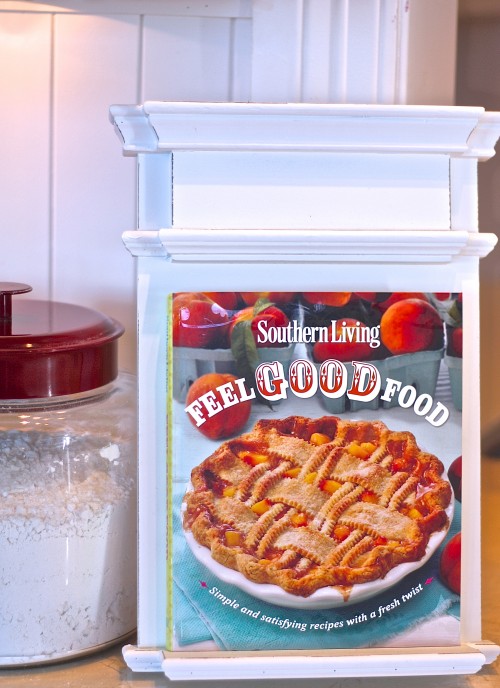
My canisters look cute sitting next to my favorite cookbooks too! This cookbook is just as gorgeous inside as it is on the front cover! Feel Good Food by Southern Living Magazine, you can find it HERE on this Amazon Affiliate link.
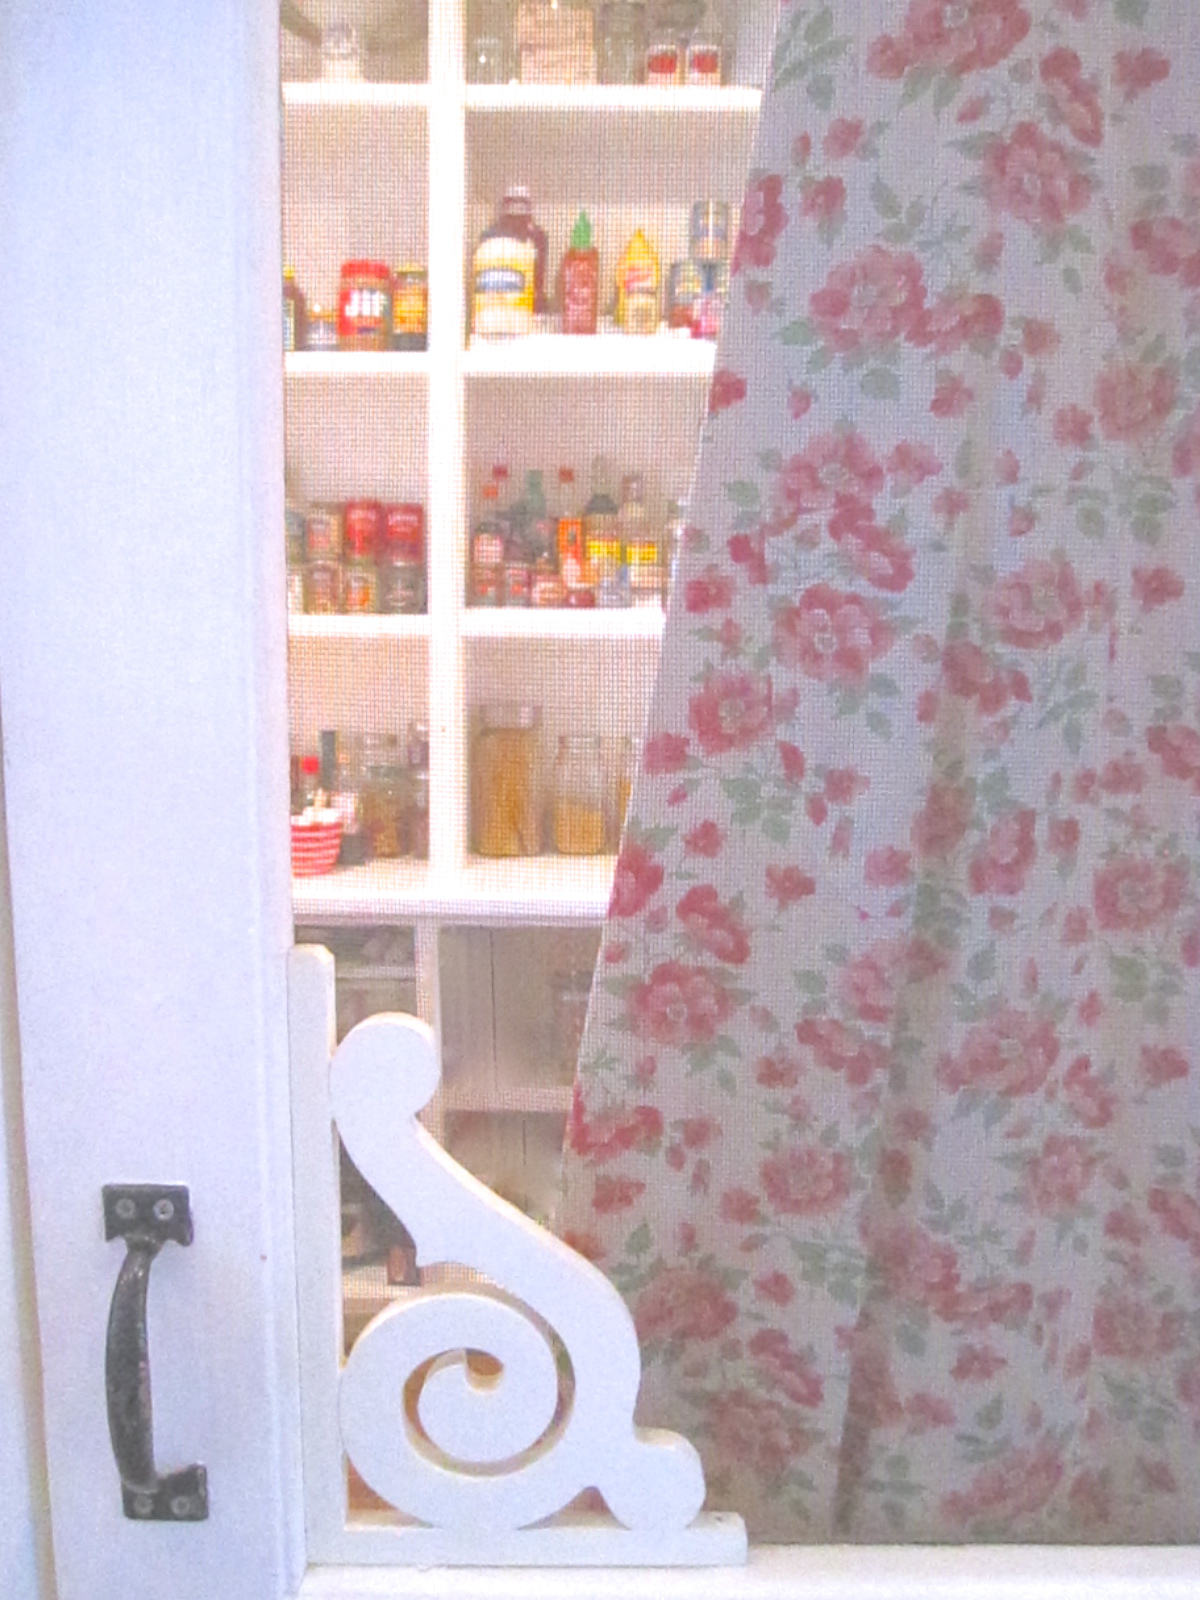
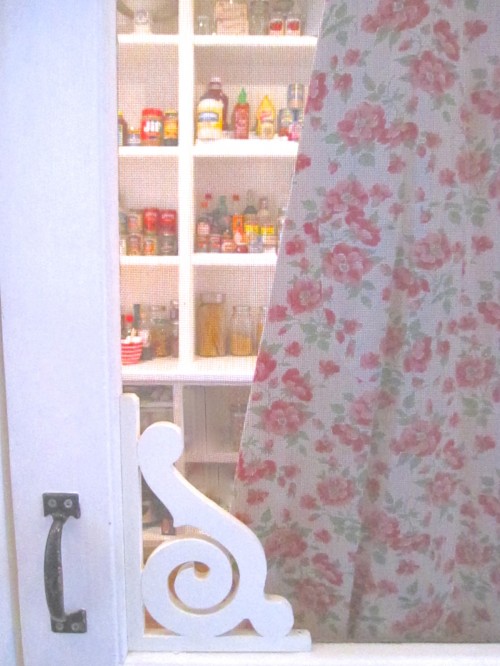
Come inside my pantry to see how I used Mason jars as storage containers…


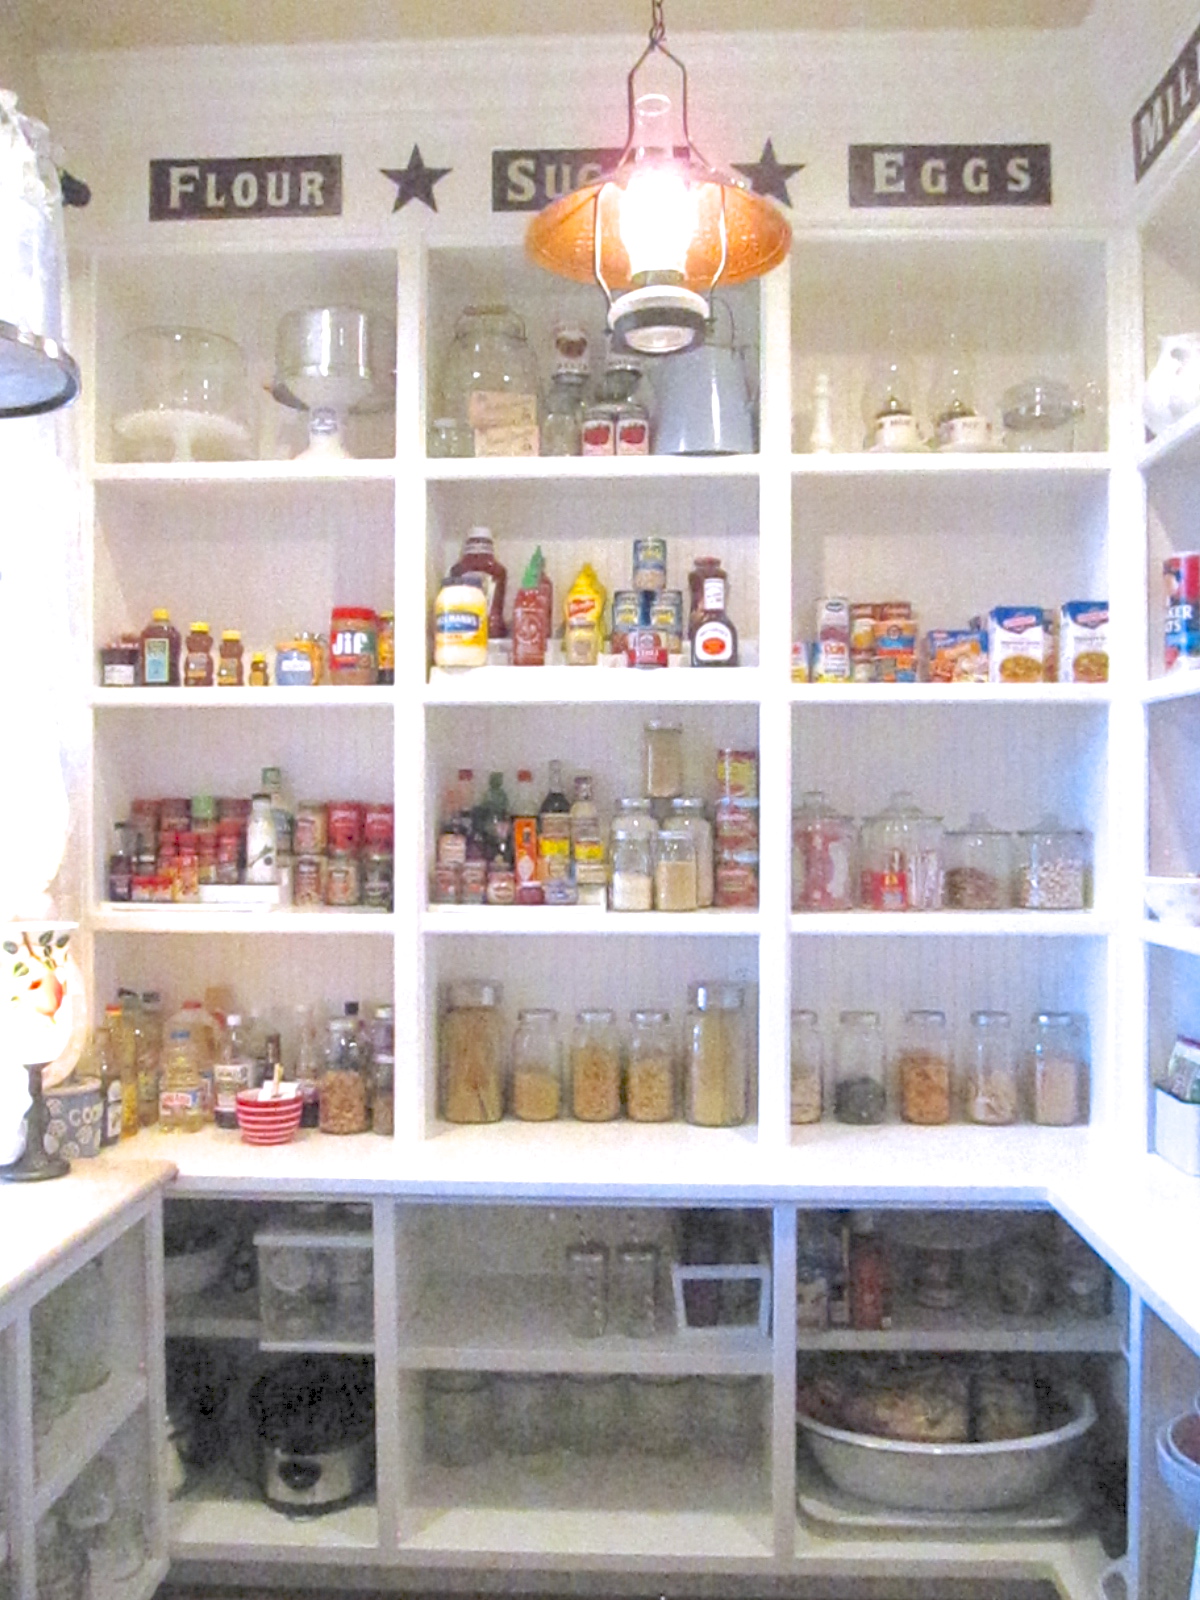
I didn’t take a picture of what my pantry looked like before I cleaned it, but I did find this photo which shows how I had it organized. My cardboard boxes of pasta and rice were organized in the oblong white baskets on the middle shelf. I also had snacks in the other basket on the right.Well, when I removed the basket holding the pasta I found some dead bugs underneath it. Lord have mercy! They must have been chewing on some pasta that had fallen out of an opened box. There were a couple dead bugs nestled in the nooks and crannies of the basket too. Oh good gravy! That did it! No more baskets in the pantry where bugs can hide and no more pasta left in opened boxes! Mama don’t allow no buggies! Needless to say, I threw away the pasta and started fresh.
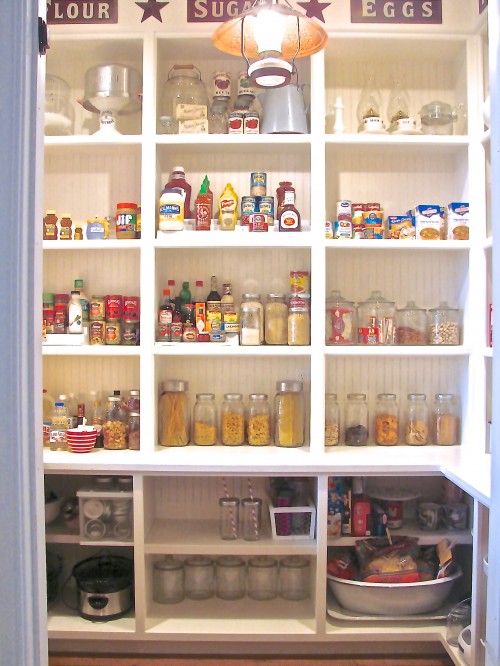
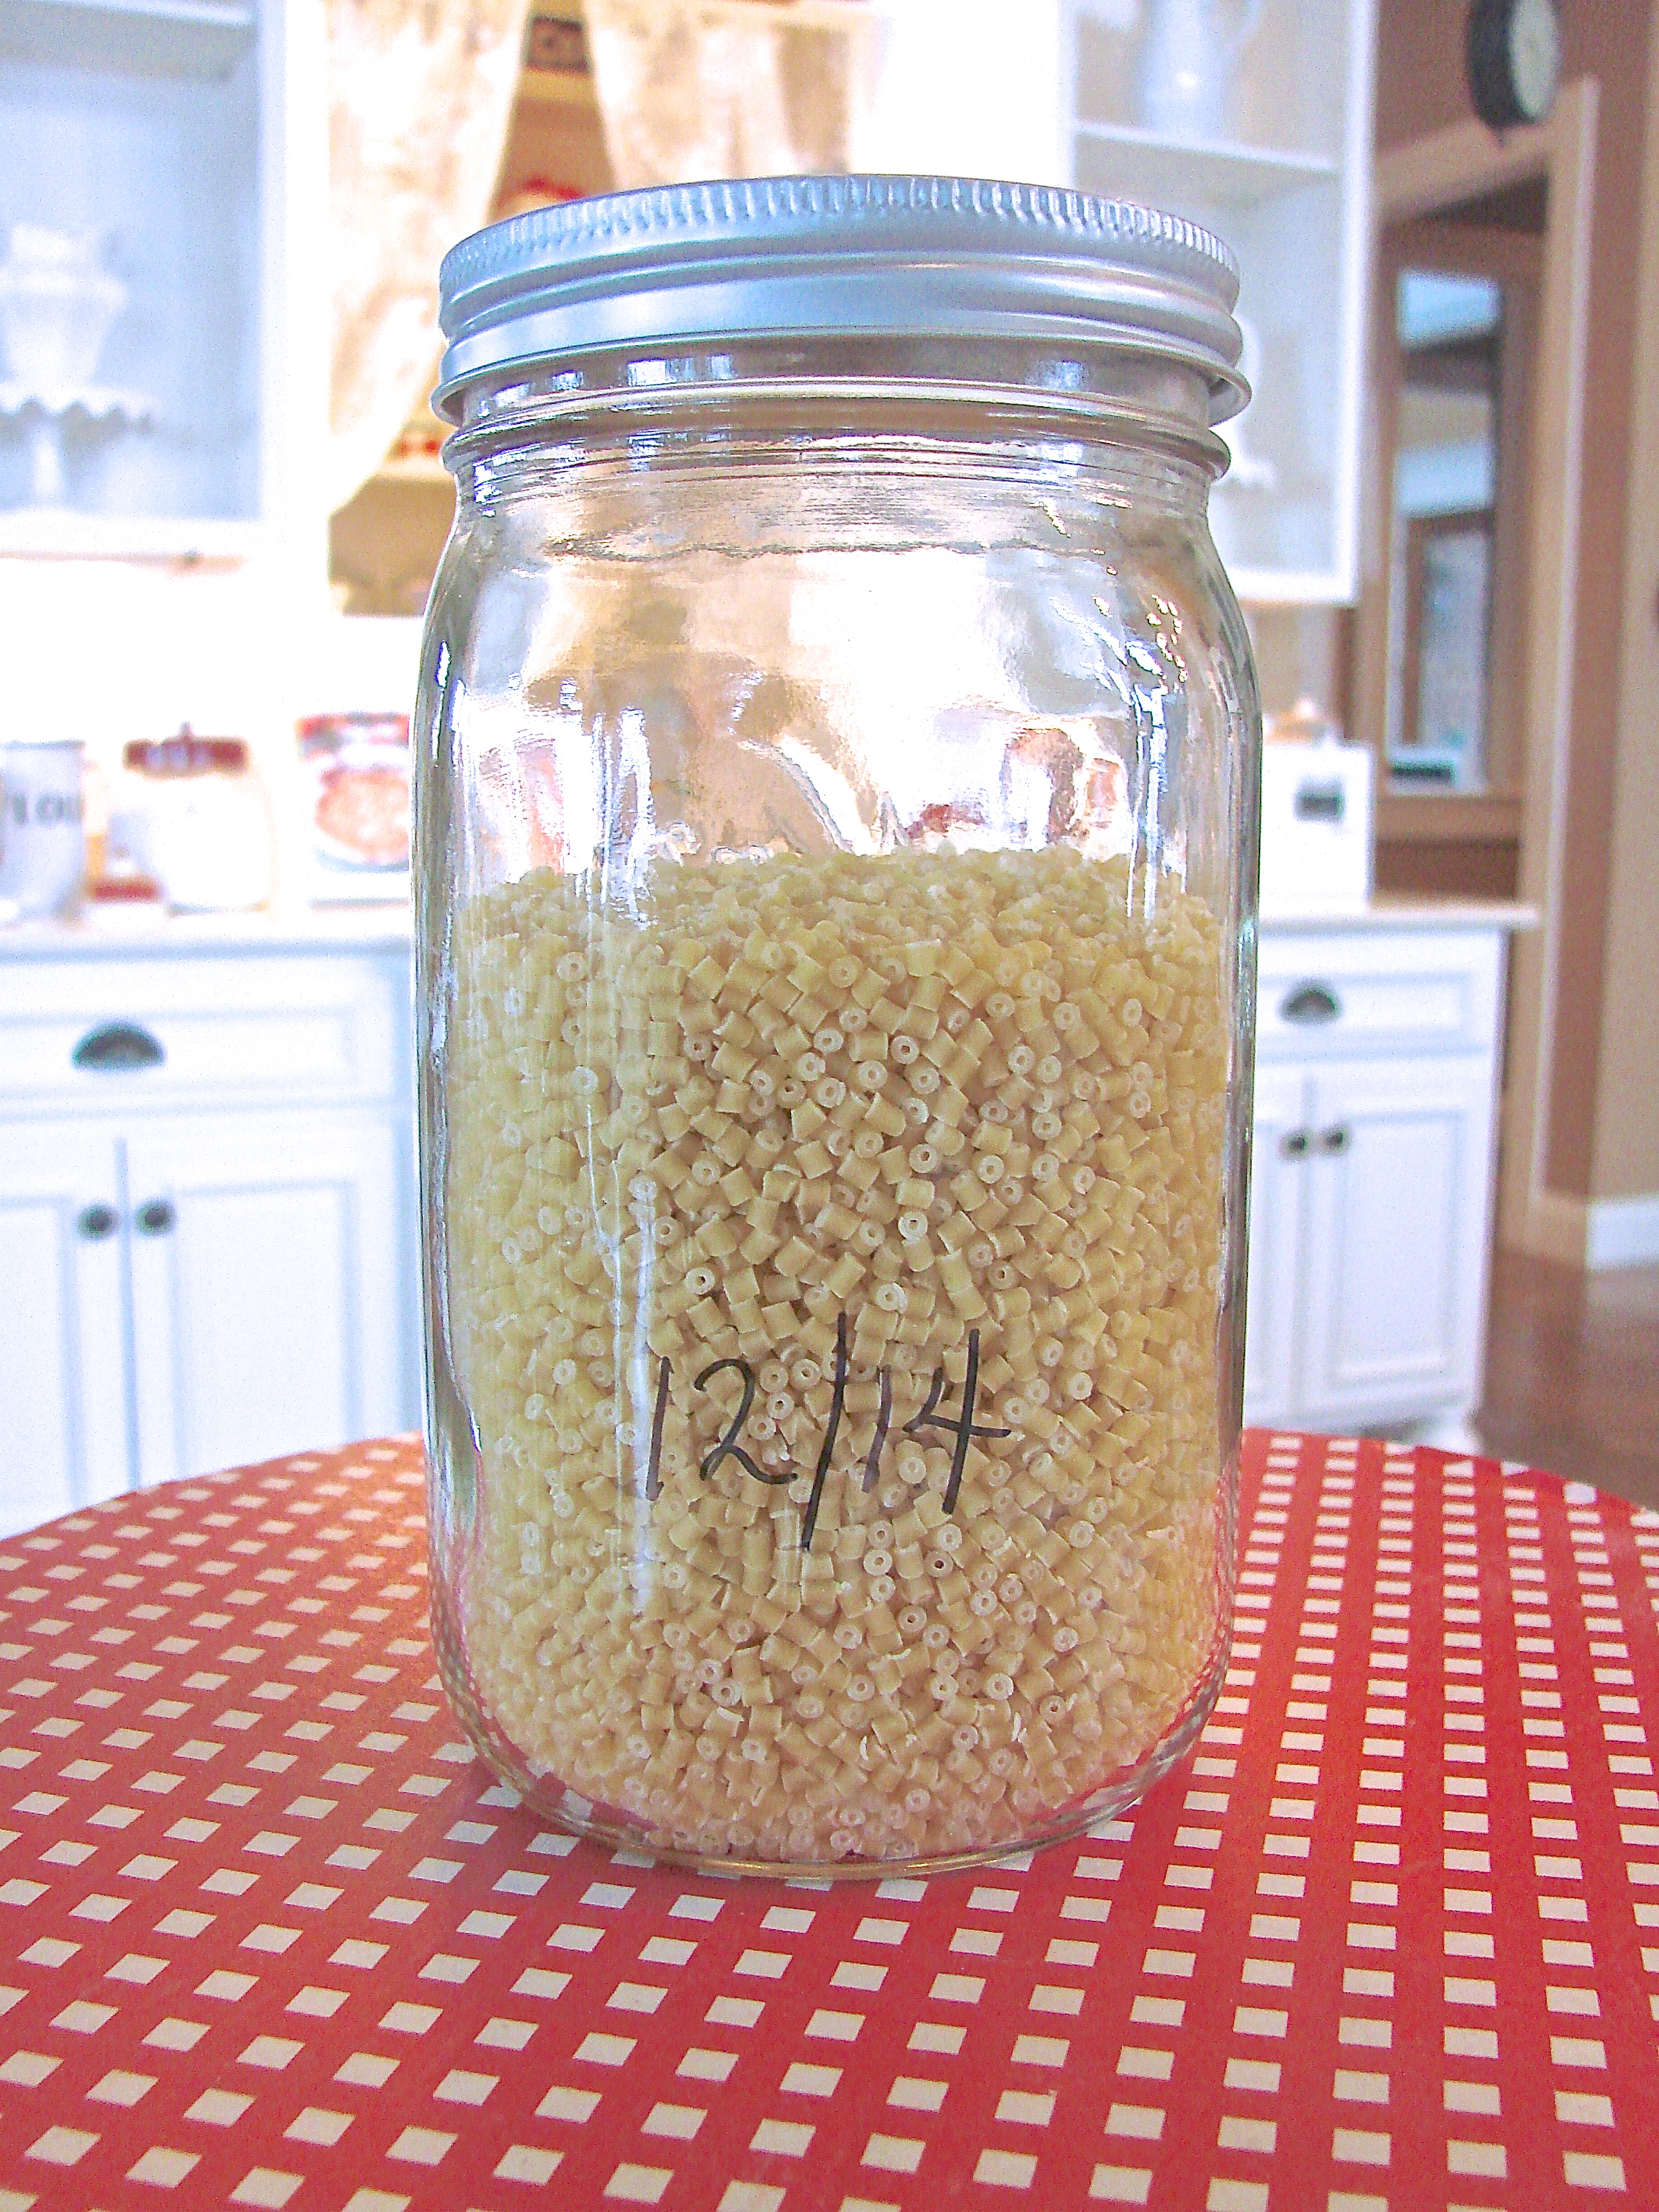
Now as you can see my pasta, rice, bread crumbs and snacks are sealed tight in my mason jars. I can easily see what I have inside and I can move them aside to give the shelves a good scrubbin’.
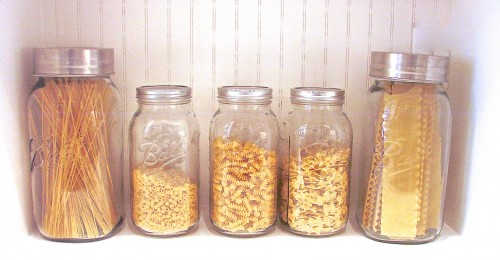
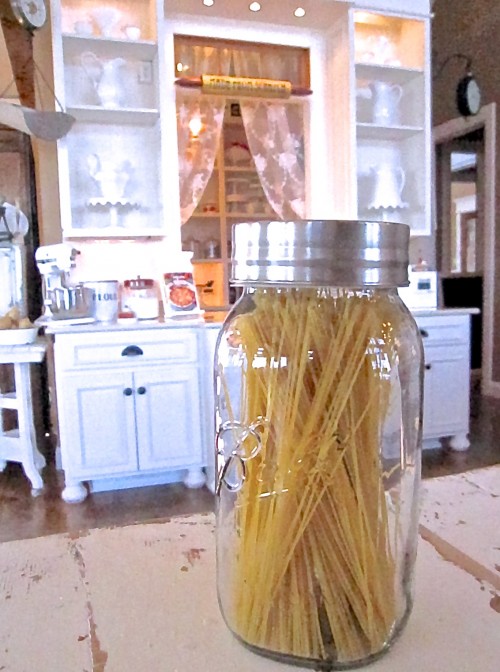
These extra large Ball canister jars with a push down lid are perfect for storing my spaghetti and lasagna noodles. I found mine at Target. The other jars are half -gallon size with a wide-mouth lid that you can find here. Besides being the perfect way to store food, they are inexpensive and will last for years to come.
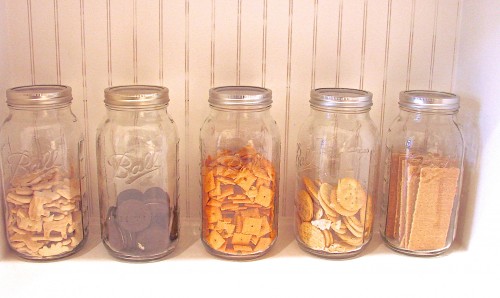
When I got these jars I ran them through the sterilize cycle in my dishwasher and they came out sparkling clean. These jars will keep the air out and the food fresher. I like that!
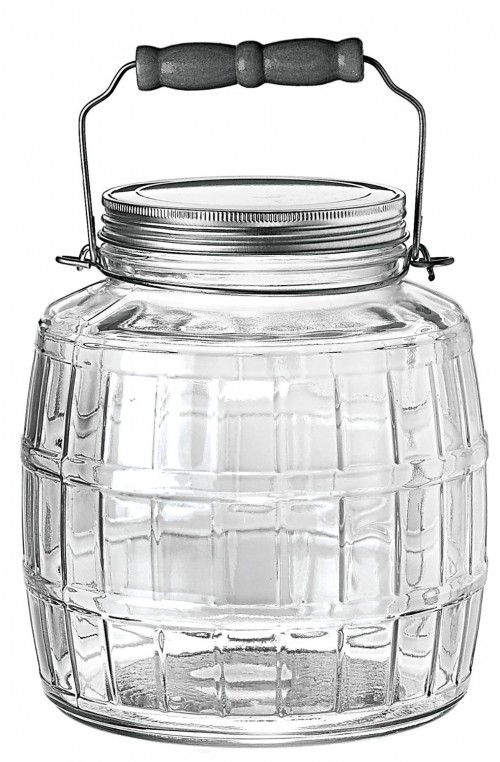
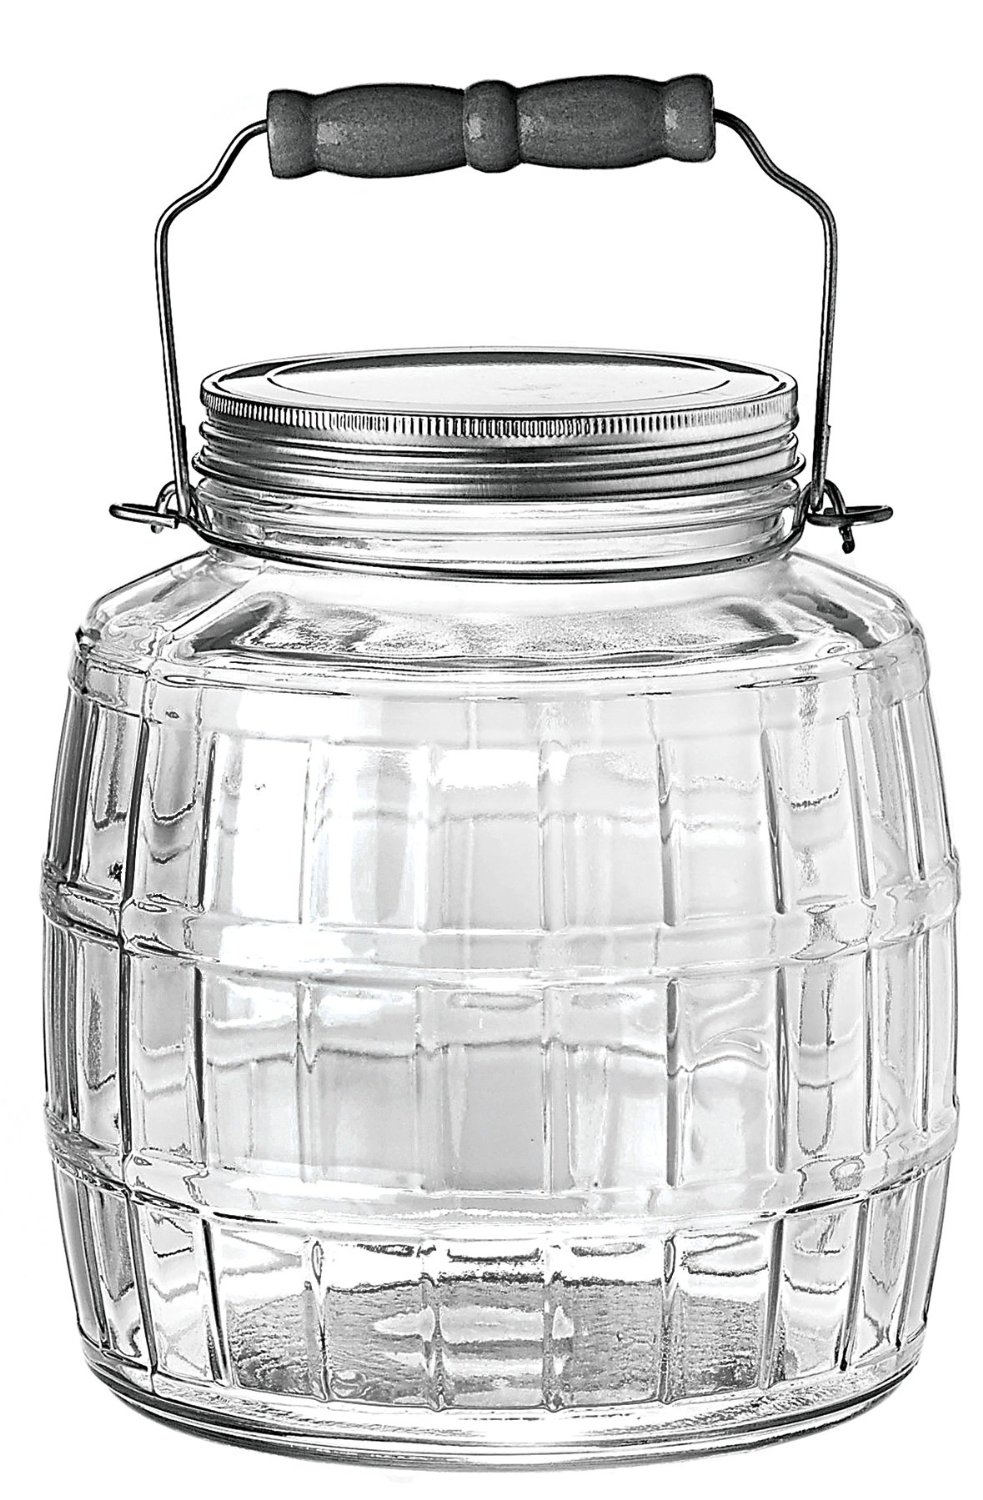
Anchor Hocking sells these darling reproduction Barrel Jars with a wooden handle. I have one up in my pantry that is a vintage pickle jar from an old general store. They are available in a few sizes, you can find them HERE.

Here’s a close up of the Ball Jar Canister. The rim of the jar has a silicone band that when you push the lid down it forms a perfect seal to keep it air tight.
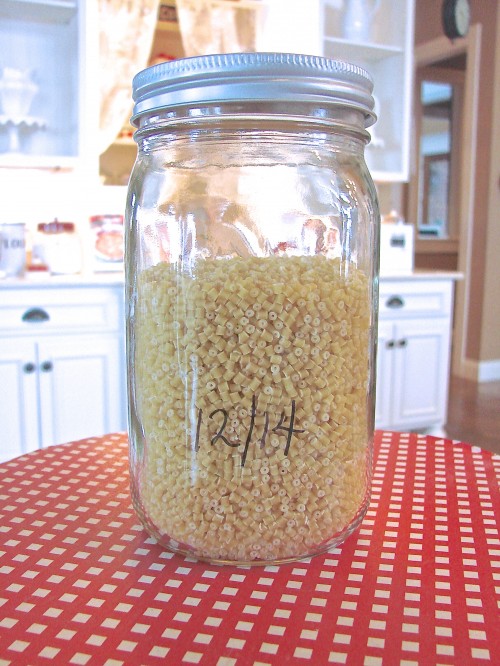
I took a Sharpie marker to record the expiration date on the back since I threw away the original packaging. Even though the Sharpie is a permanent marker, it will wash off by scrubbing it with a wet paper towel. You could use a dry erase marker but I thought it would come off too easily when handling the jar.
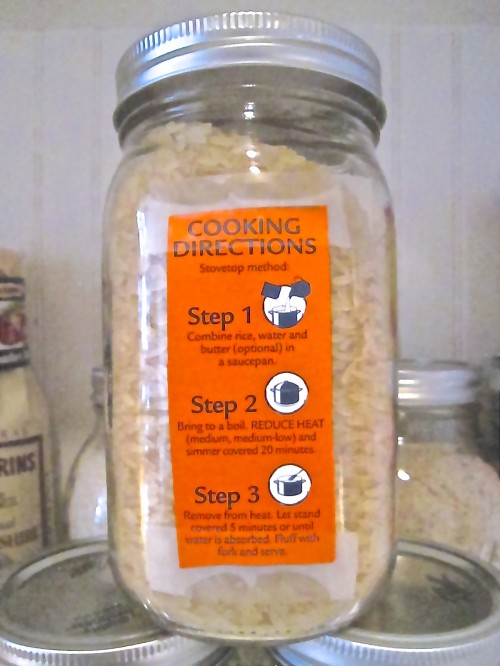
On ingredients such as the rice, I cut out the cooking instructions and taped it to the back.
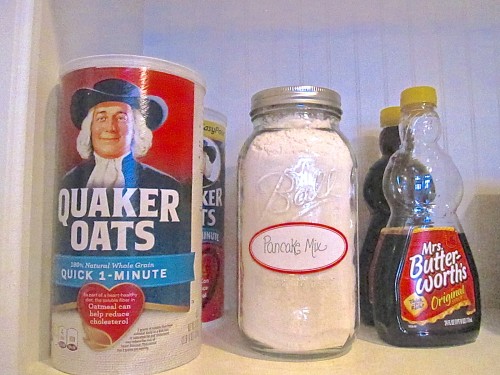
On most of my jars I didn’t feel like they needed labels since you could clearly see what’s inside, but here I did put a label on the Pancake mix so it wouldn’t get confused with flour. I ‘ll be putting my oatmeal in glass jars soon…my pantry is a work in progress.
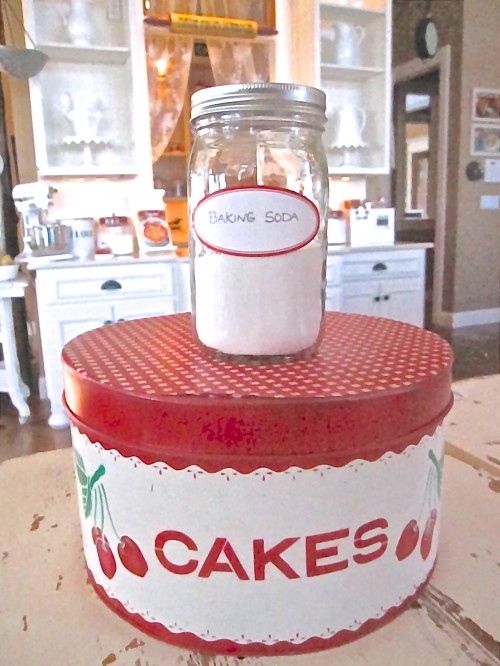
I also put my baking soda in a glass jar. Baking soda will absorb odors which could affect the taste of what you are using it for, so this will keep it fresher. I got my Martha Stewart labels at Staples.
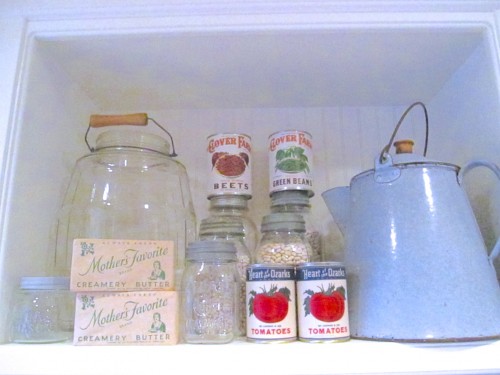
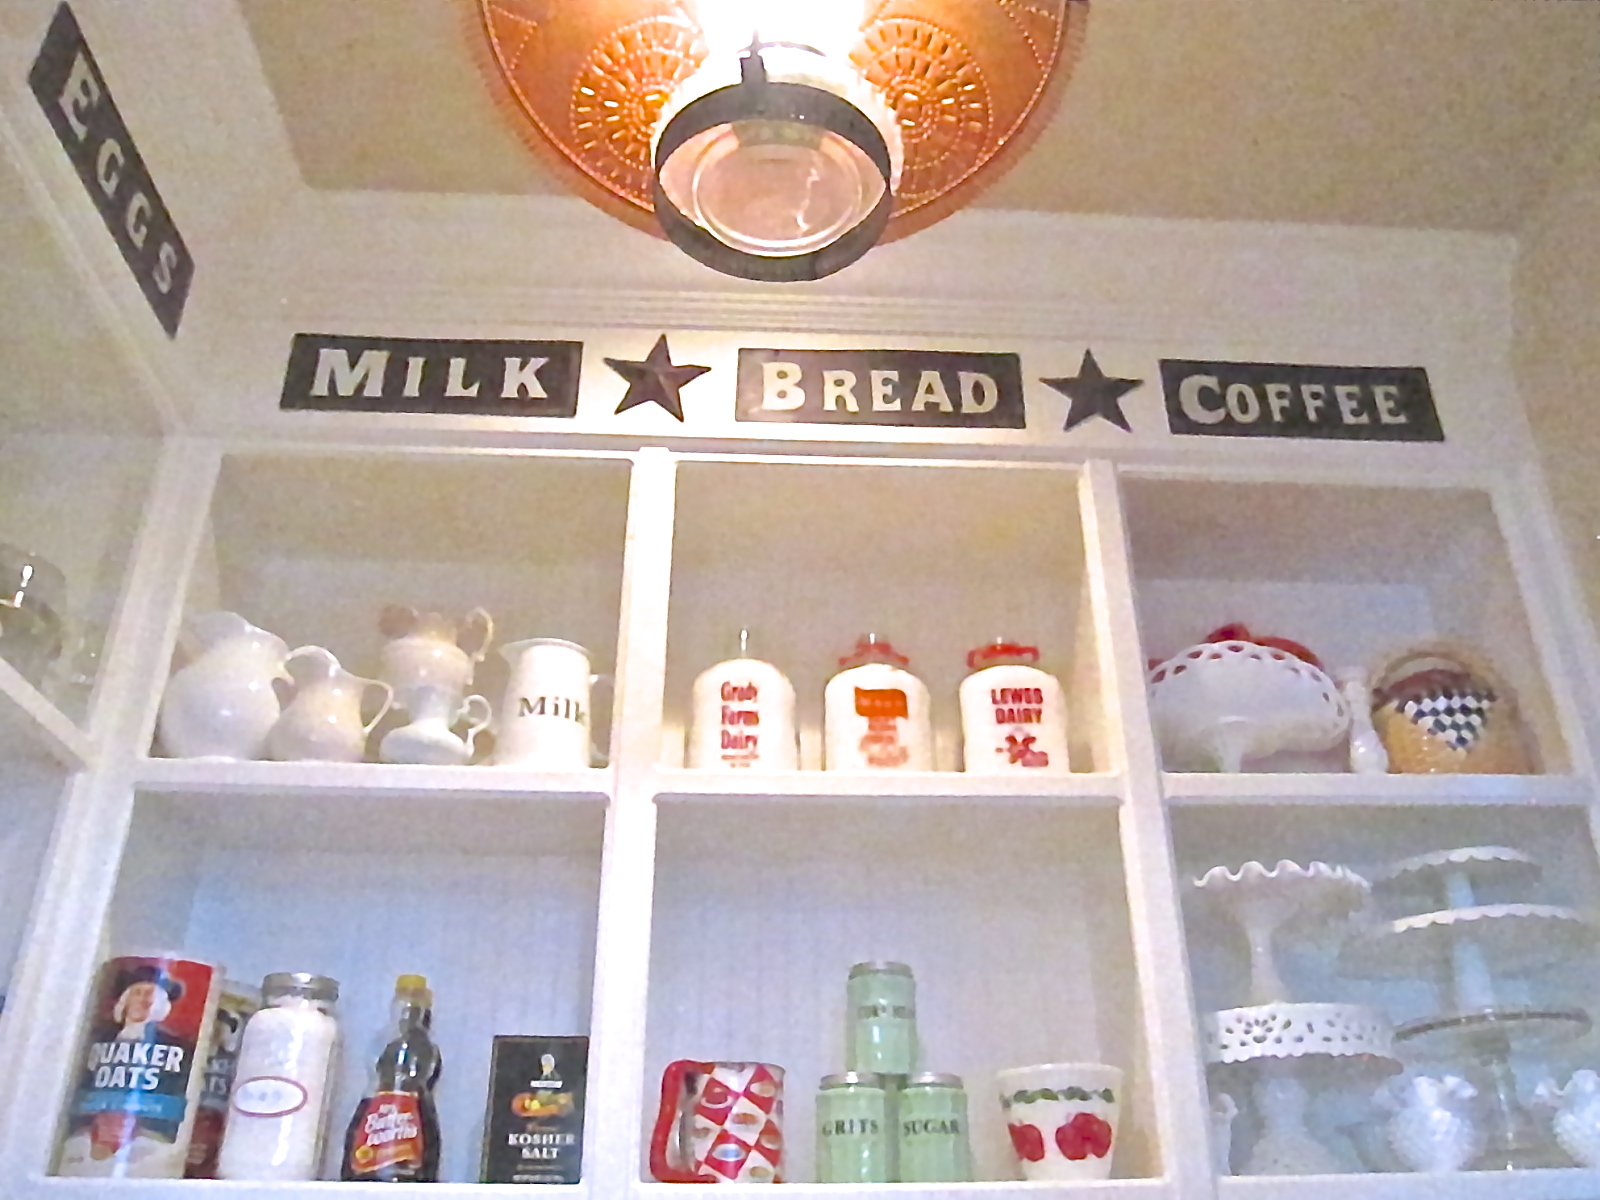
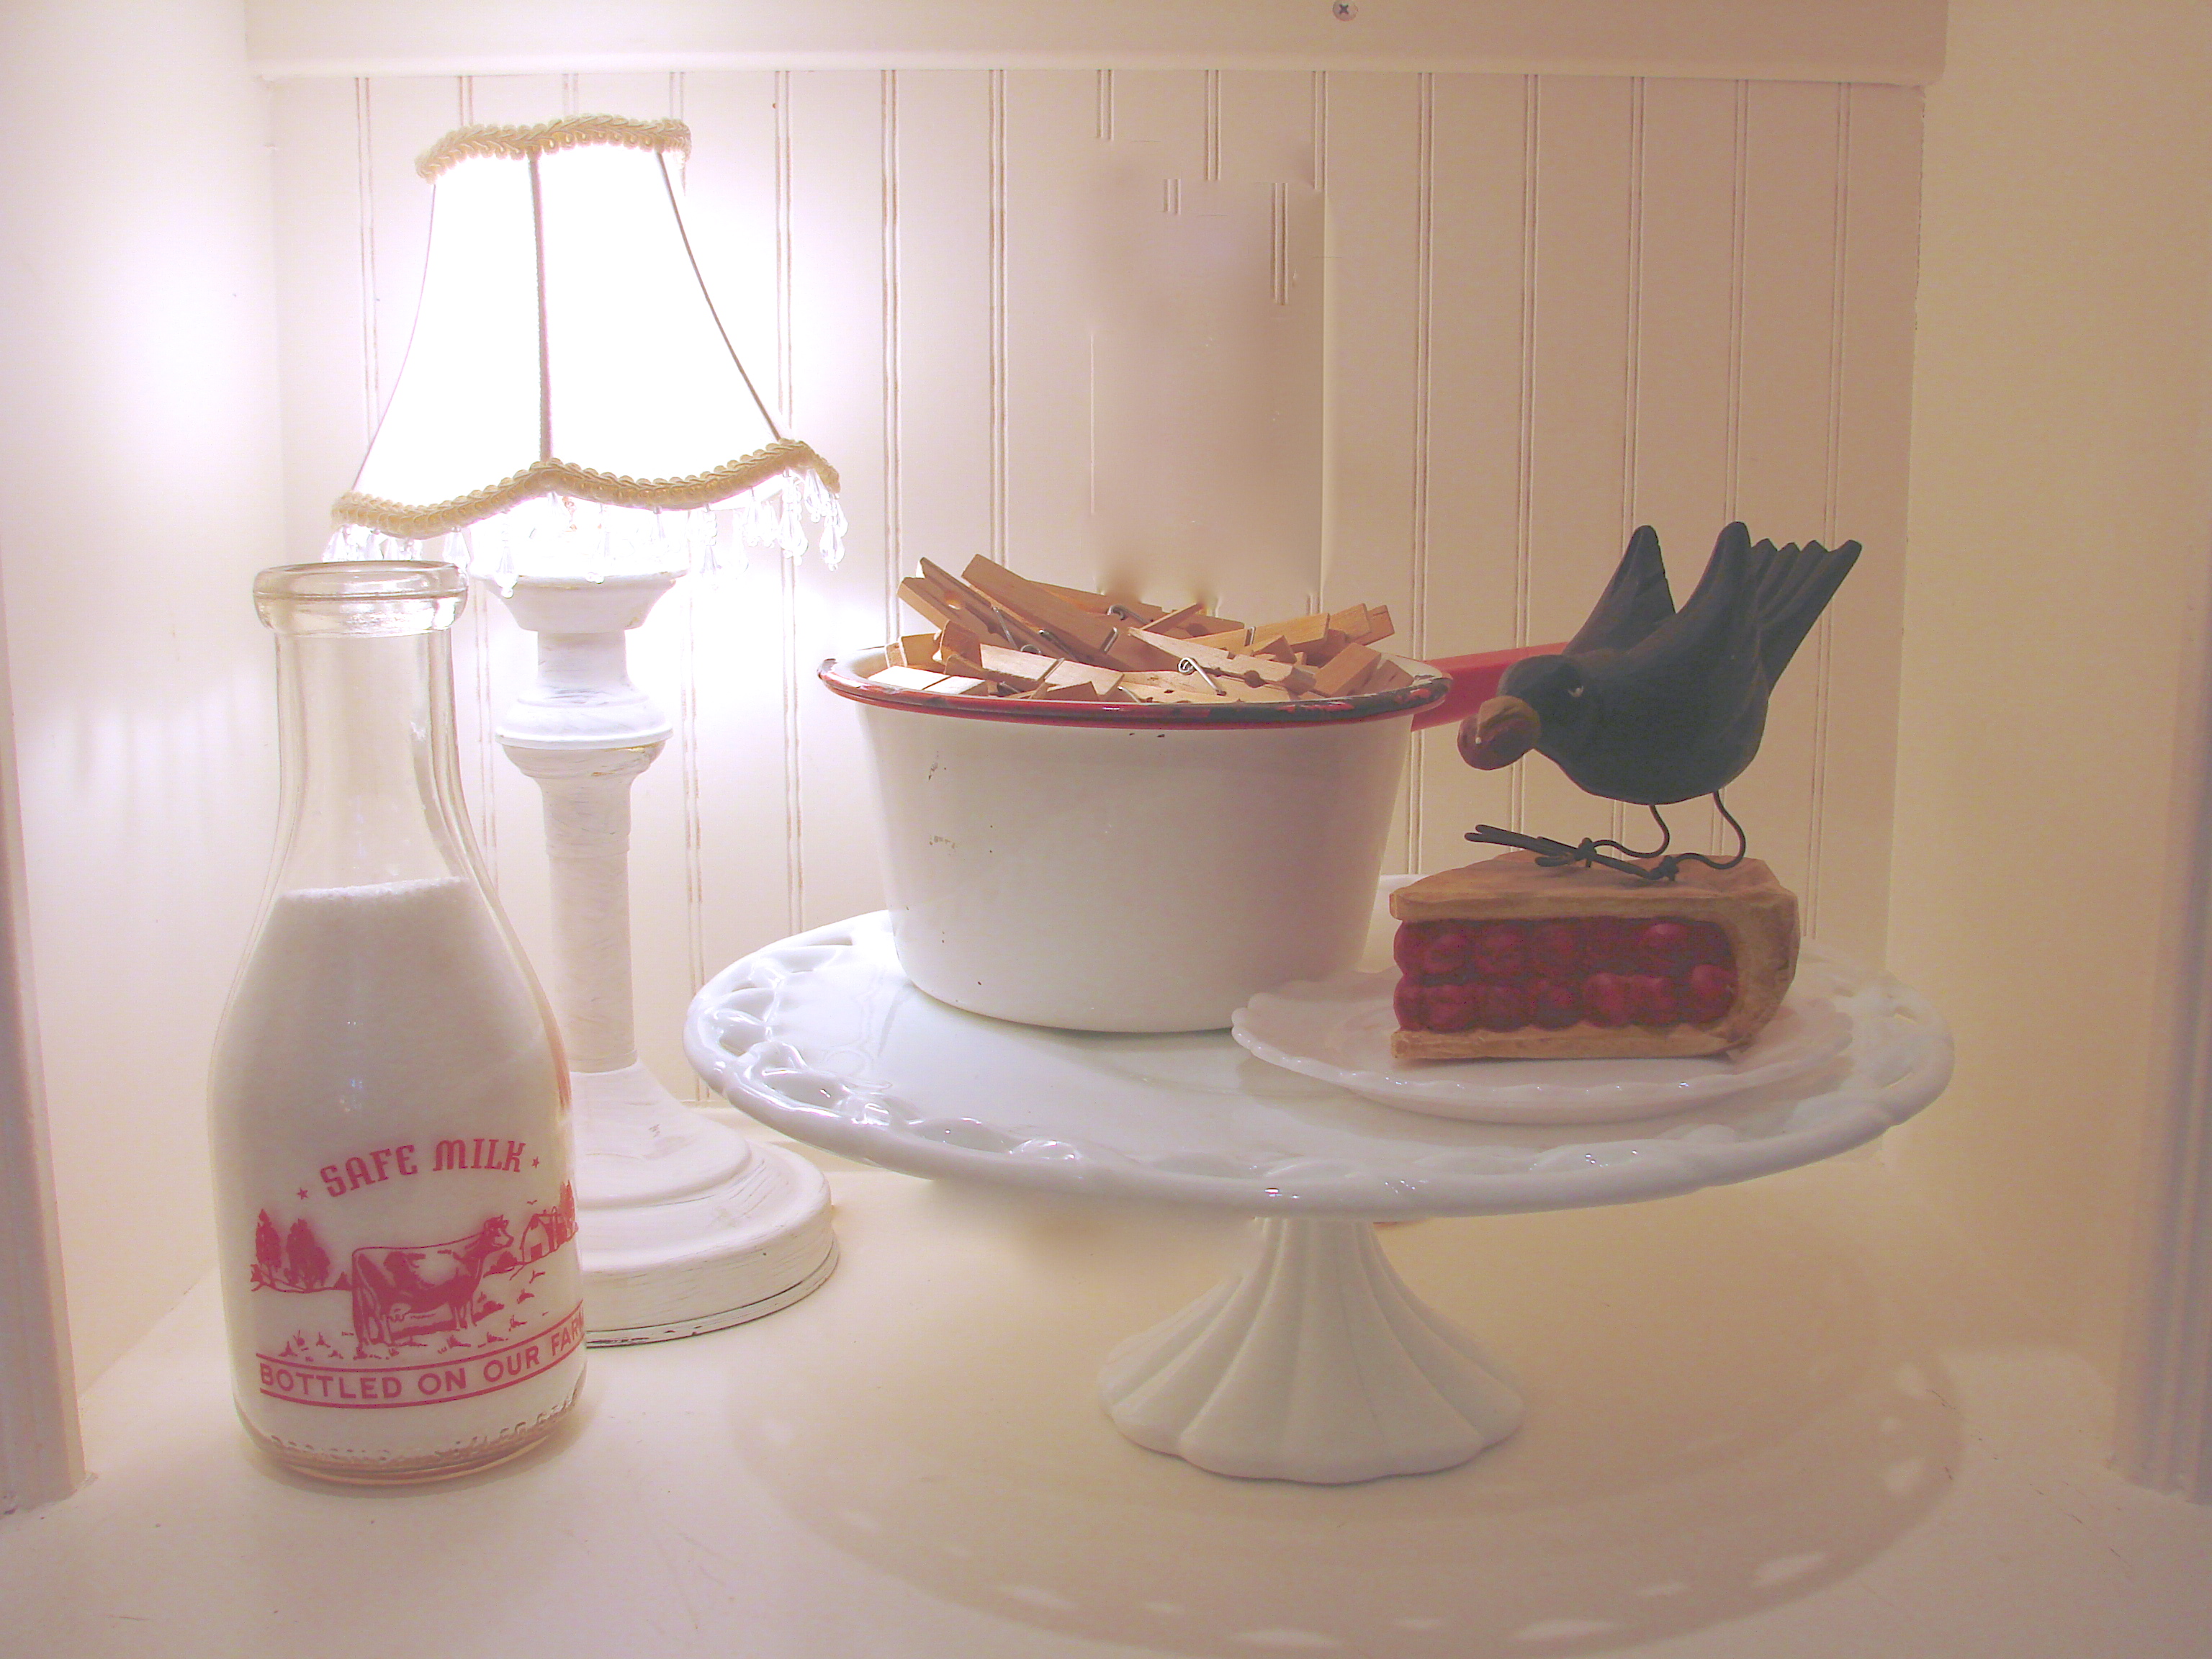
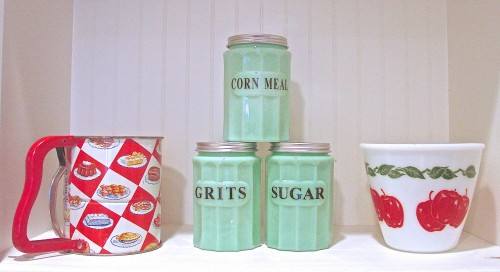
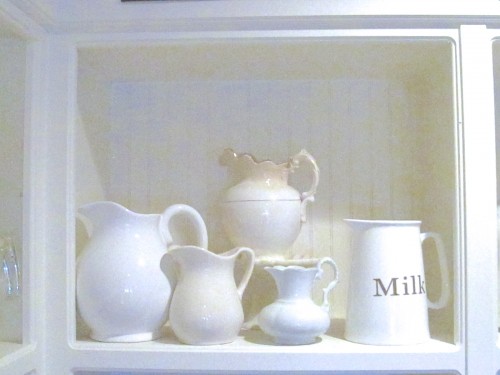
Some of my favorite back-in-the-day treasures…no plastic!! :D (There’s my vintage pickle jar)

So there you have it…my pantry is now neat, clean and tidy…just the way Mama likes it.

It took a whole day to clean, and fill my new storage jars
but it was worth it!
It’s the little things that make your home feel homey.
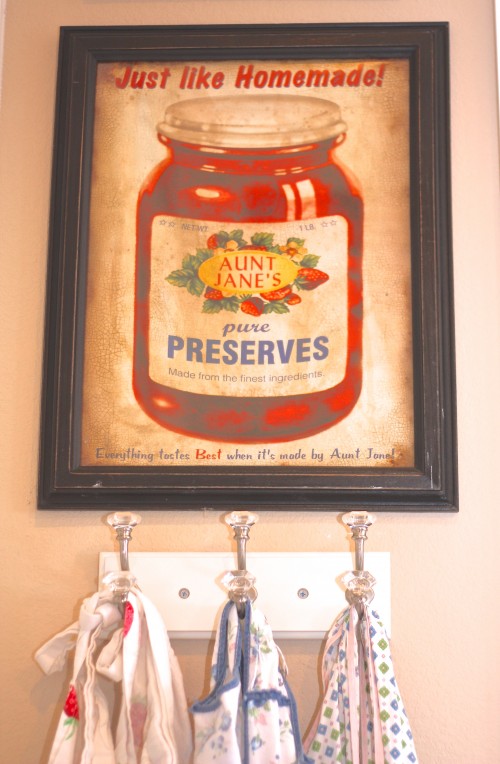
Aunt Jane loved mason jars too! :D
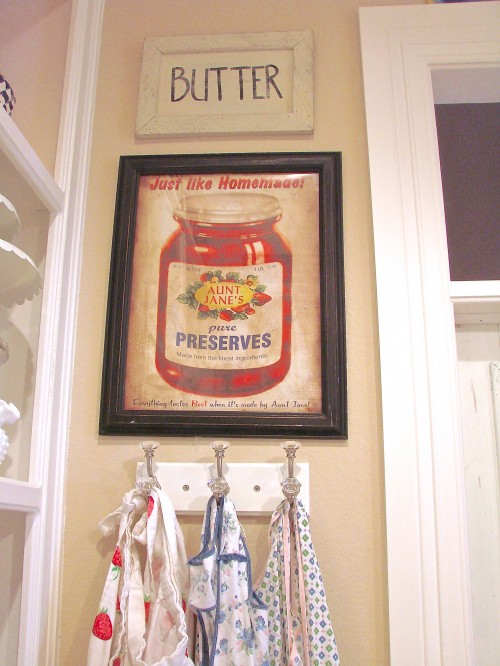
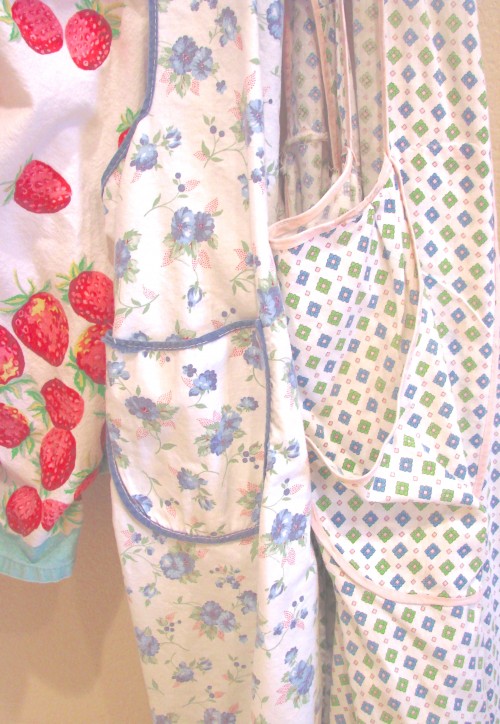
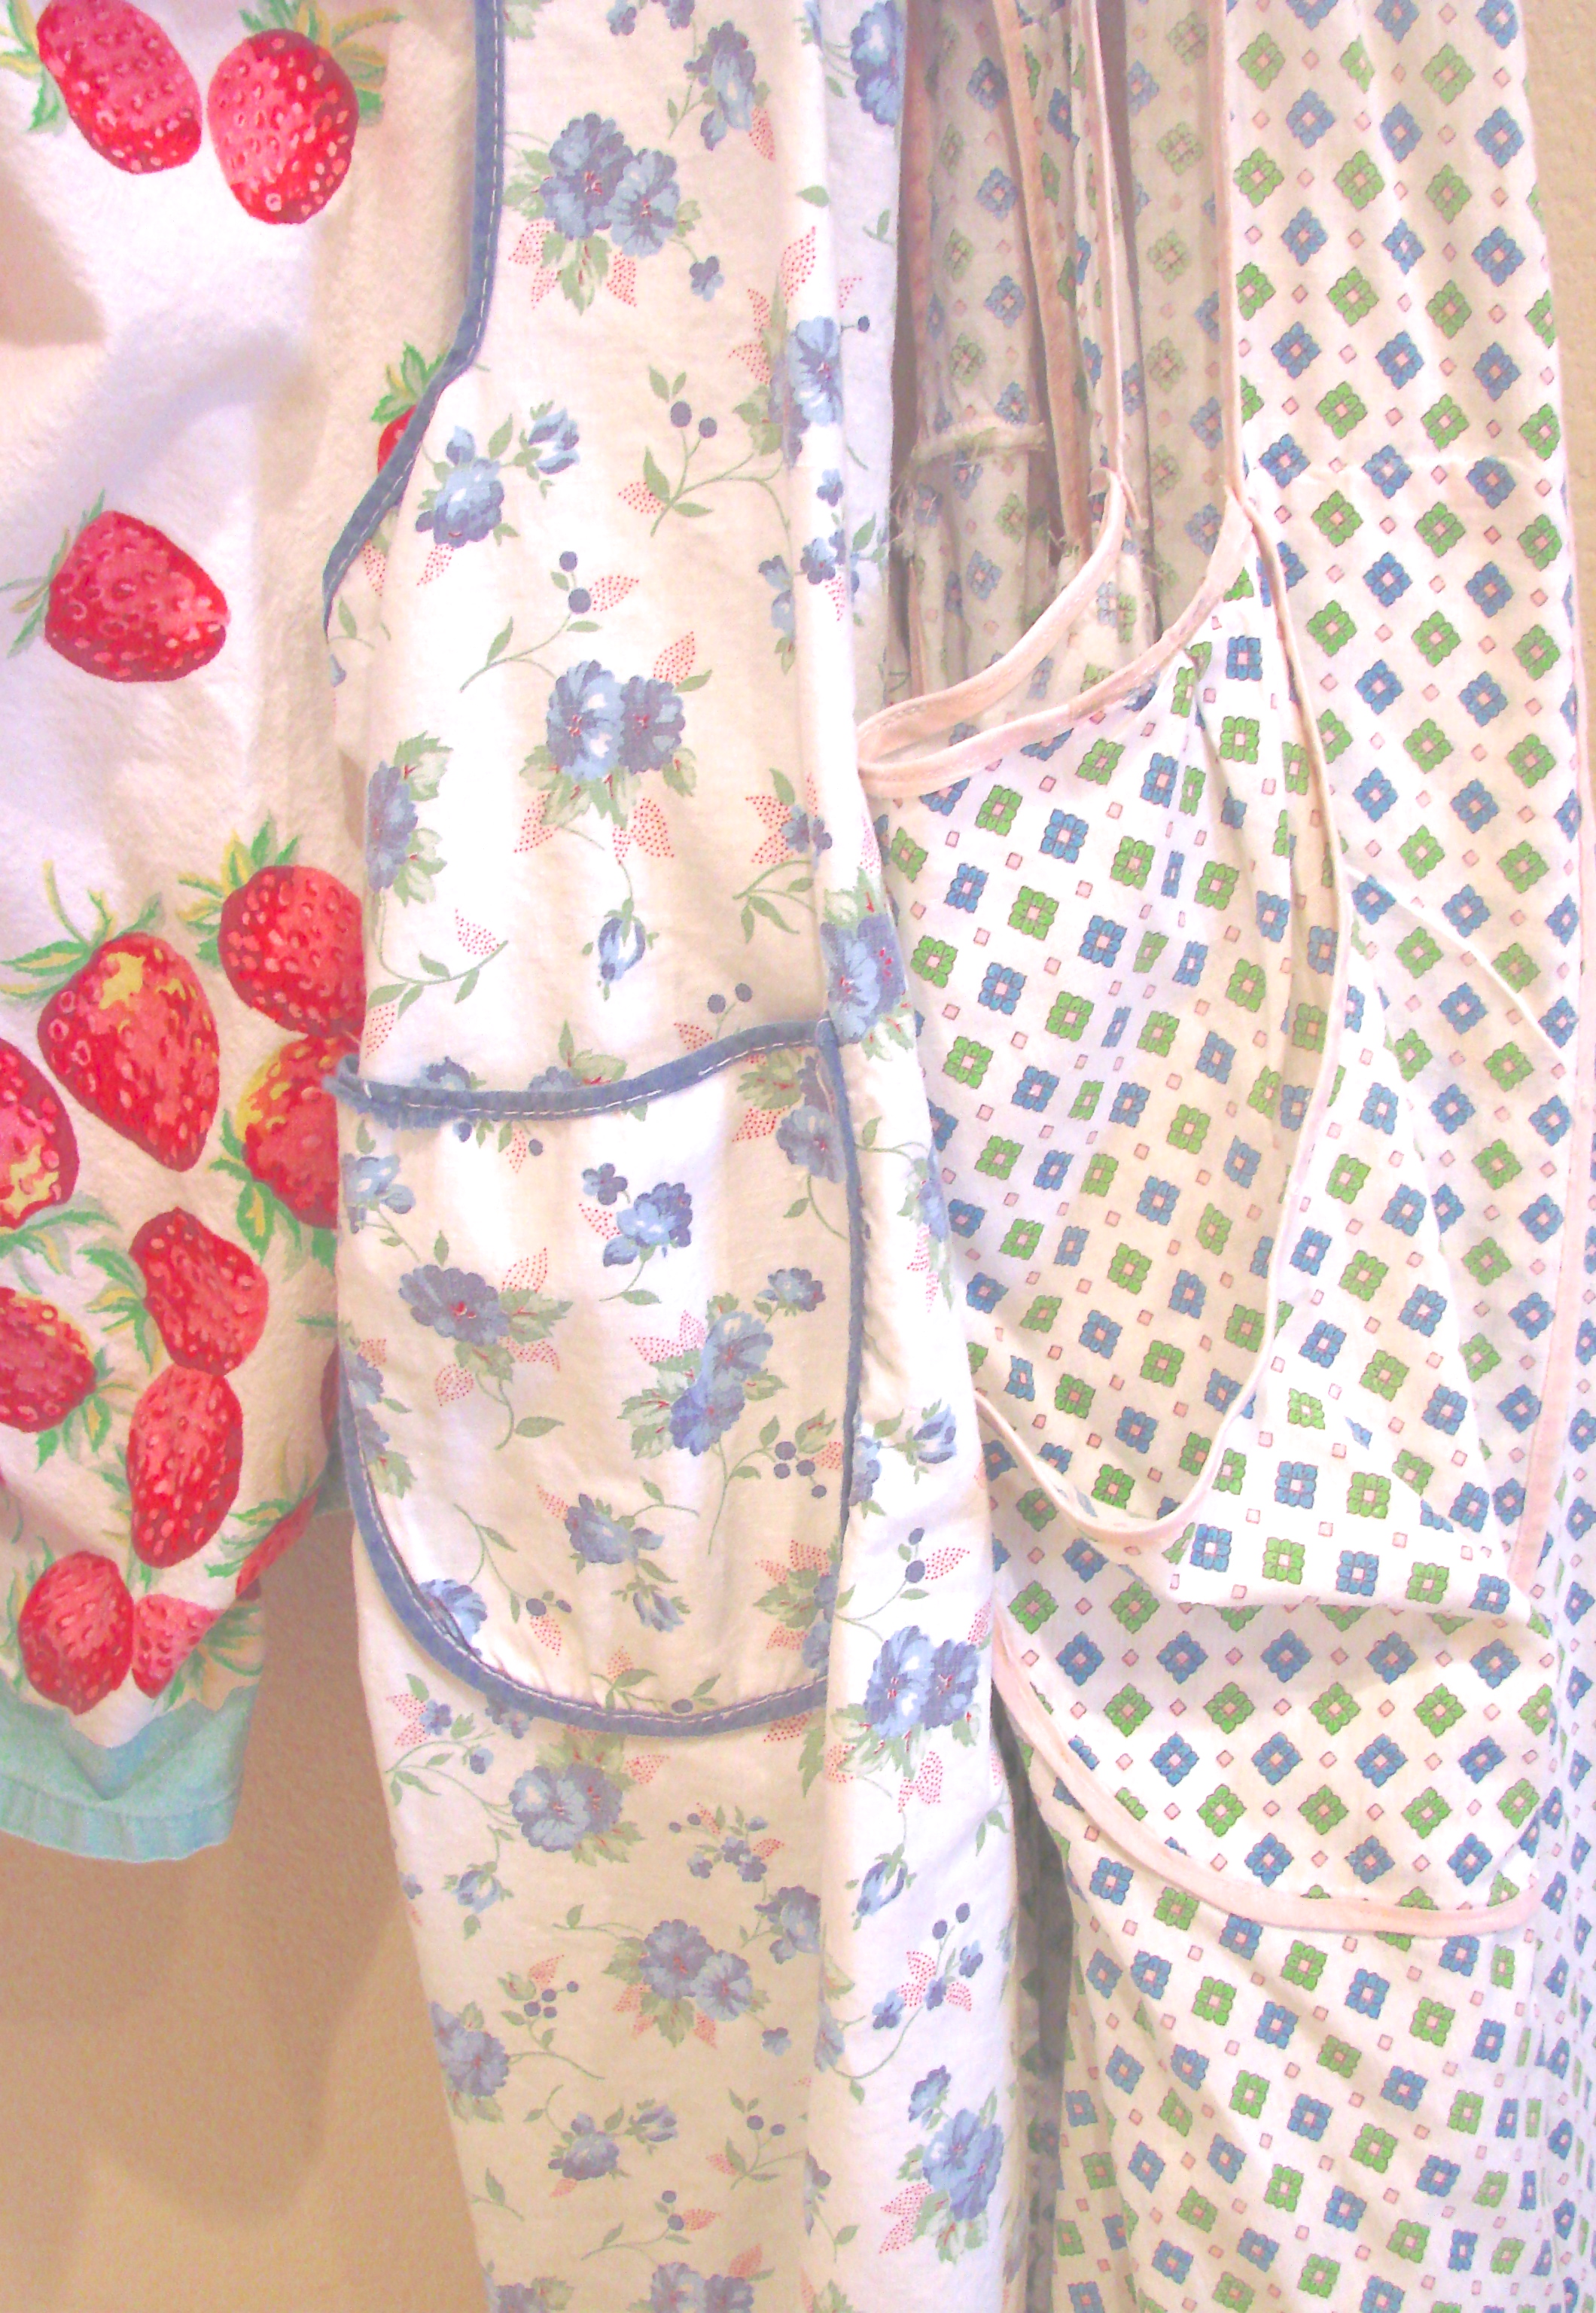
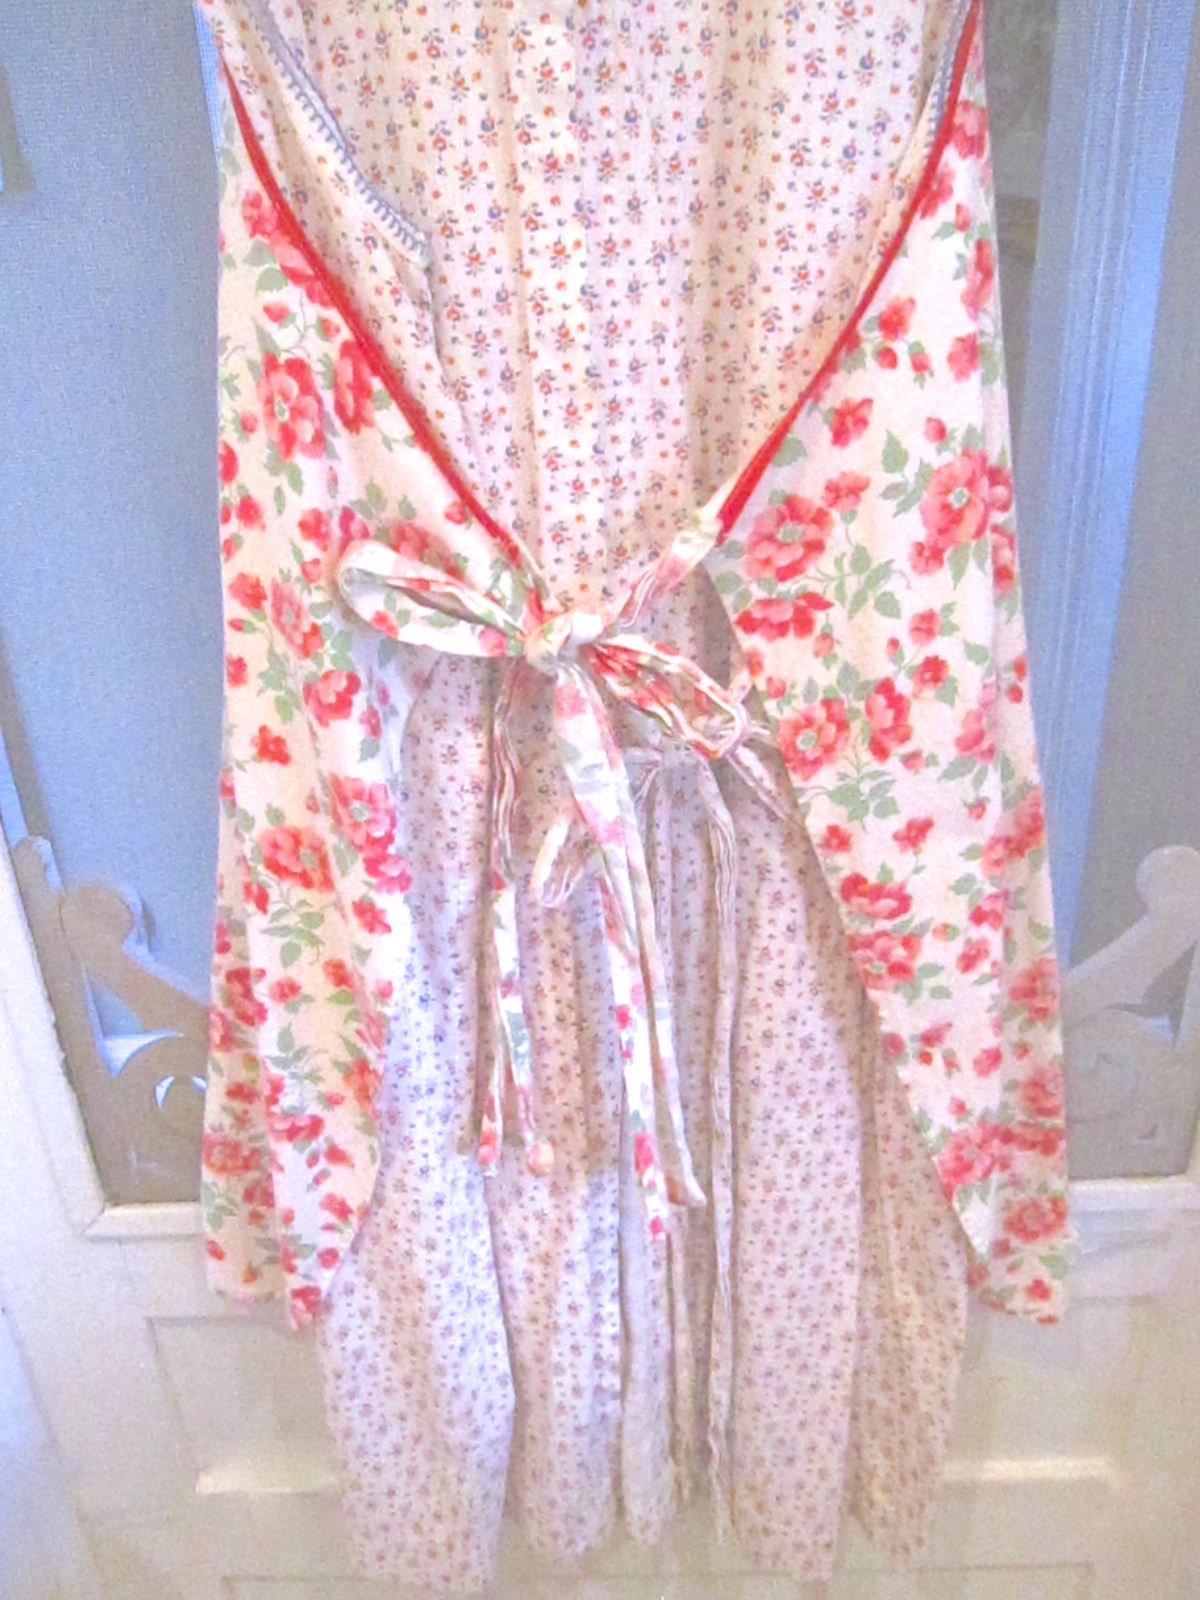
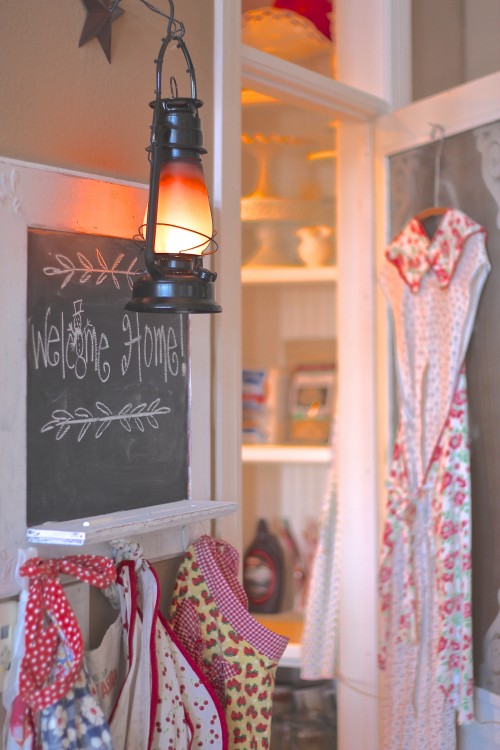
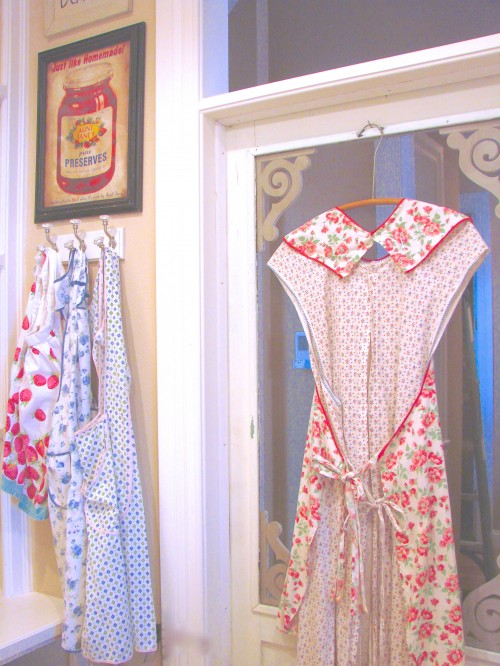
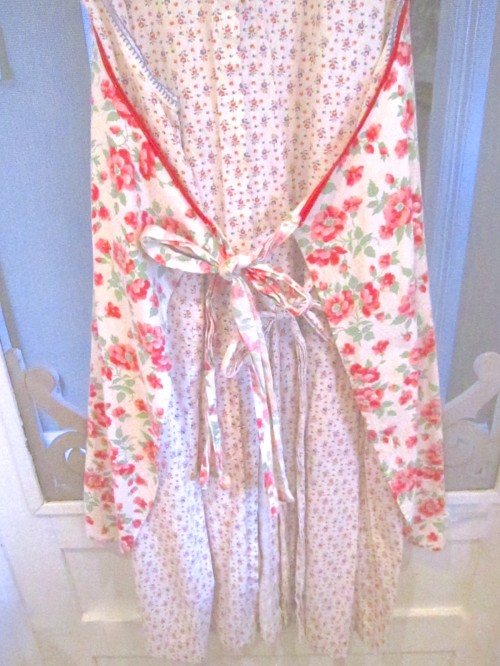
A clean pantry and vintage, sun-washed, farmhouse aprons make joy-bells ring in my heart!
Well thank you Sugar Pie for stopping by!
It’s always a treat to have you here!
I would love to hear your thoughts on choosing glass over plastic!
God Bless your darlin’ heart!
Aunt Ruthie
P. S. If you would like to be notified when I have a new blog post up
and my upcoming give-aways come join the Sugar Pie Sisterhood!
Look toward the top of this page on the right hand side.


 For the centerpiece I used a clear glass pedestal bowl filled with colored eggs on top of a large white candle holder. I also placed a few eggs around the books and bunnies for a whimsical look…(the bunnies are hiding Easter eggs!).
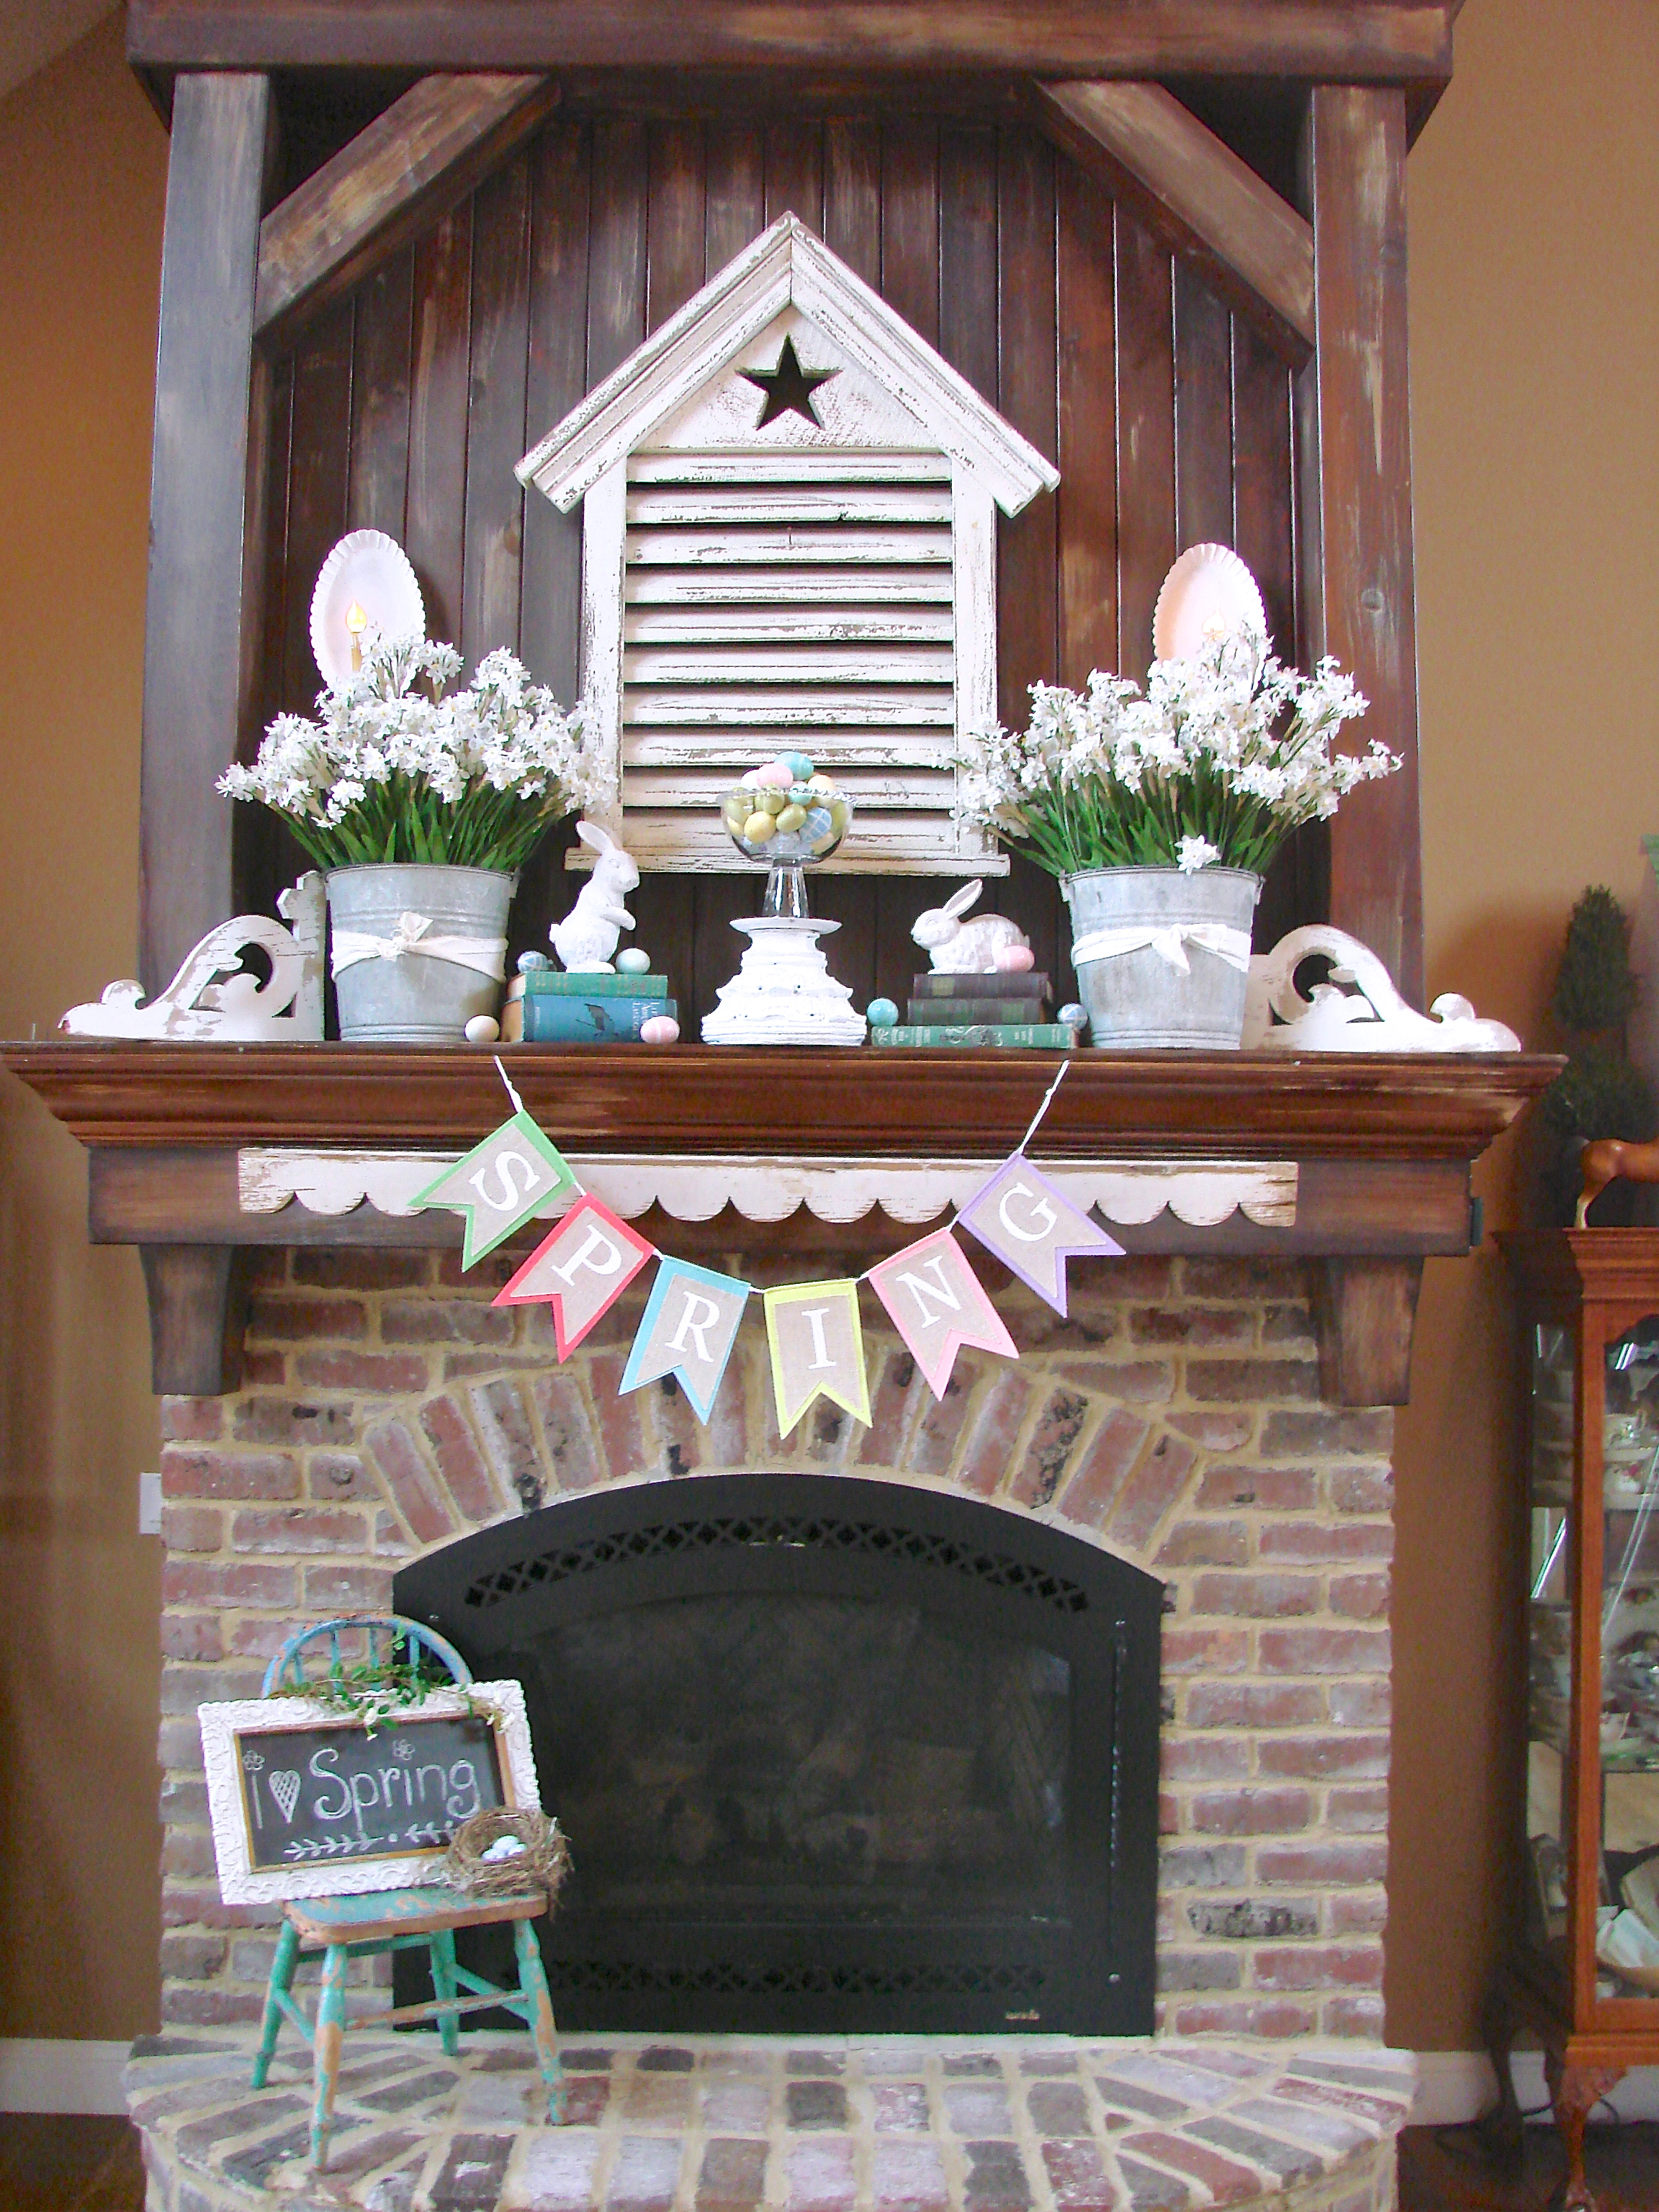


 57 Comments
  Leave a Comment